P2V of a Physical Machine with vCenter Converter
P2V is a large subject to cover, as I cannot cover every scenario, so I am going to briefly cover a P2V conversion of an physical Ubuntu server I have kicking around. Many companies are trying to reduce there footprint and convert many physical machines into virtual ones, web servers, SMTP server are ideal candidates. The conversion is a two step process, the actual conversion and the cleanup process after you have created the VM. There are a number of 3rd party P2V converters including free ones but I will be using VMware own vCenter Converter to perform this task. Vware vCenter converter is a windows based application, that installs onto the vCenter management server, it fully supports both windows and linux conversions but you may want to check VMware own website for all the available supported OS's. There are two versions of the converter available
VMware vCenter converter is not a silver bullet, you may have to work with the converted VM to get it working properly, also if the server originally had problems those problems may be replicated in the VM environment. The more complex the physical server (could be a domain control, cluster server, etc), the more you may have problems converting it and getting it to work, here is where you need to look at the VMware forums or search the internet for answers.
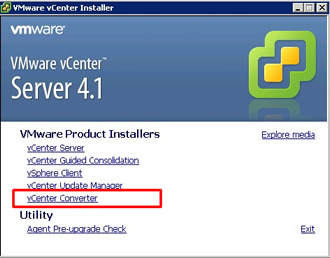
Installing the vCenter converter is like a normal application installation, on the vCenter server start the installation by putting in the vCenter 4.1 cd, and then selecting vCenter Converter
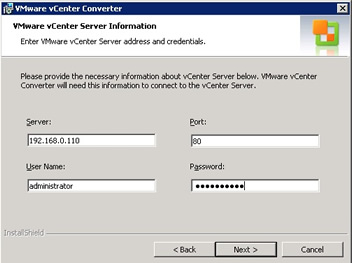
During the installation process, you will be asked about the vCenter management server details
Once the installation has finished select the plugins -> manage-plugins from the top bar of the vCenter window, then select download and install plugin
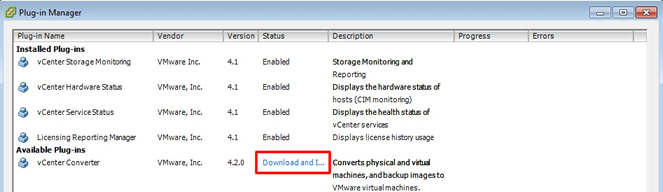
That's it, you are now ready to convert physical servers
Once you have the P2V plugin installed we can now import a physical server, I have a old HP D510 desktop PC with Ubuntu 32-bit OS running on it (yep old pc and old OS), lets convert this physical machine into a virtual machine. First select the ESXi server that you wish to import the new virtual machine into, in my case I have selected vmware01, right-click and select "import machine"

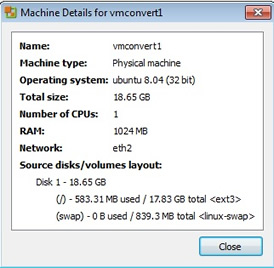
Now enter the details of the running physical server, I selected "view source details", just to make sure the connection is working and we have access to the physical server

All looks good, it see's my physical server as a Ubuntu 8.04 32-bit server
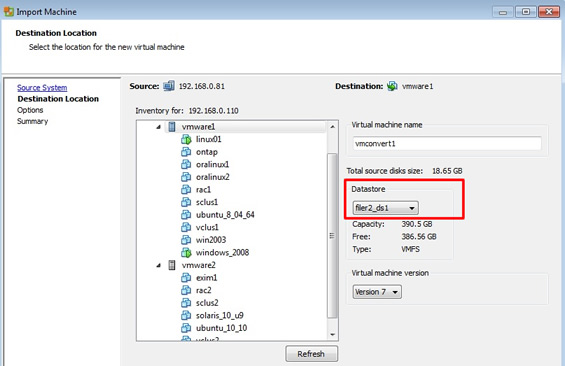
The next screen, gives us details on where the VM will be placed, I changed the datastore to a shared storage area (filer2_ds1), you can change the name of the VM if you wish
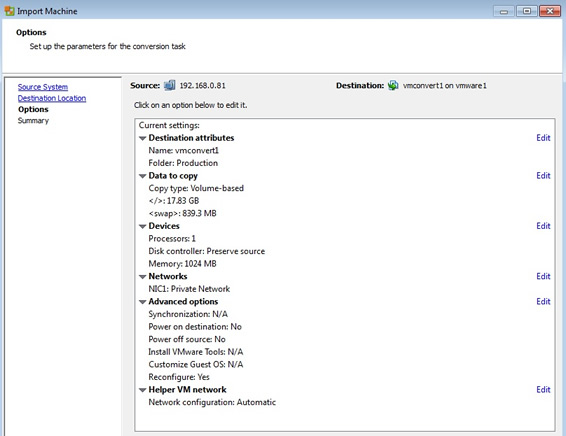
The screen allows us to configure the VM's hardware
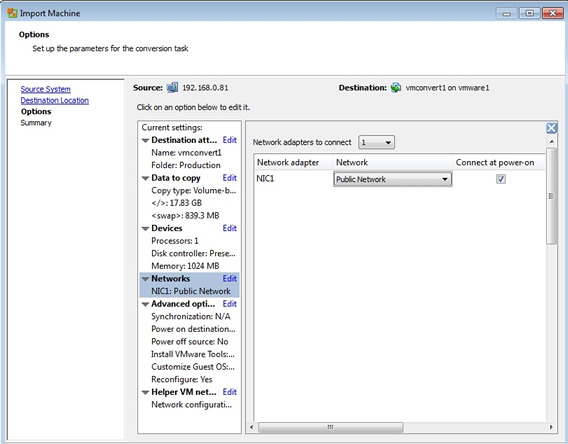
I notice that the network was in correct, so selected edit and changed the network from private to public and can add additional NIC's if you wish
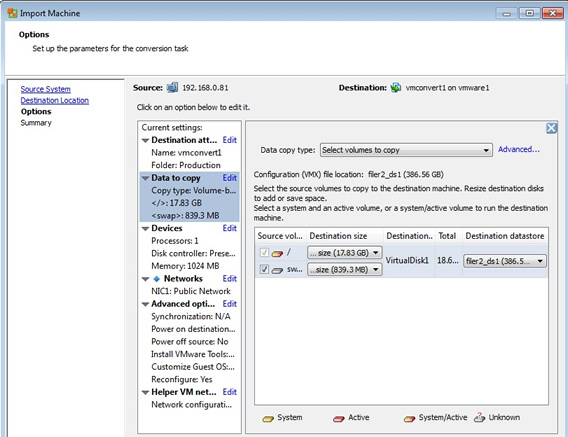
The "data to copy" screen allows us to select what volumes/filesystems we wish to copy across, there may be a case that you do not some volumes/filesystems copied and thus speed up the importing process.
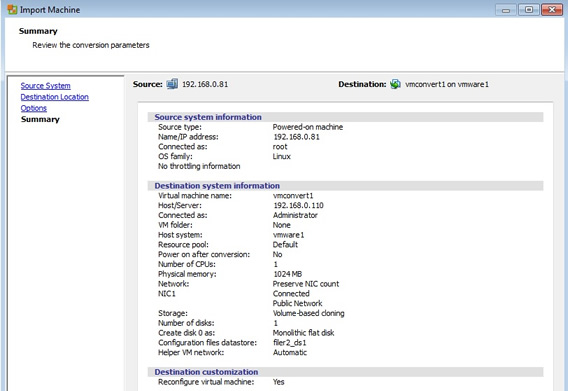
With very little effort we are at the summary screen ready to import our physical server
It took about 5 minutes to import this server, the time it takes all depends on how much data you need to import, you can monitor the progress from the "recent tasks" window in the vCenter man screen

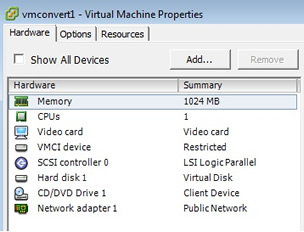
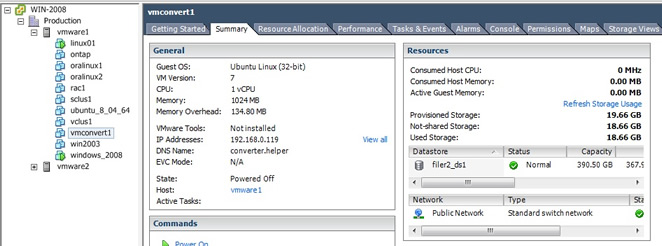
And here we have it, a fully imported physical server, I double checked the hardware settings and it done a pretty good job as I did not have to change anything
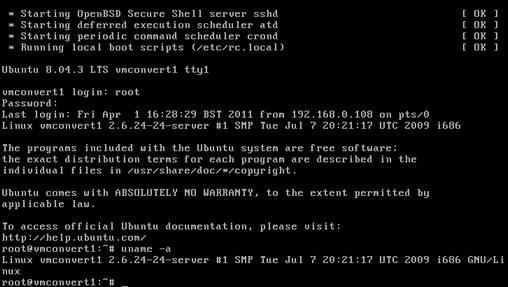
When I started the VM, all I had to do was edit the /etc/network/interfaces file and change the NIC to eth3 and up the interface and away we go, as you can see below
Ok not all P2V conversions will go as smoothly as this one did but you get the idea on what is involved and what you need to prepare before hand when performing a P2V conversion. There is also a Cold-Clone boot CD which allows you reboot the physical server from the CD and clone the physical server while it is offline.