Installing Tanzu using vCenter WorkLoad Manager
In this section we are going to setup a Kubernetes cluster using the vCenter Workload Manager, however we have to prepare a number of tasks first, I had to setup a RedHat server (rhrouter) to act as a network router (you also can use a manageable switch, virtual router software), we then setup the HAProxy VM (haproxy1) and finally get to setup the Kubernetes cluster. Below is what we will finish up with, I am using a 3 node basic cluster with HA and DRS enabled.
I have created three portgroups to handle the three networks, you can assign VLAN ID to these if you have the setup that can handle VLAN's, but as I don't I will use a RedHat server to perform my external network routing.
| Management Network (tkgmgmt) | 192.168.115.0/24 |
Workload Network
| 192.168.116.0/24 |
|
| Frontend Network | 192.168.117.0/24 |
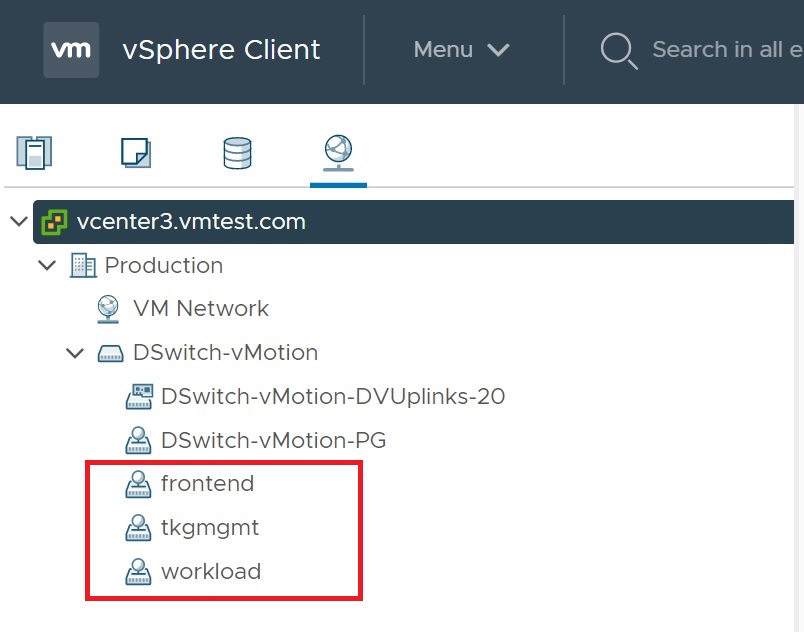
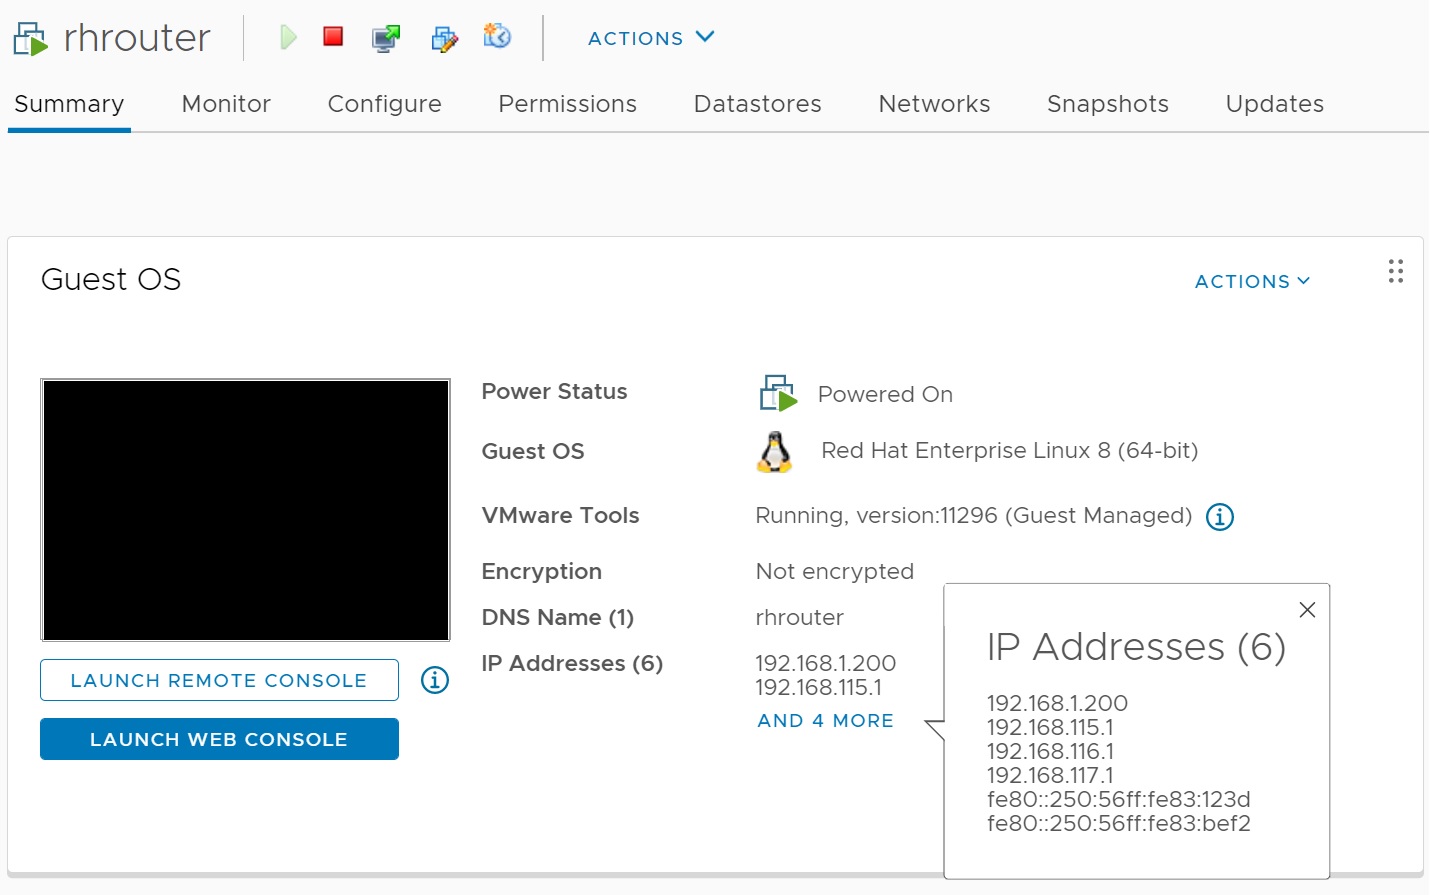
I have setup a basic RedHat server to handle the network routing to the three networks and my main network that I use to access the internet, the HAProxy will use the RedHat router as a gateway to the internet and my internal DNS and the ESXi services. As you can see I have four networks attached.
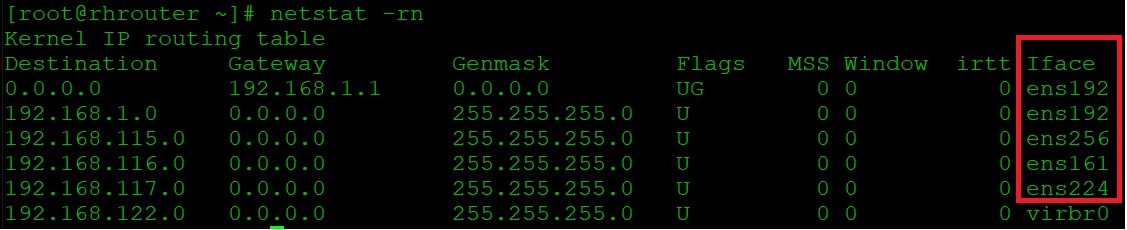
Below is the routing table on the RedHat server its very simple, notice that i have assigned four different NIC's to the RedHat server as you can see the different interfaces
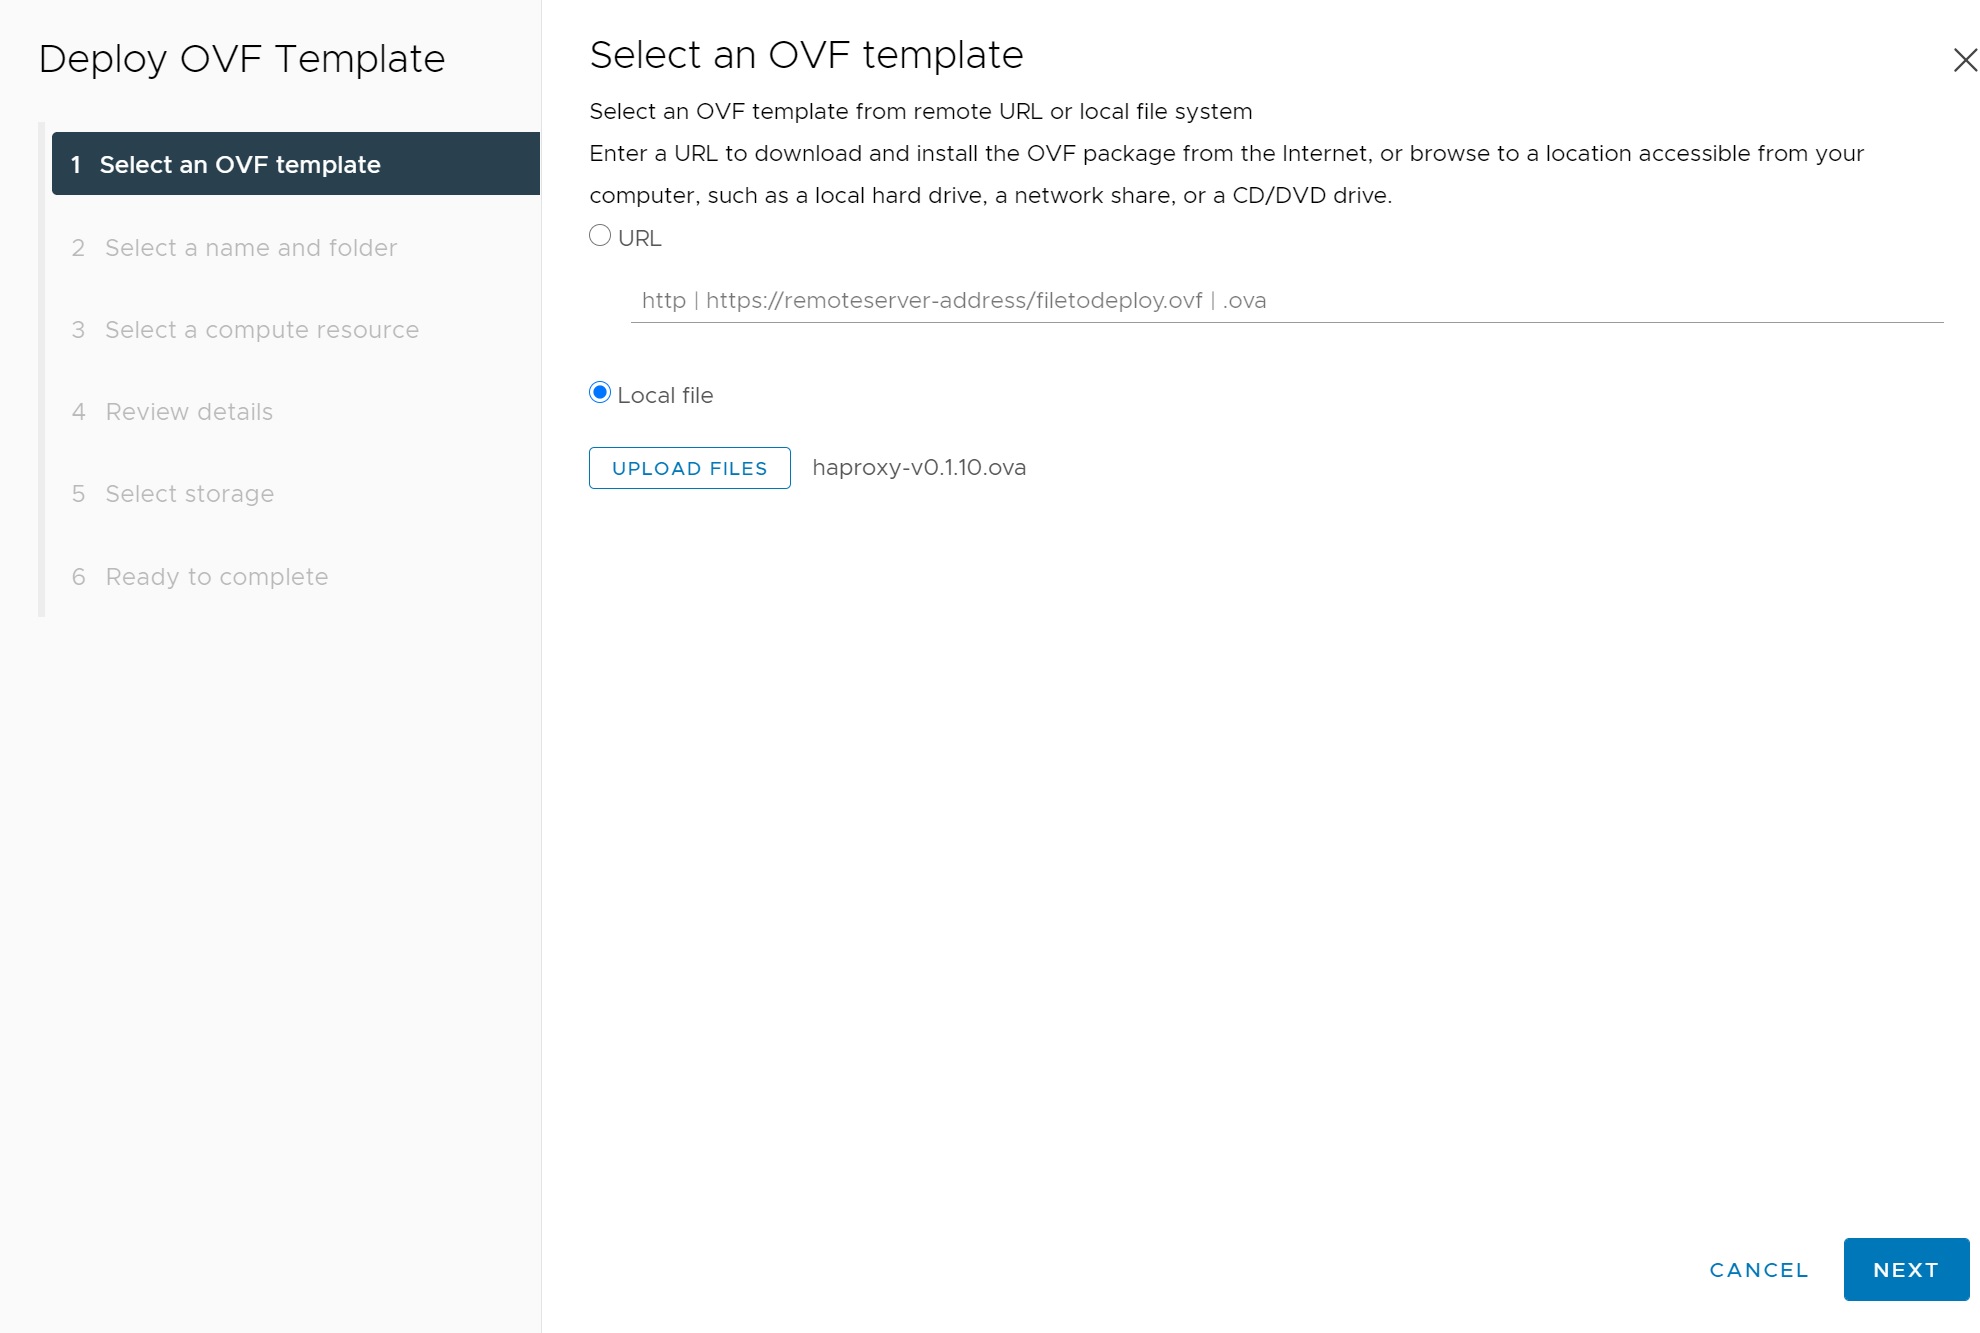
Then we need to setup a HAProxy, you can download from here, this is where most of the networking interaction will happen, if any network needs to access my internal network then it will go via the RedHat router. Now we will create the HAProxy VM, we select to deploy the template selecting the file
We then enter the VM name using FQDN and the location of the VM

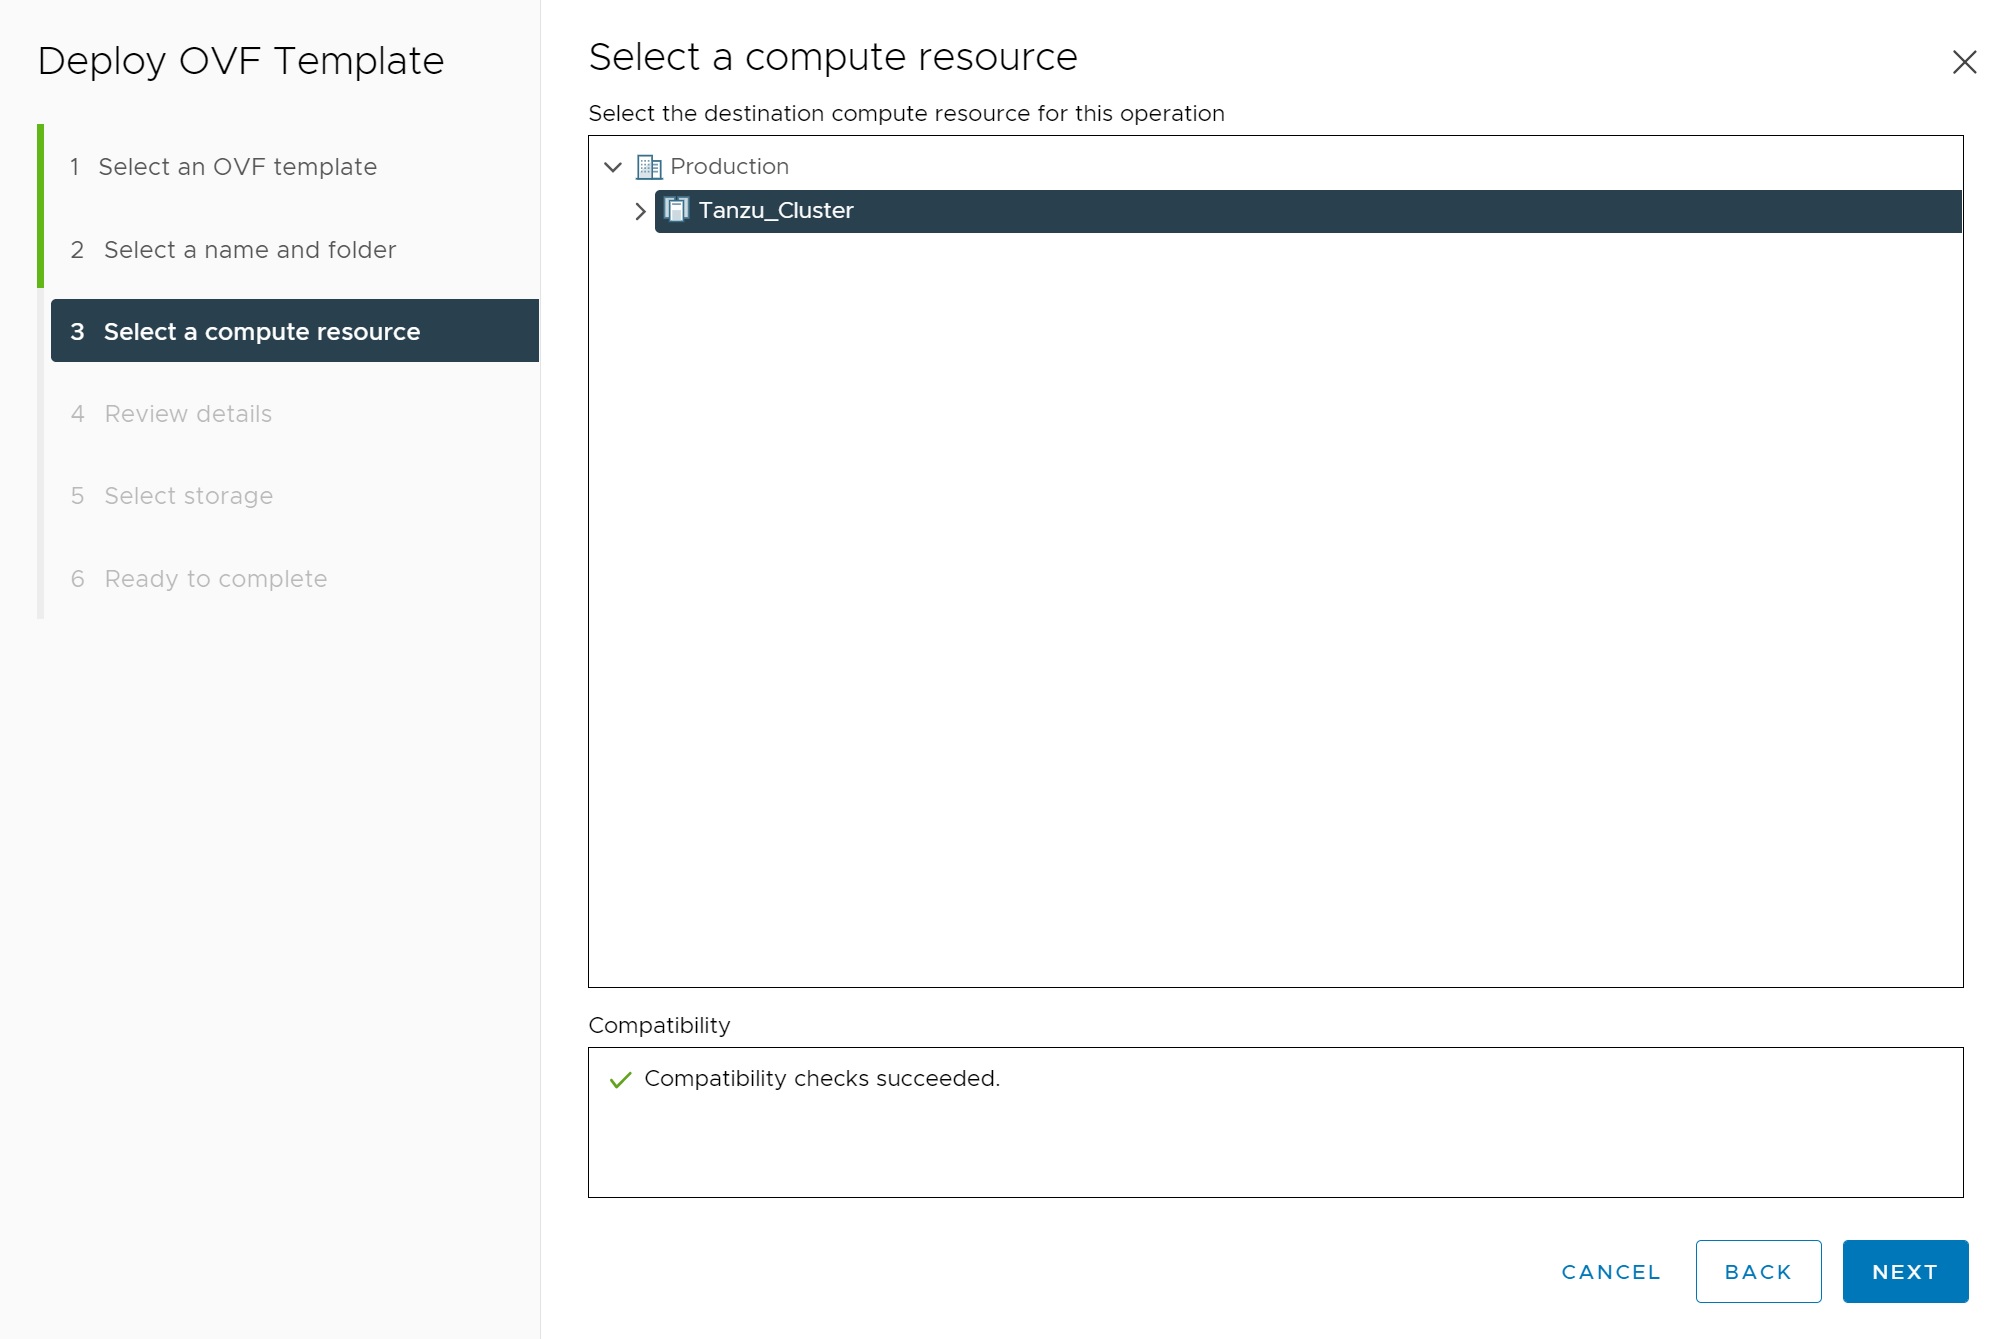
Then we select the compute resources
Check the first review screen

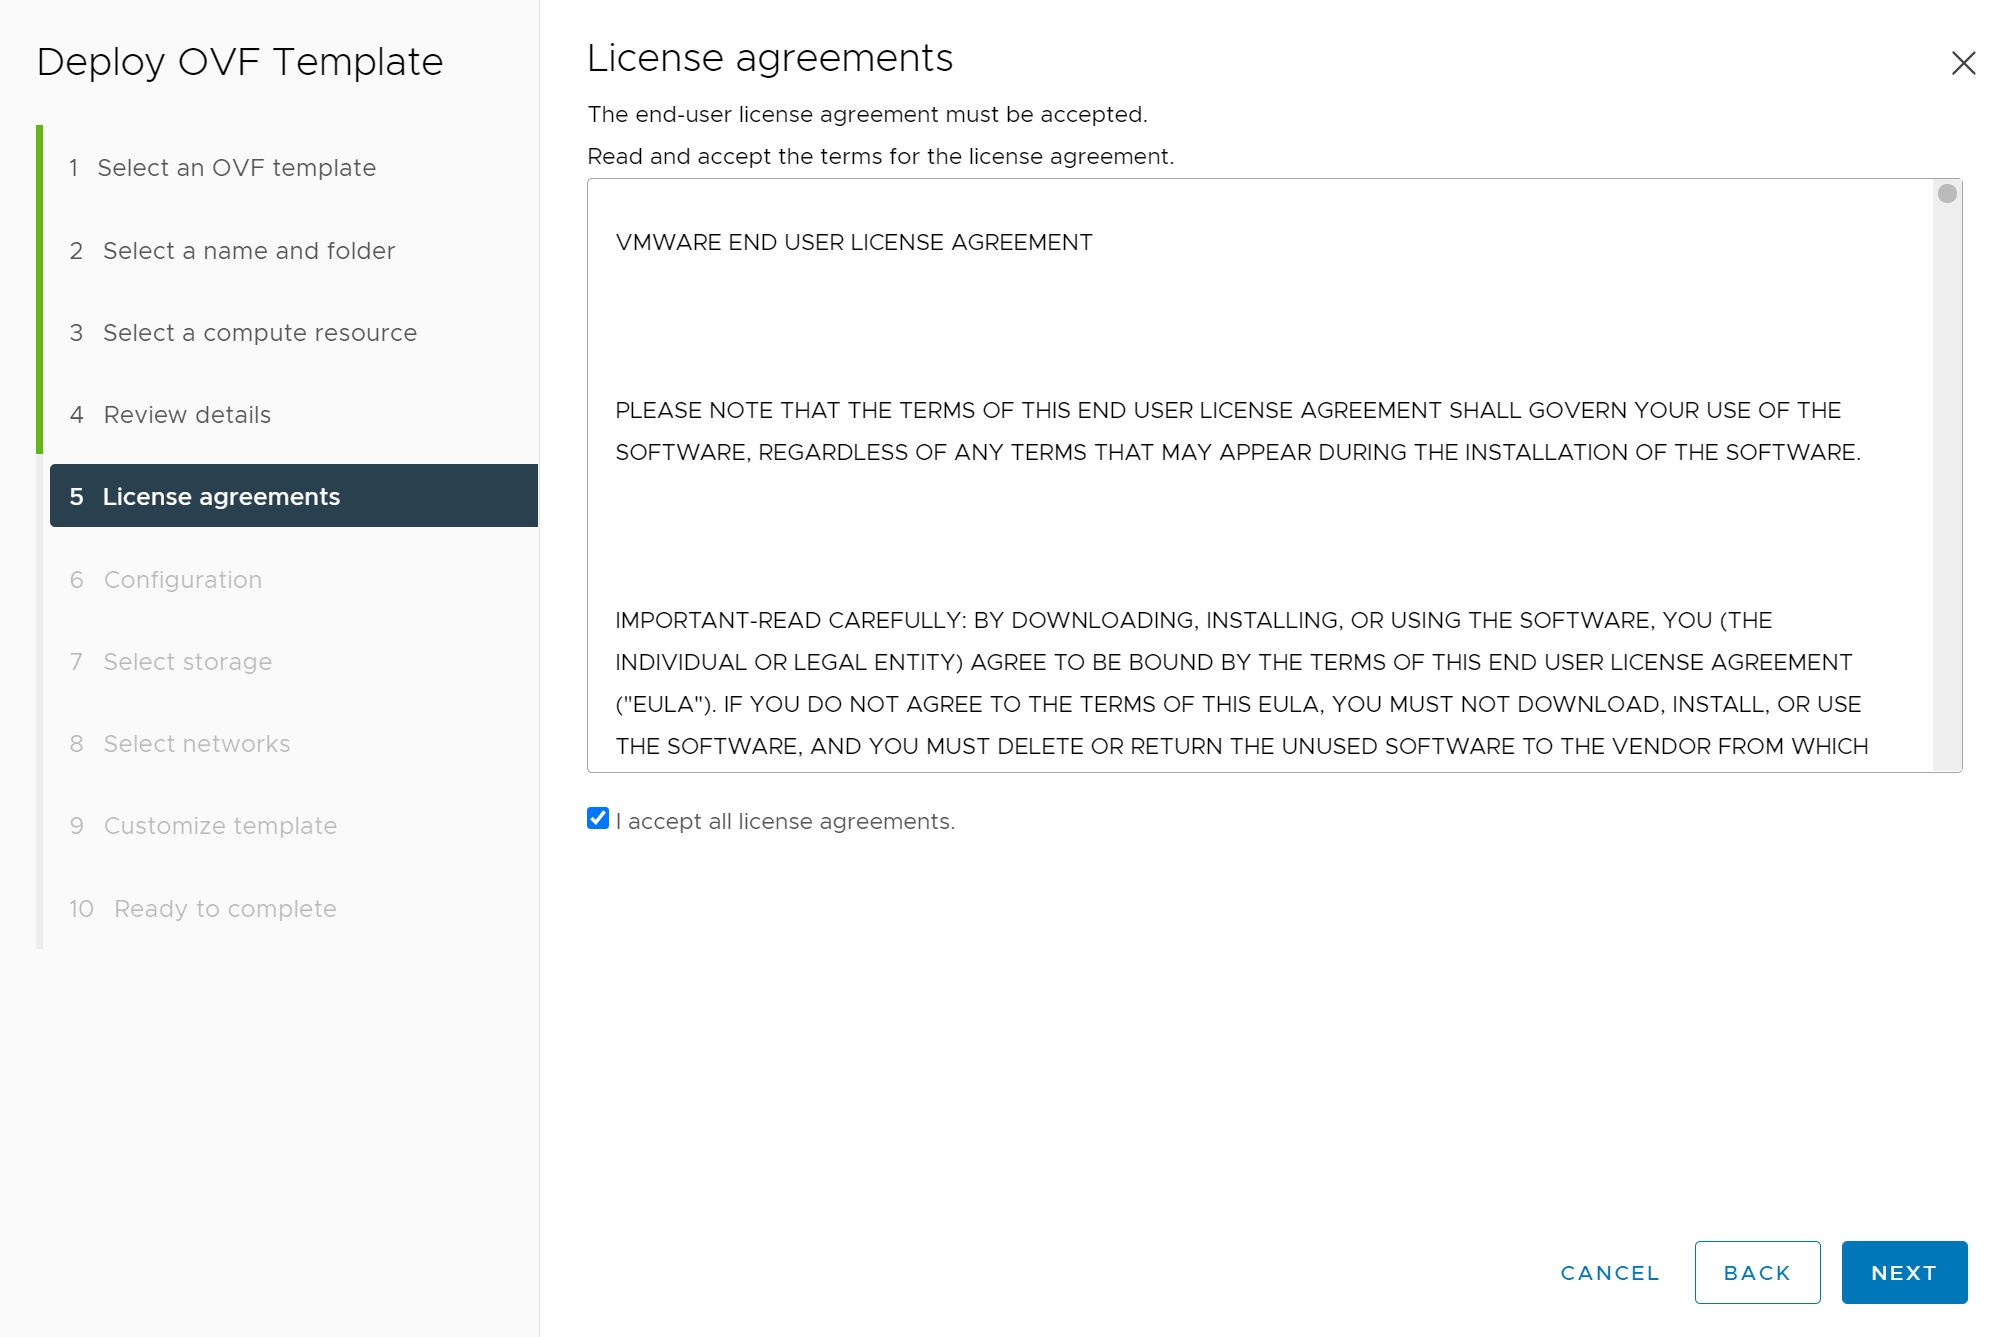
Accept the license
We select the frontend network option, this will create a default setup of three networks which it will ask for in a moment

Then we select the Datastore

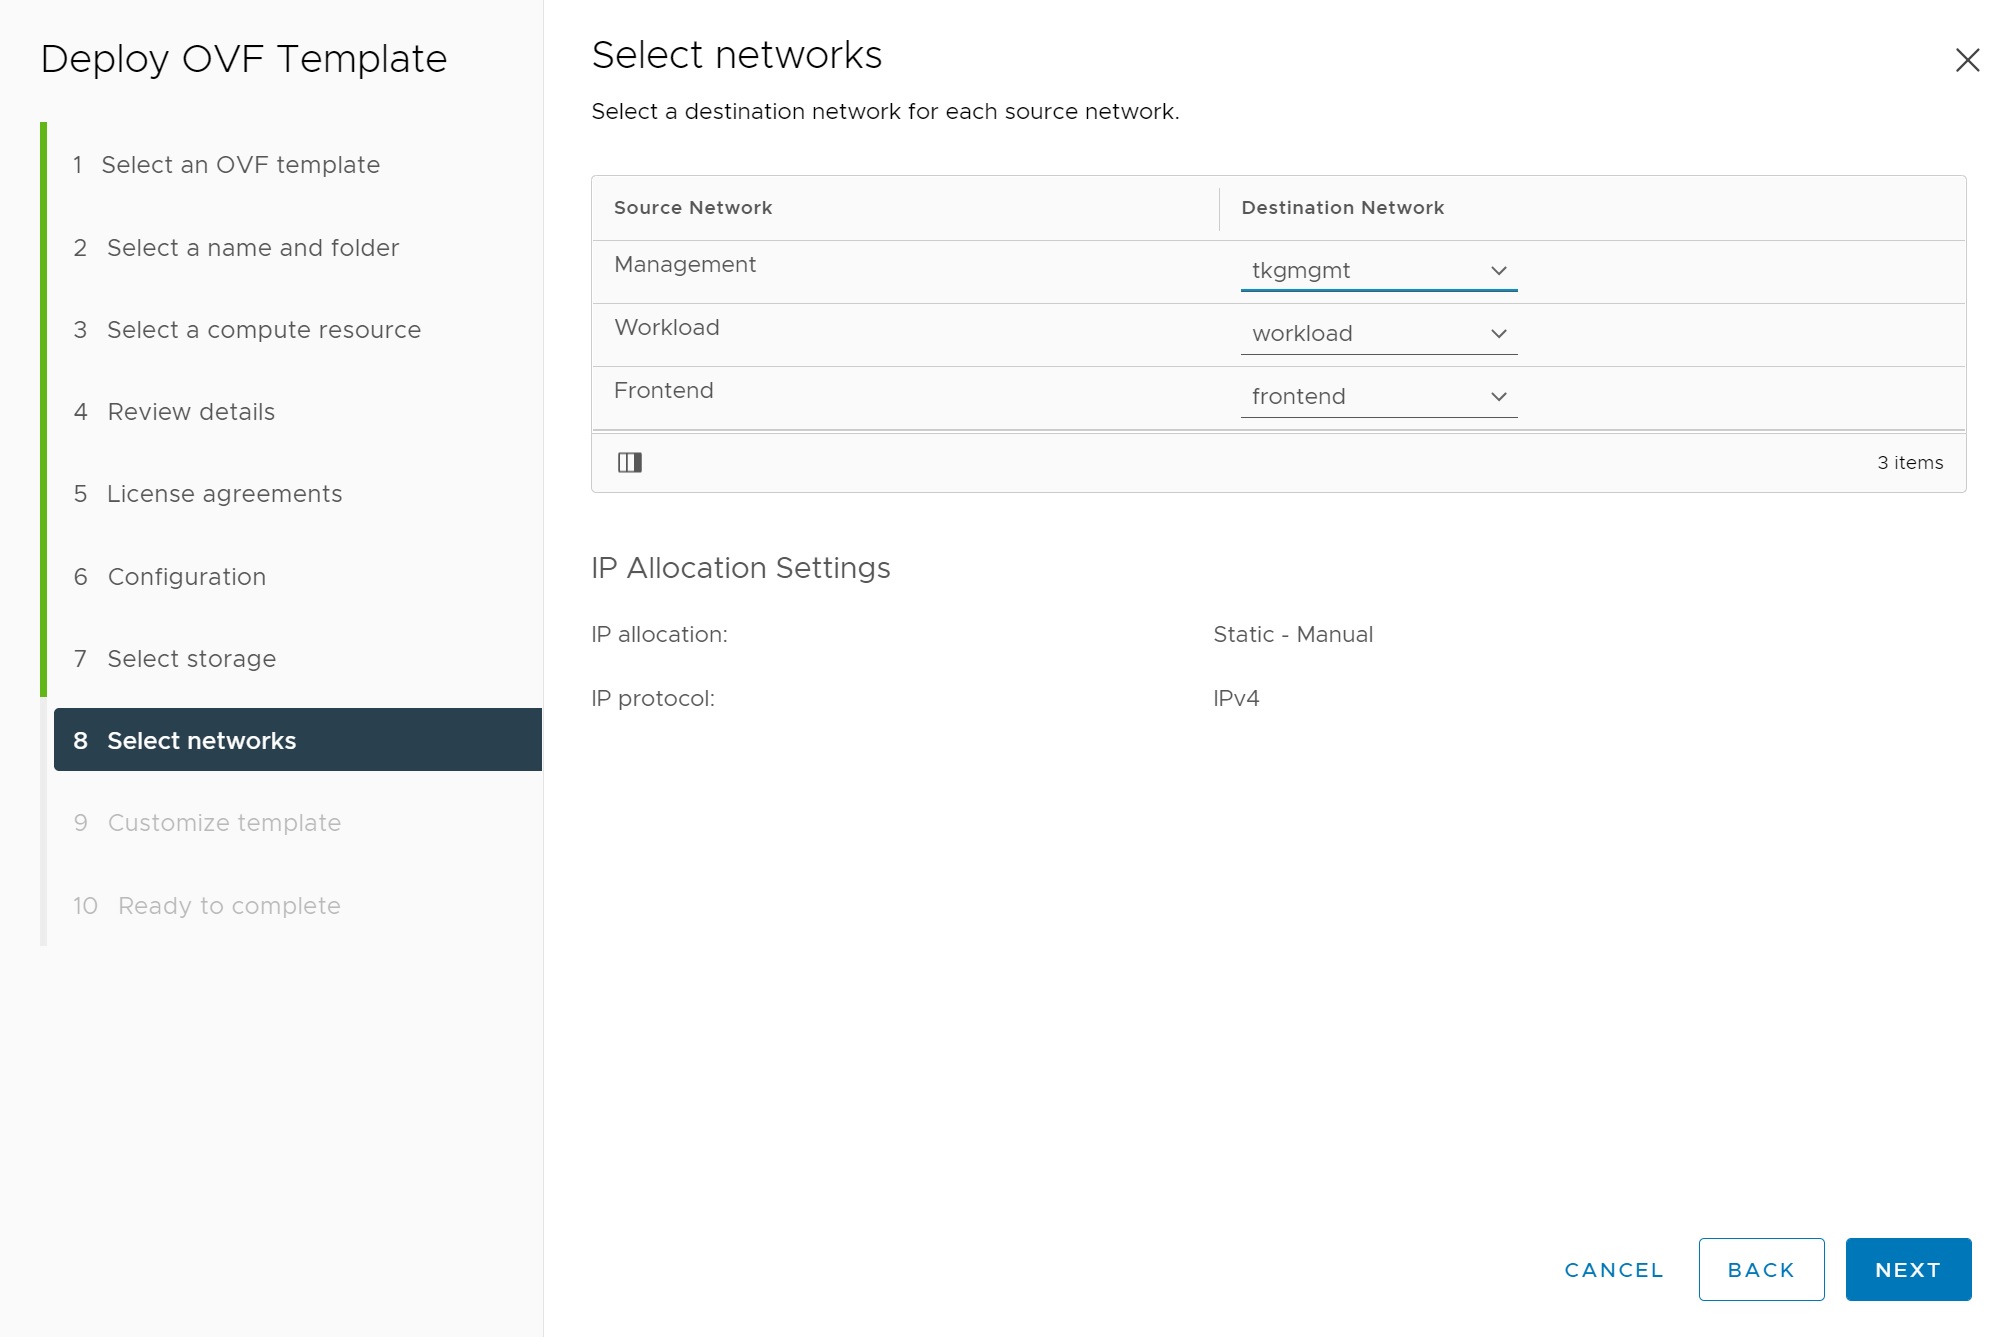
Now we select the three networks (portgroups) we created earlier, matching each one correctly
The customizing screen is long so I will break it down, we first enter the appliance password
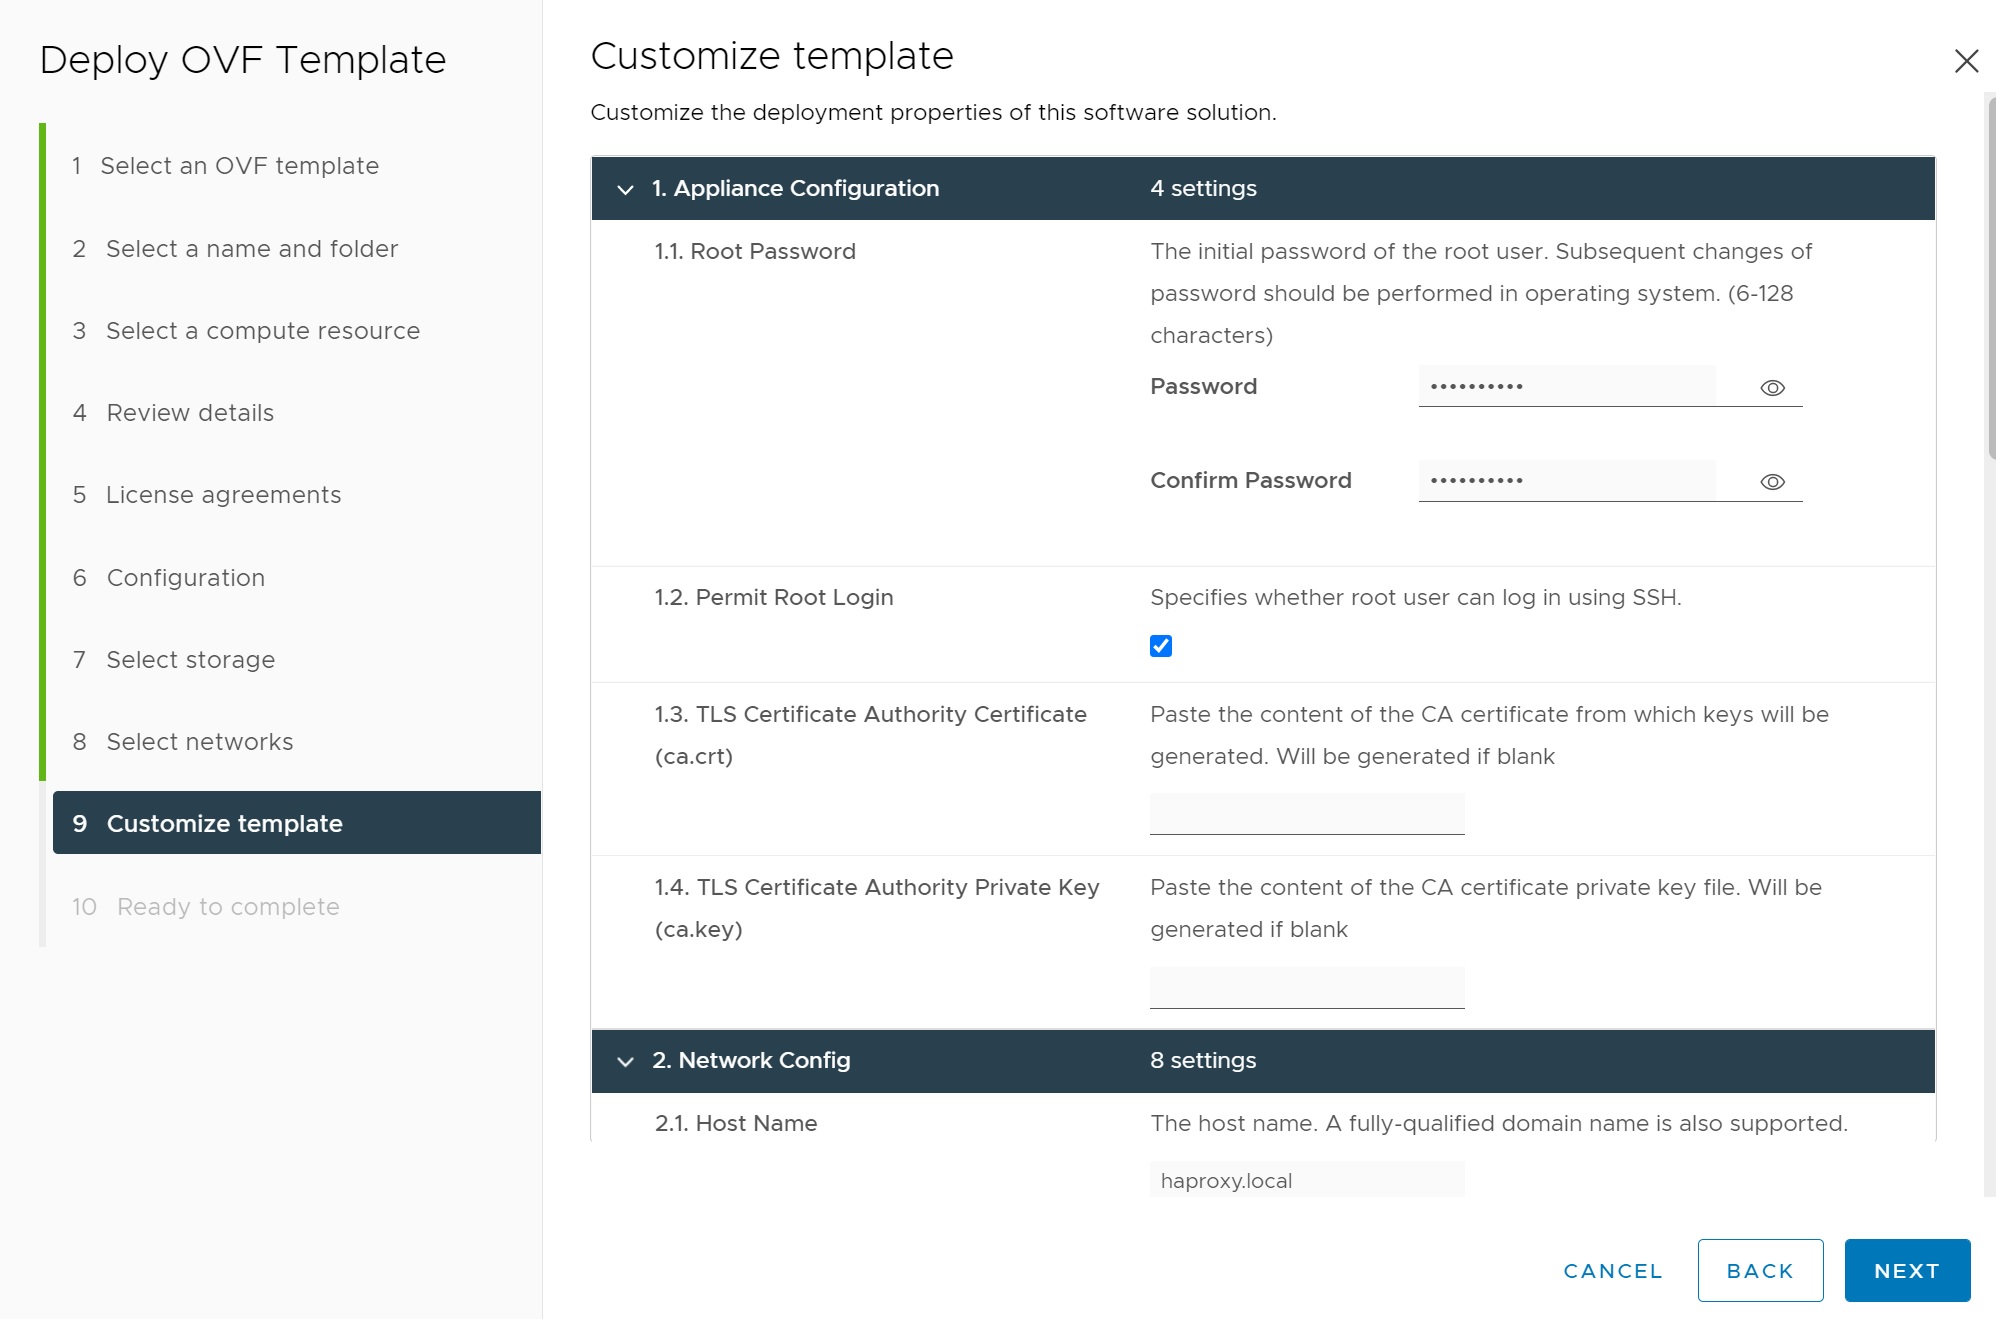
Then we enter the hostname, DNS and the Management network details and the workload network details

Finally we enter the frontend network details and the HAproxy access credentials

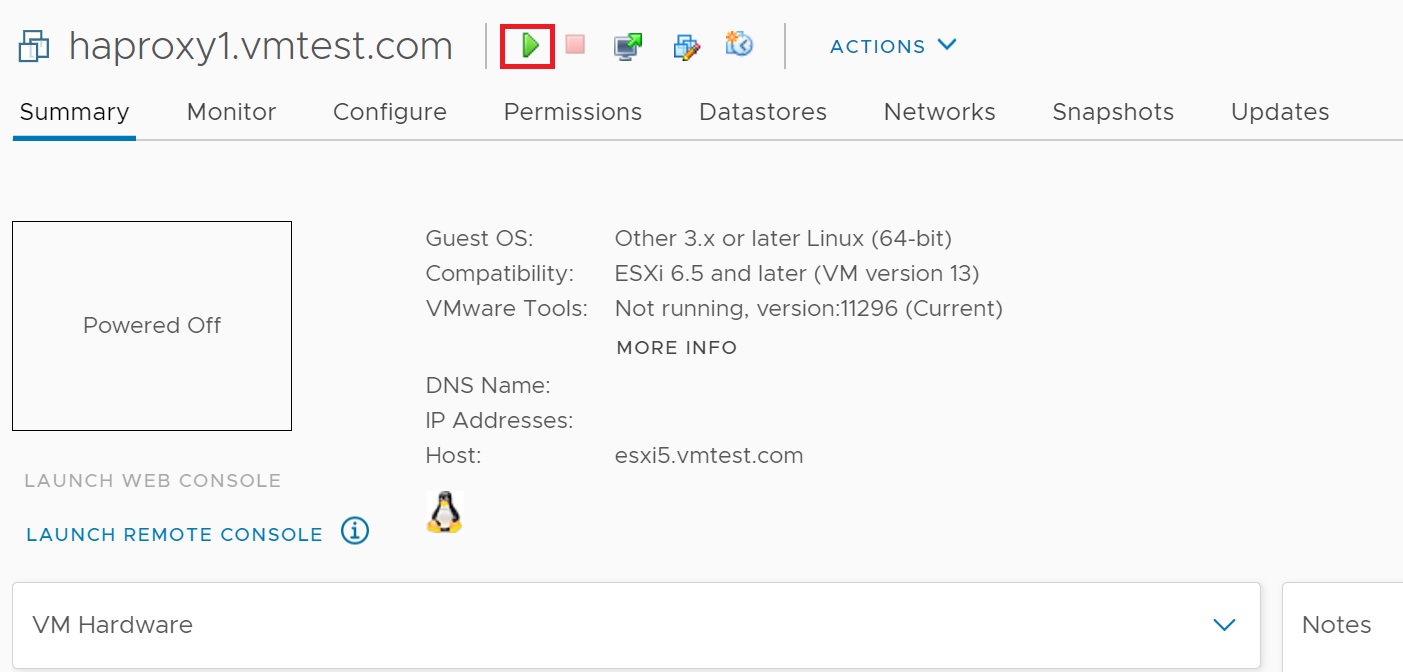
The HAProxy VM is then create, we then power it on and that's it the HAProxy is ready.
Configuring the Kubernetes Cluster
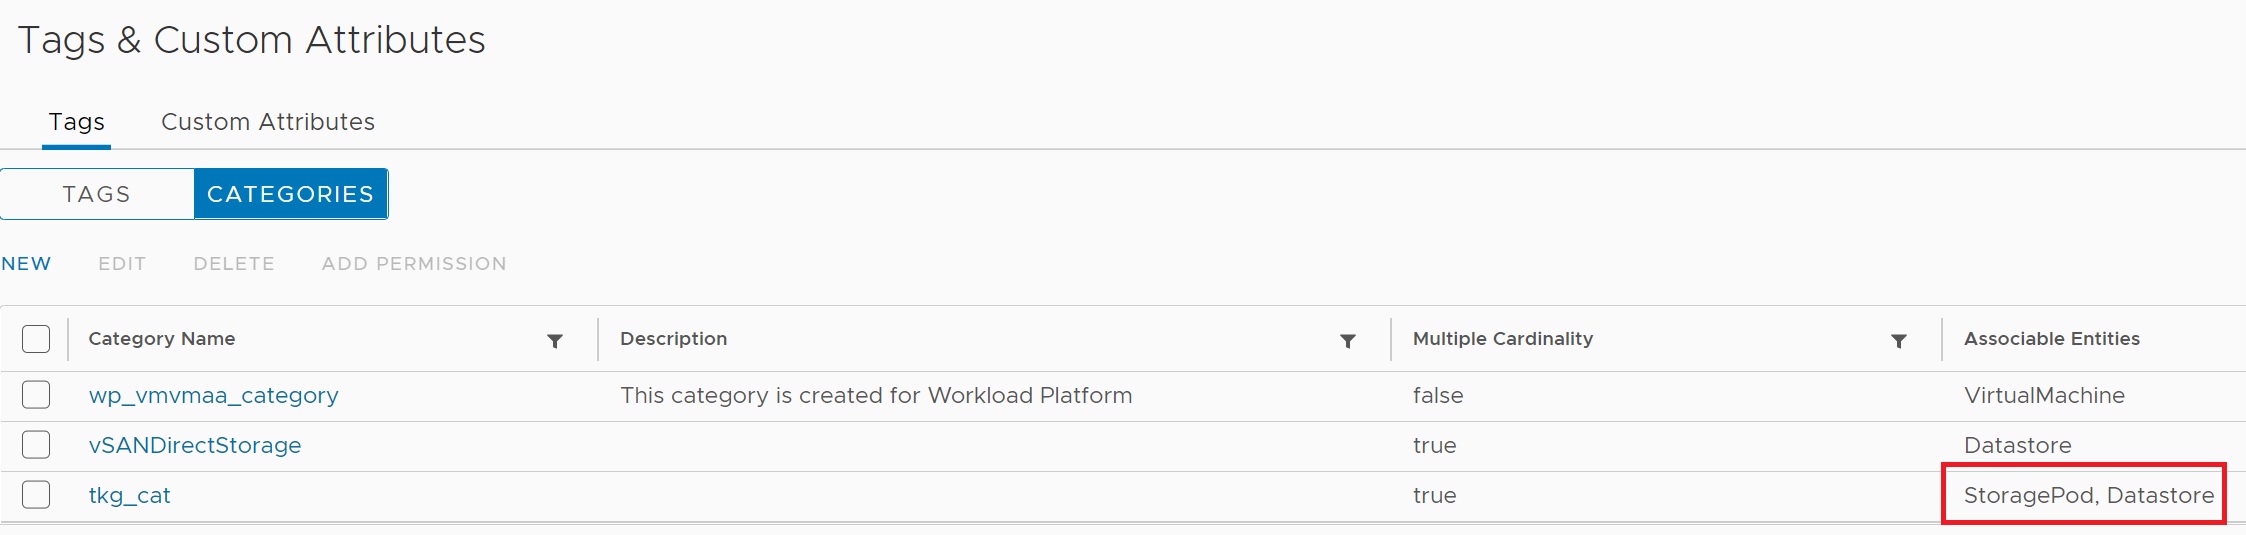
First we need to configure a few things to make installing the kubernetes cluster is a bit easier, the first task is to setup a tag and a tag category which will have both datastore and storagepod attributes this will be used later, in the vCenter we select Menu -> Tags and Custom Attributes, we select categories and then the new link to create a category called tkg_cat and add the StoragePod and datastore attributes.
Next we create a tag called tkg_tag and add the tkg_cat category

Next we create a basic VM storage Policy called tkg_policy which we add the tkg_tag tag that has the Datastore attributes.

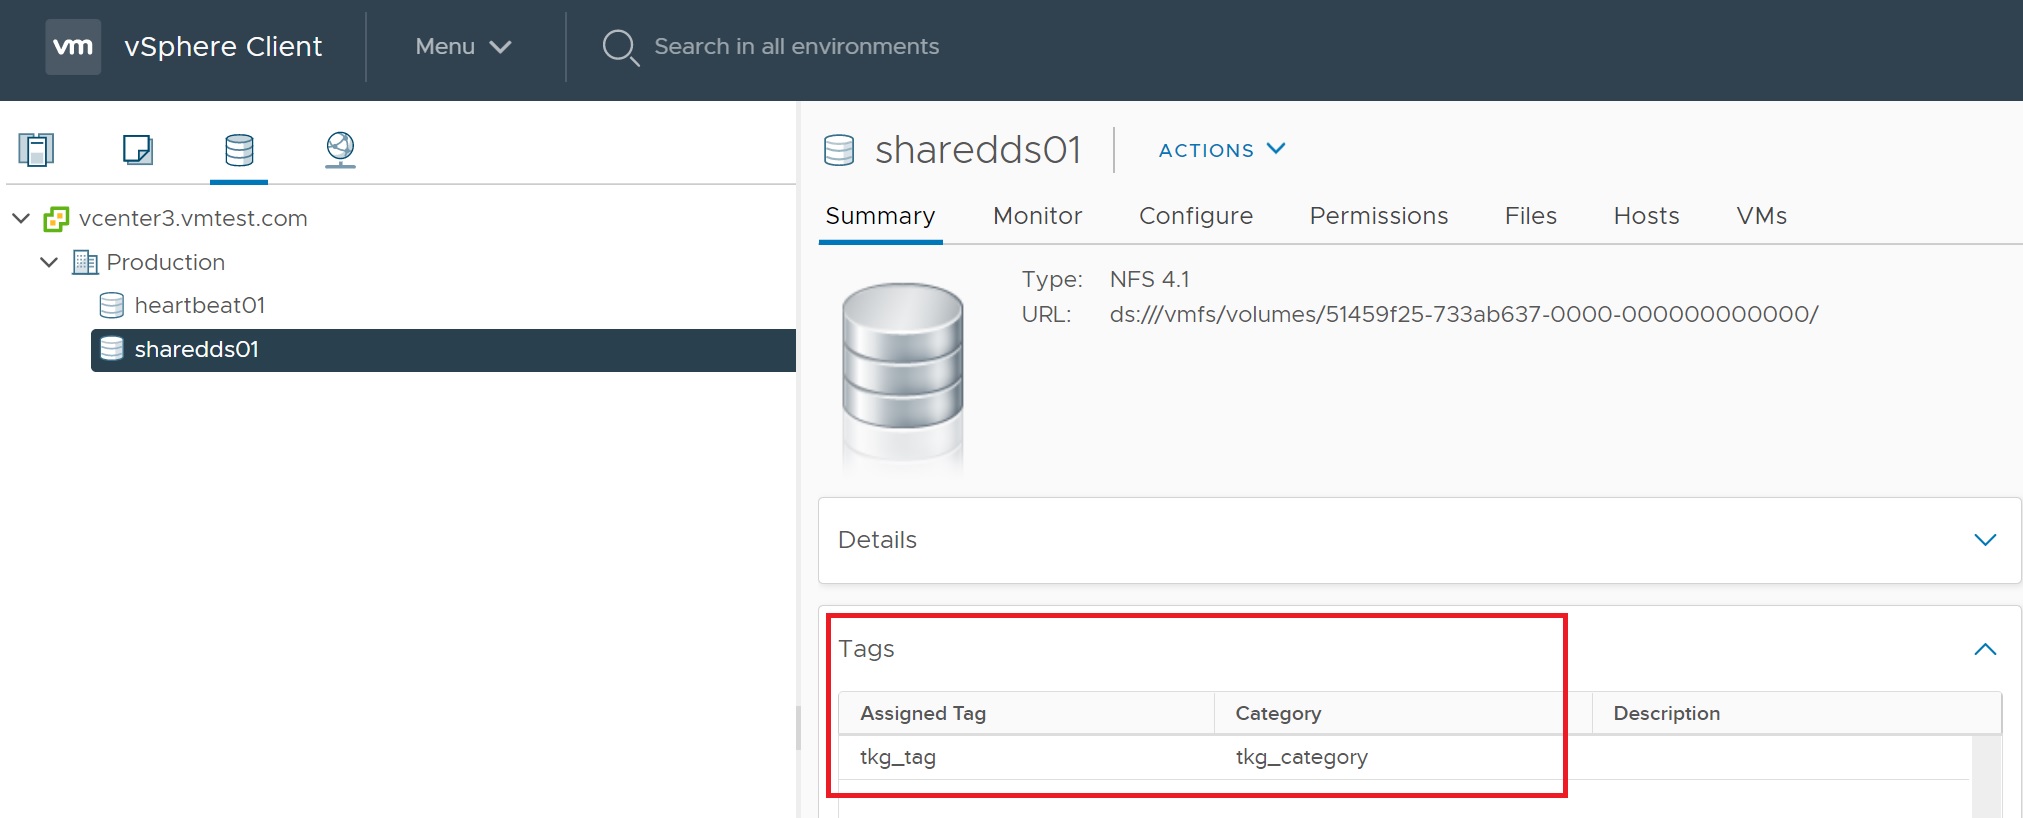
We then add the tkg_tag to the sharedds01 storage, we will use the tag later which will use this datastore.
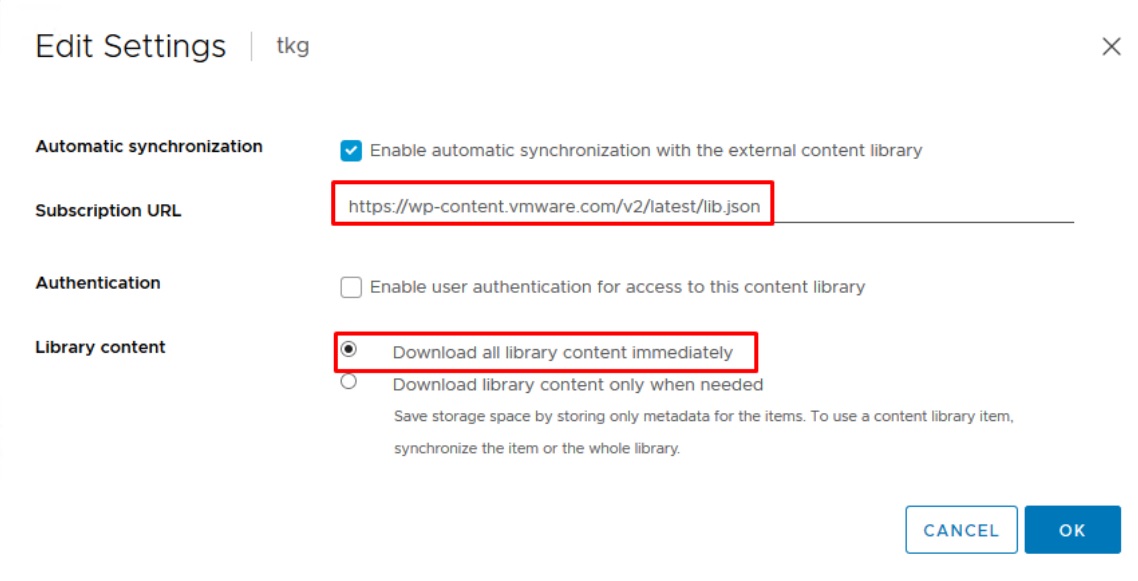
Next we create a subscription content library, select create new content library enter the name tkg then enter the subscription URL https://wp-content.vmware.com/v2/latest/lib.json, also select the download all library content immediately
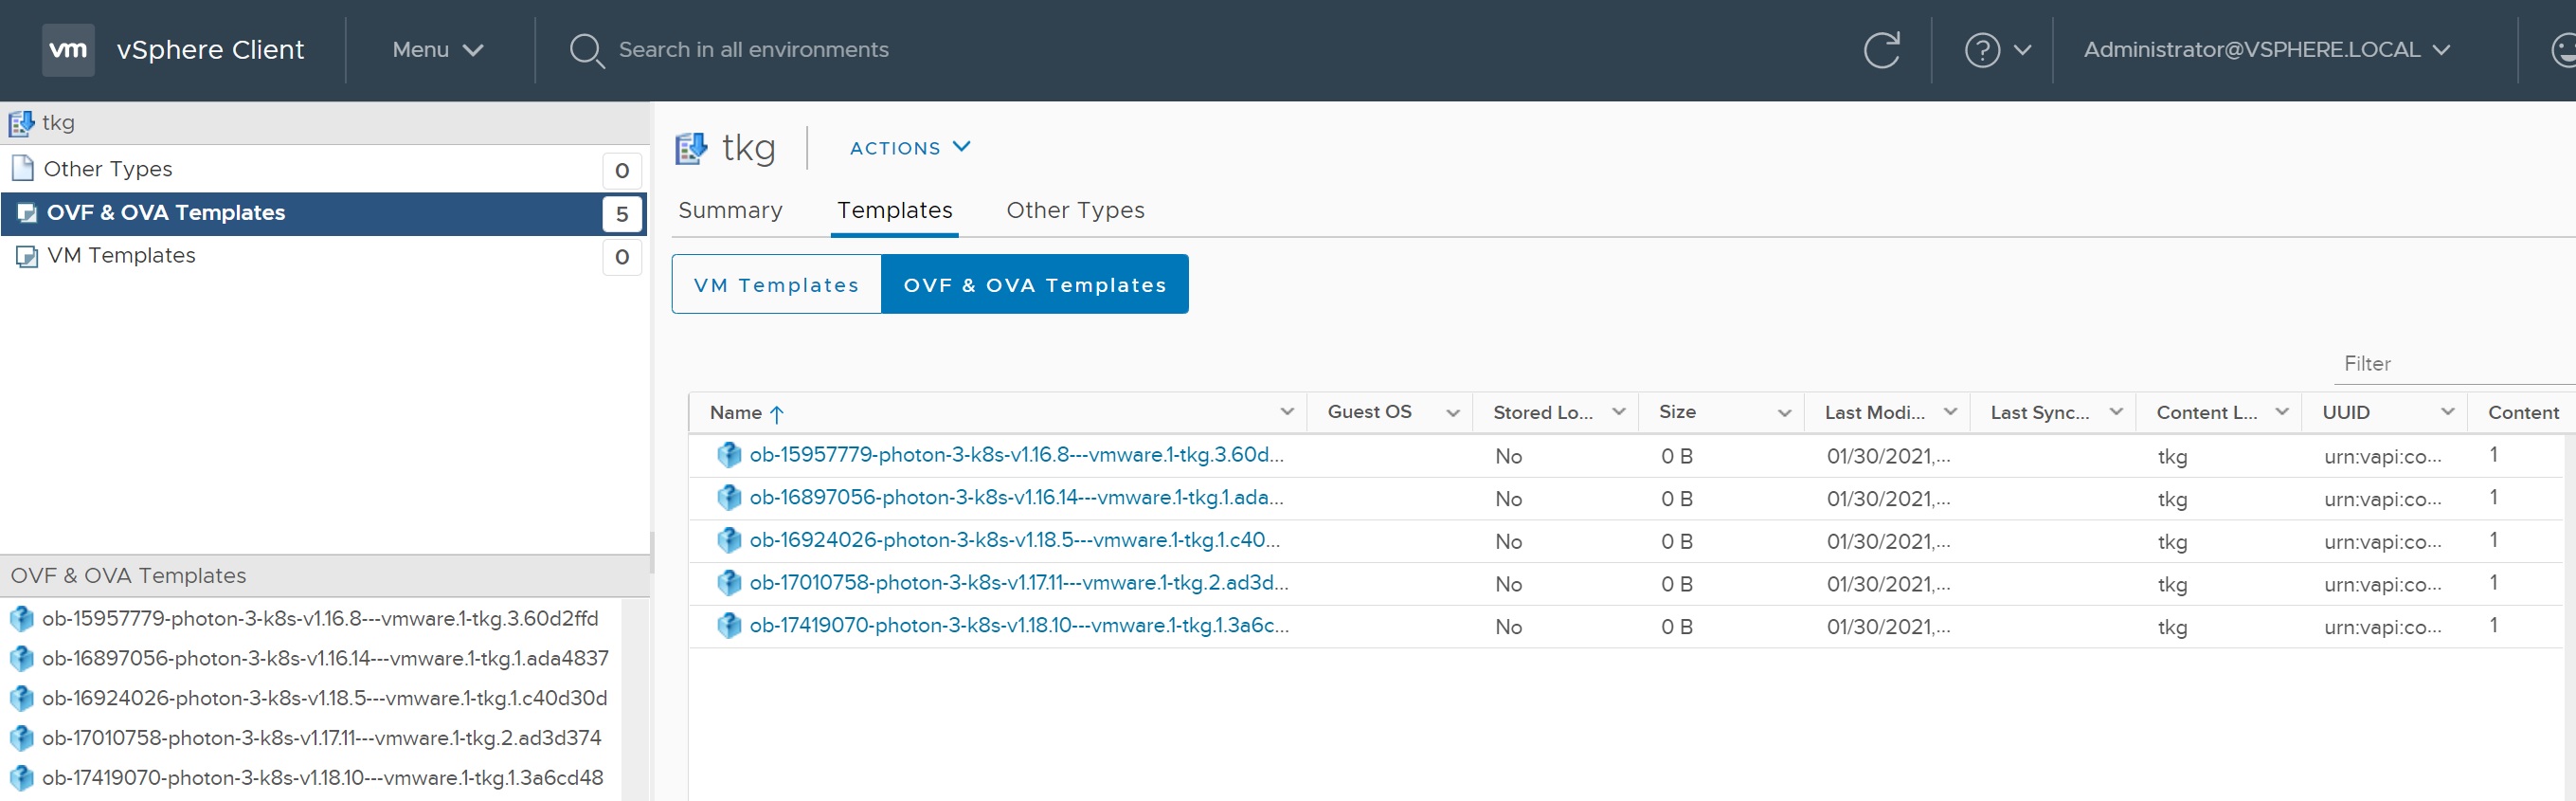
Once the content library has been created select it

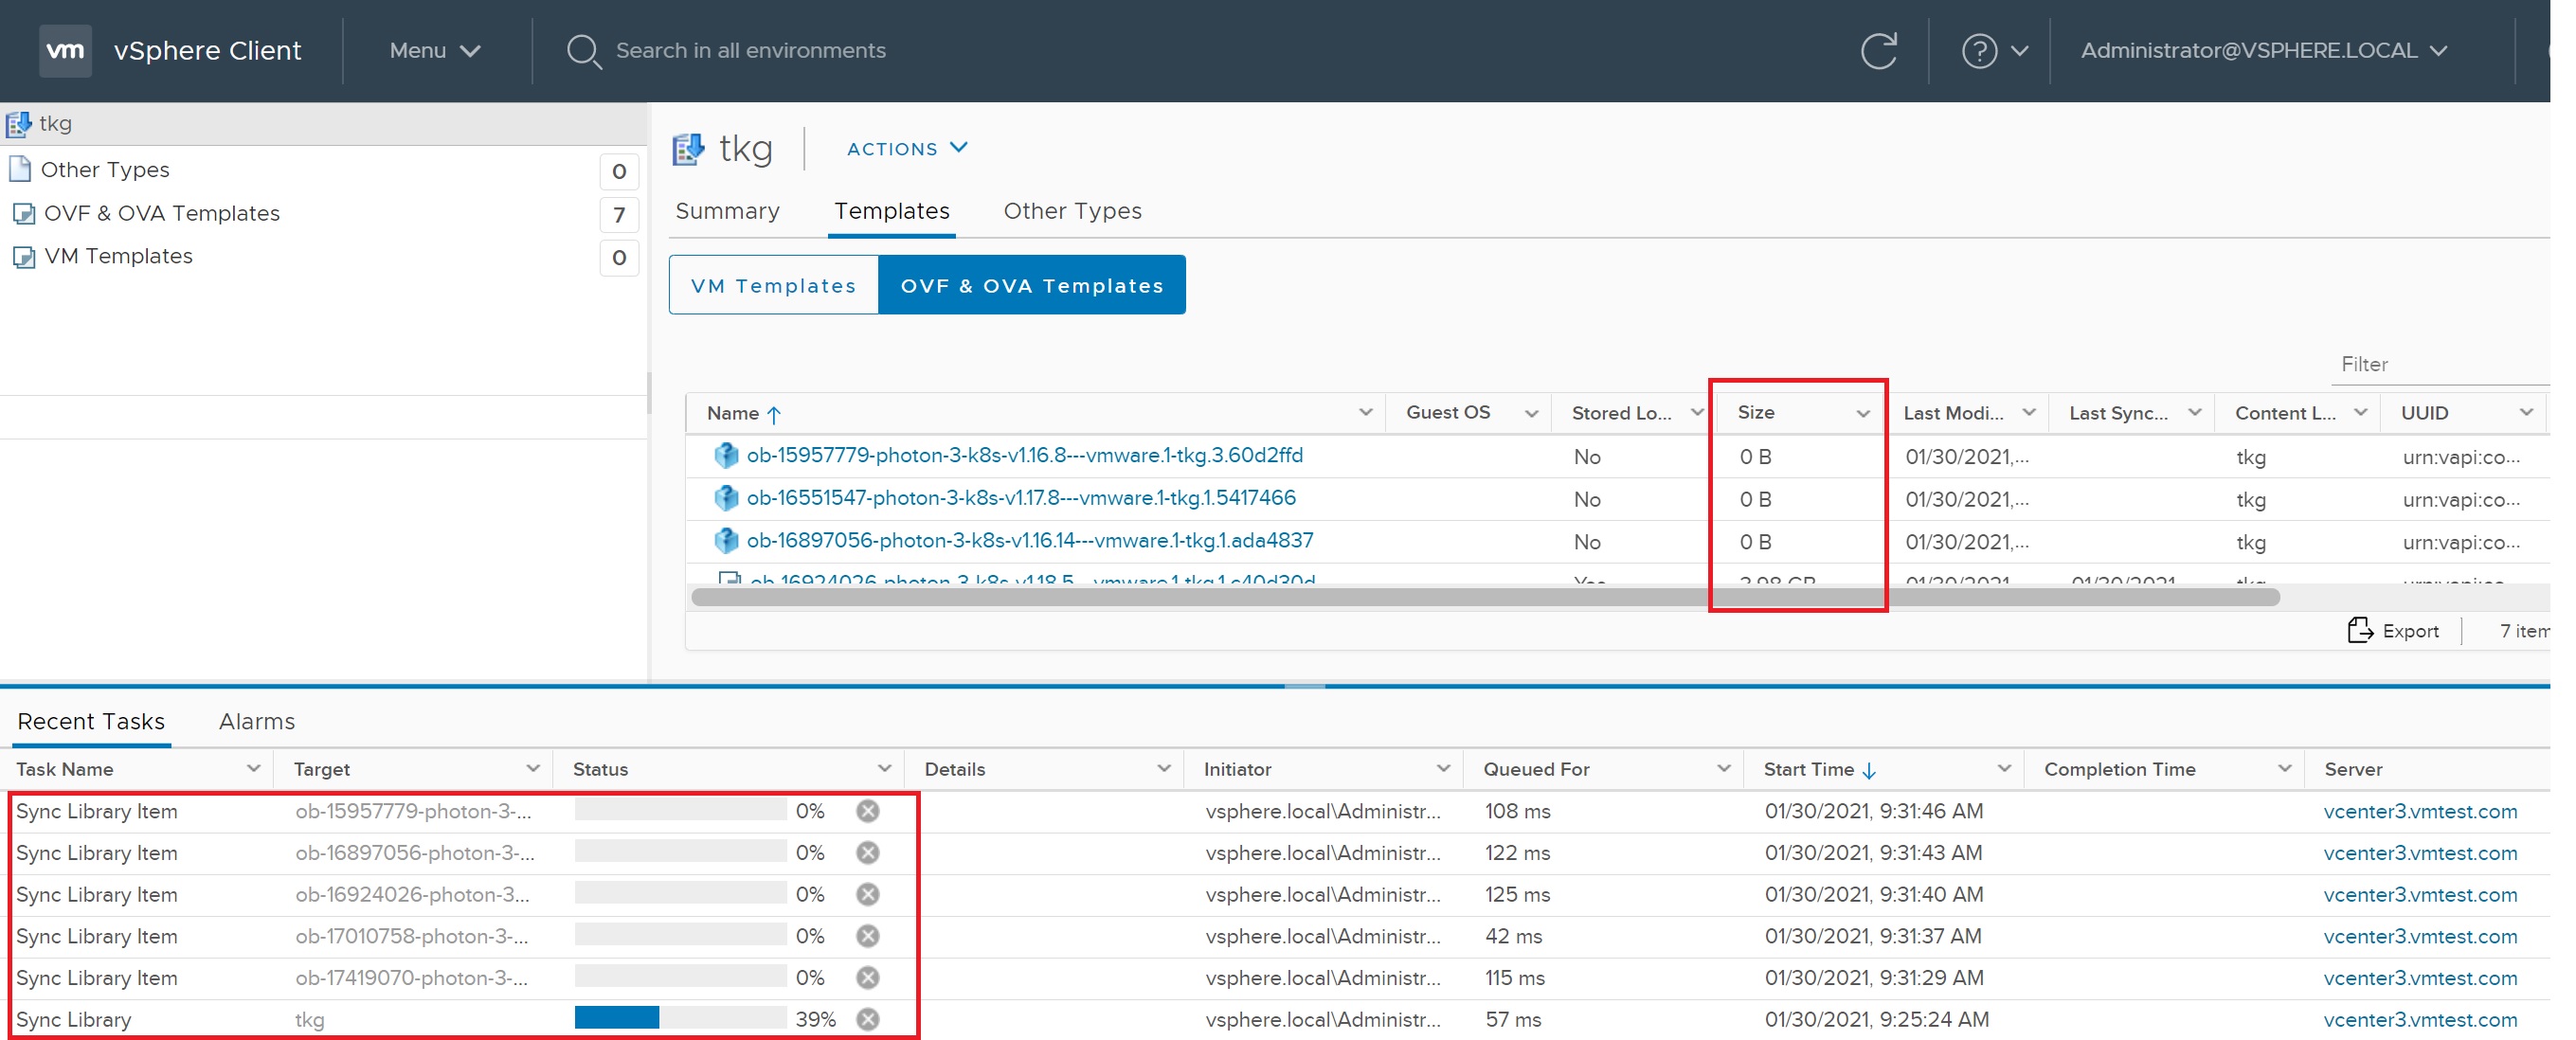
You can watch all the OVF/OVA templates being downloaded, this will be used later by the installation process
Some of the files are very large, keep an eye on them and make sure they are all downloaded before moving on, this may take sometime depending on your internet speed.
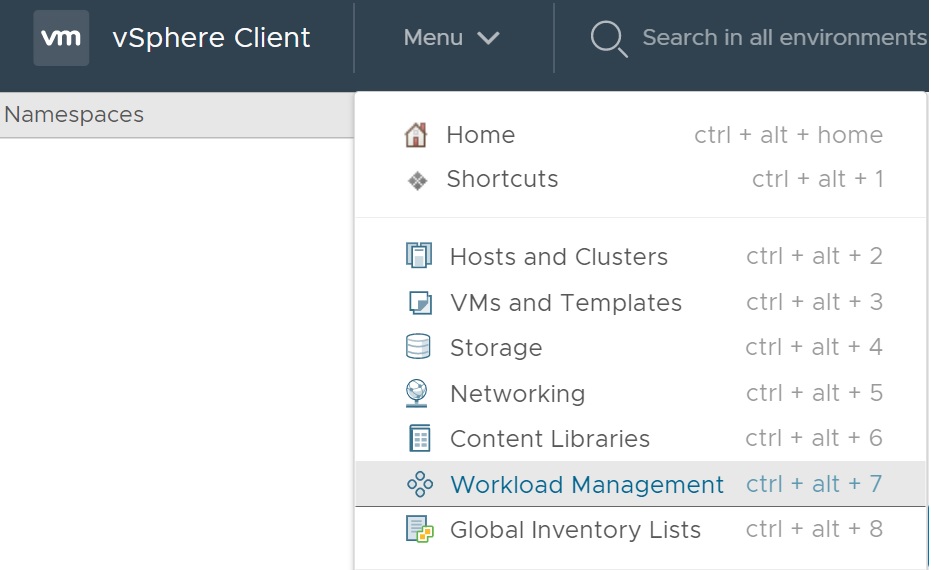
Now we are ready to setup the kubernetes cluster, select Menu -> WorkLoad Management
If this is the first time you have entered this section you are greeted by a Basic Information screen enter your details
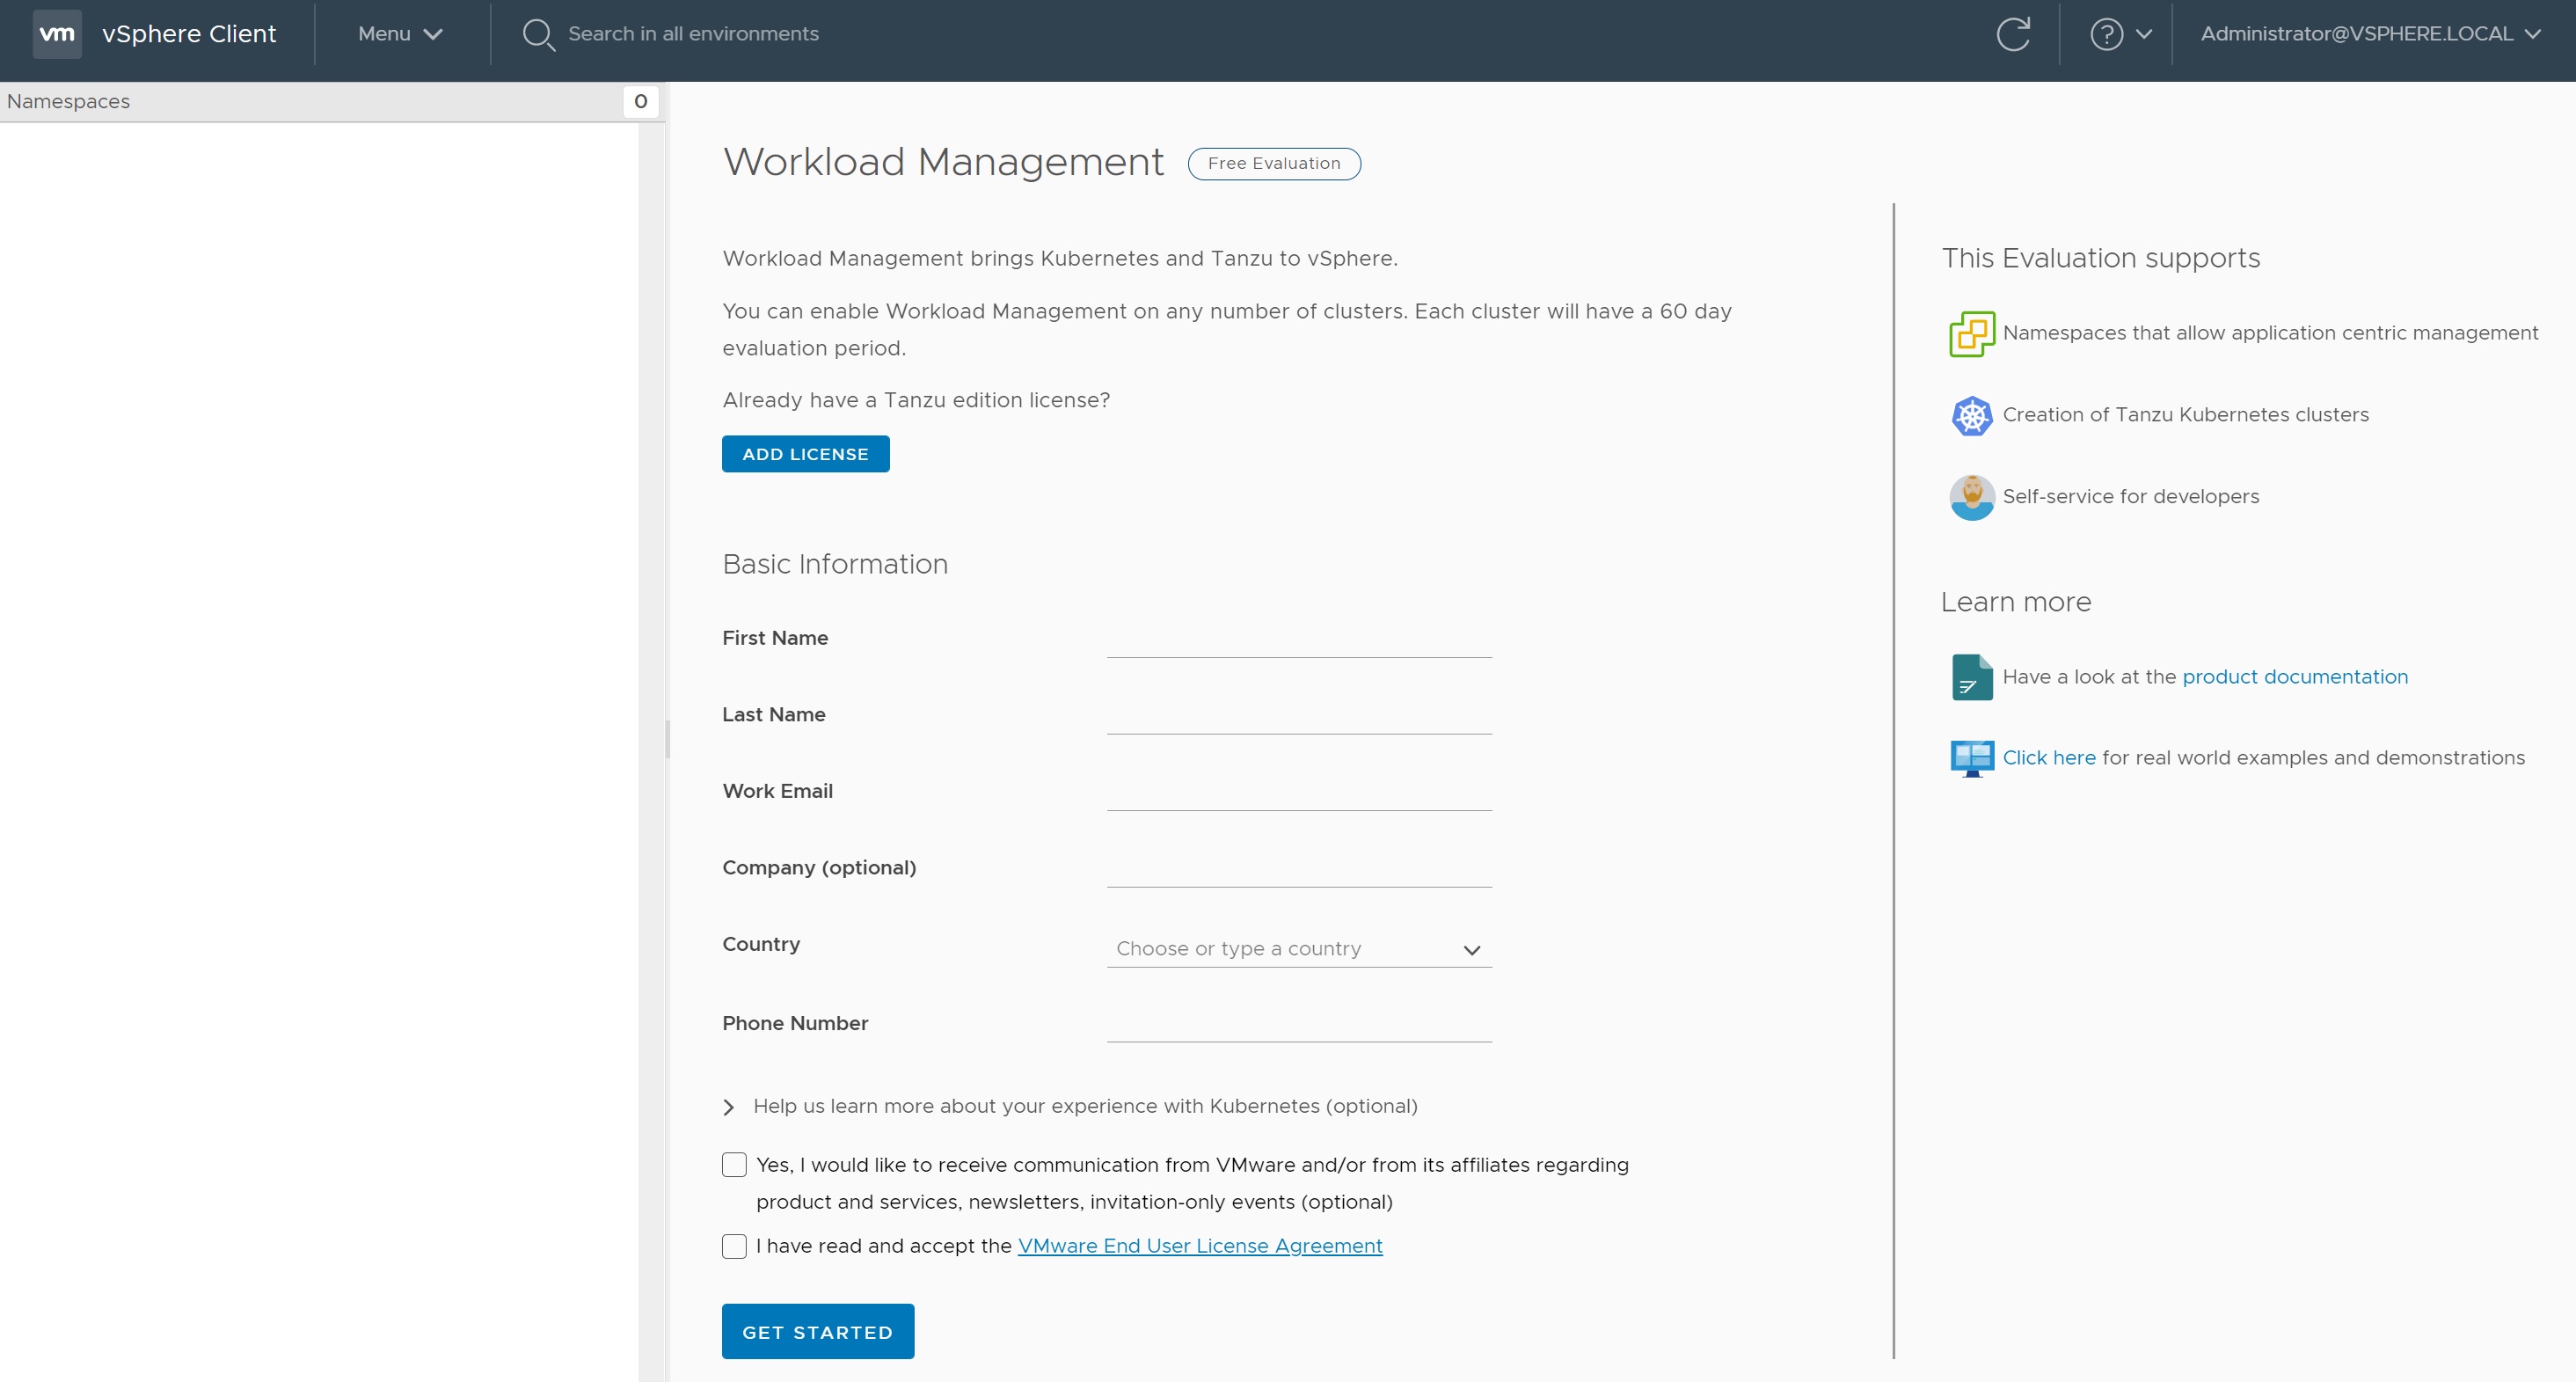
Once entered you are then taken to a Get Started screen, select the GET STARTED button, we will be taken through a number of setup screens

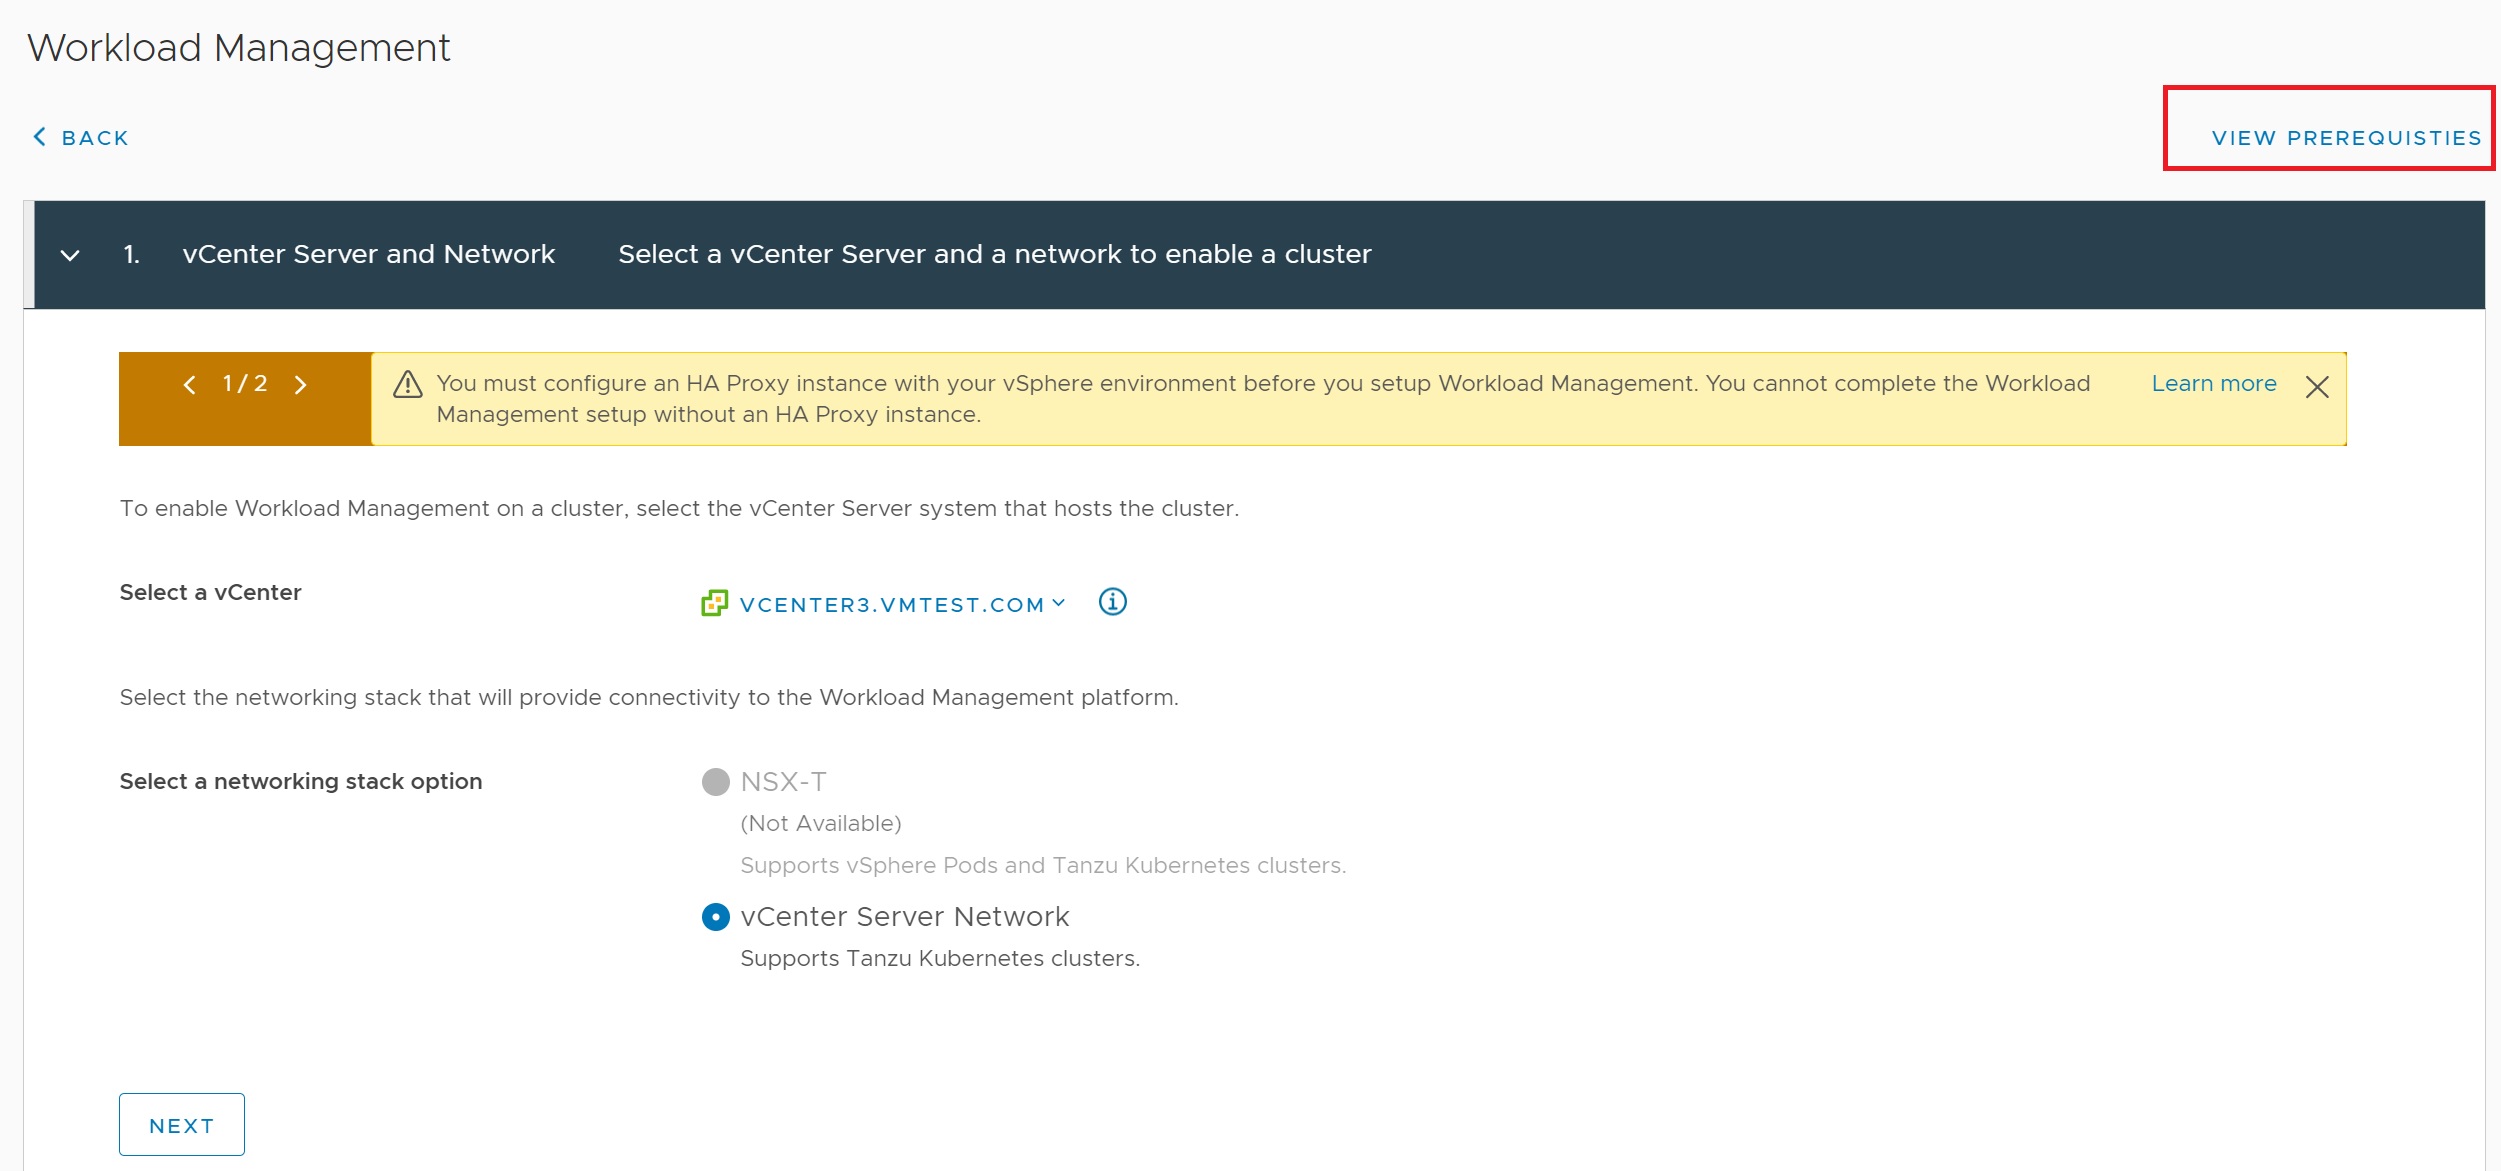
The first screen we select the vCenter and the type of network, you can select the VIEW PREREQUISTIES button to make sure your environment is setup correctly
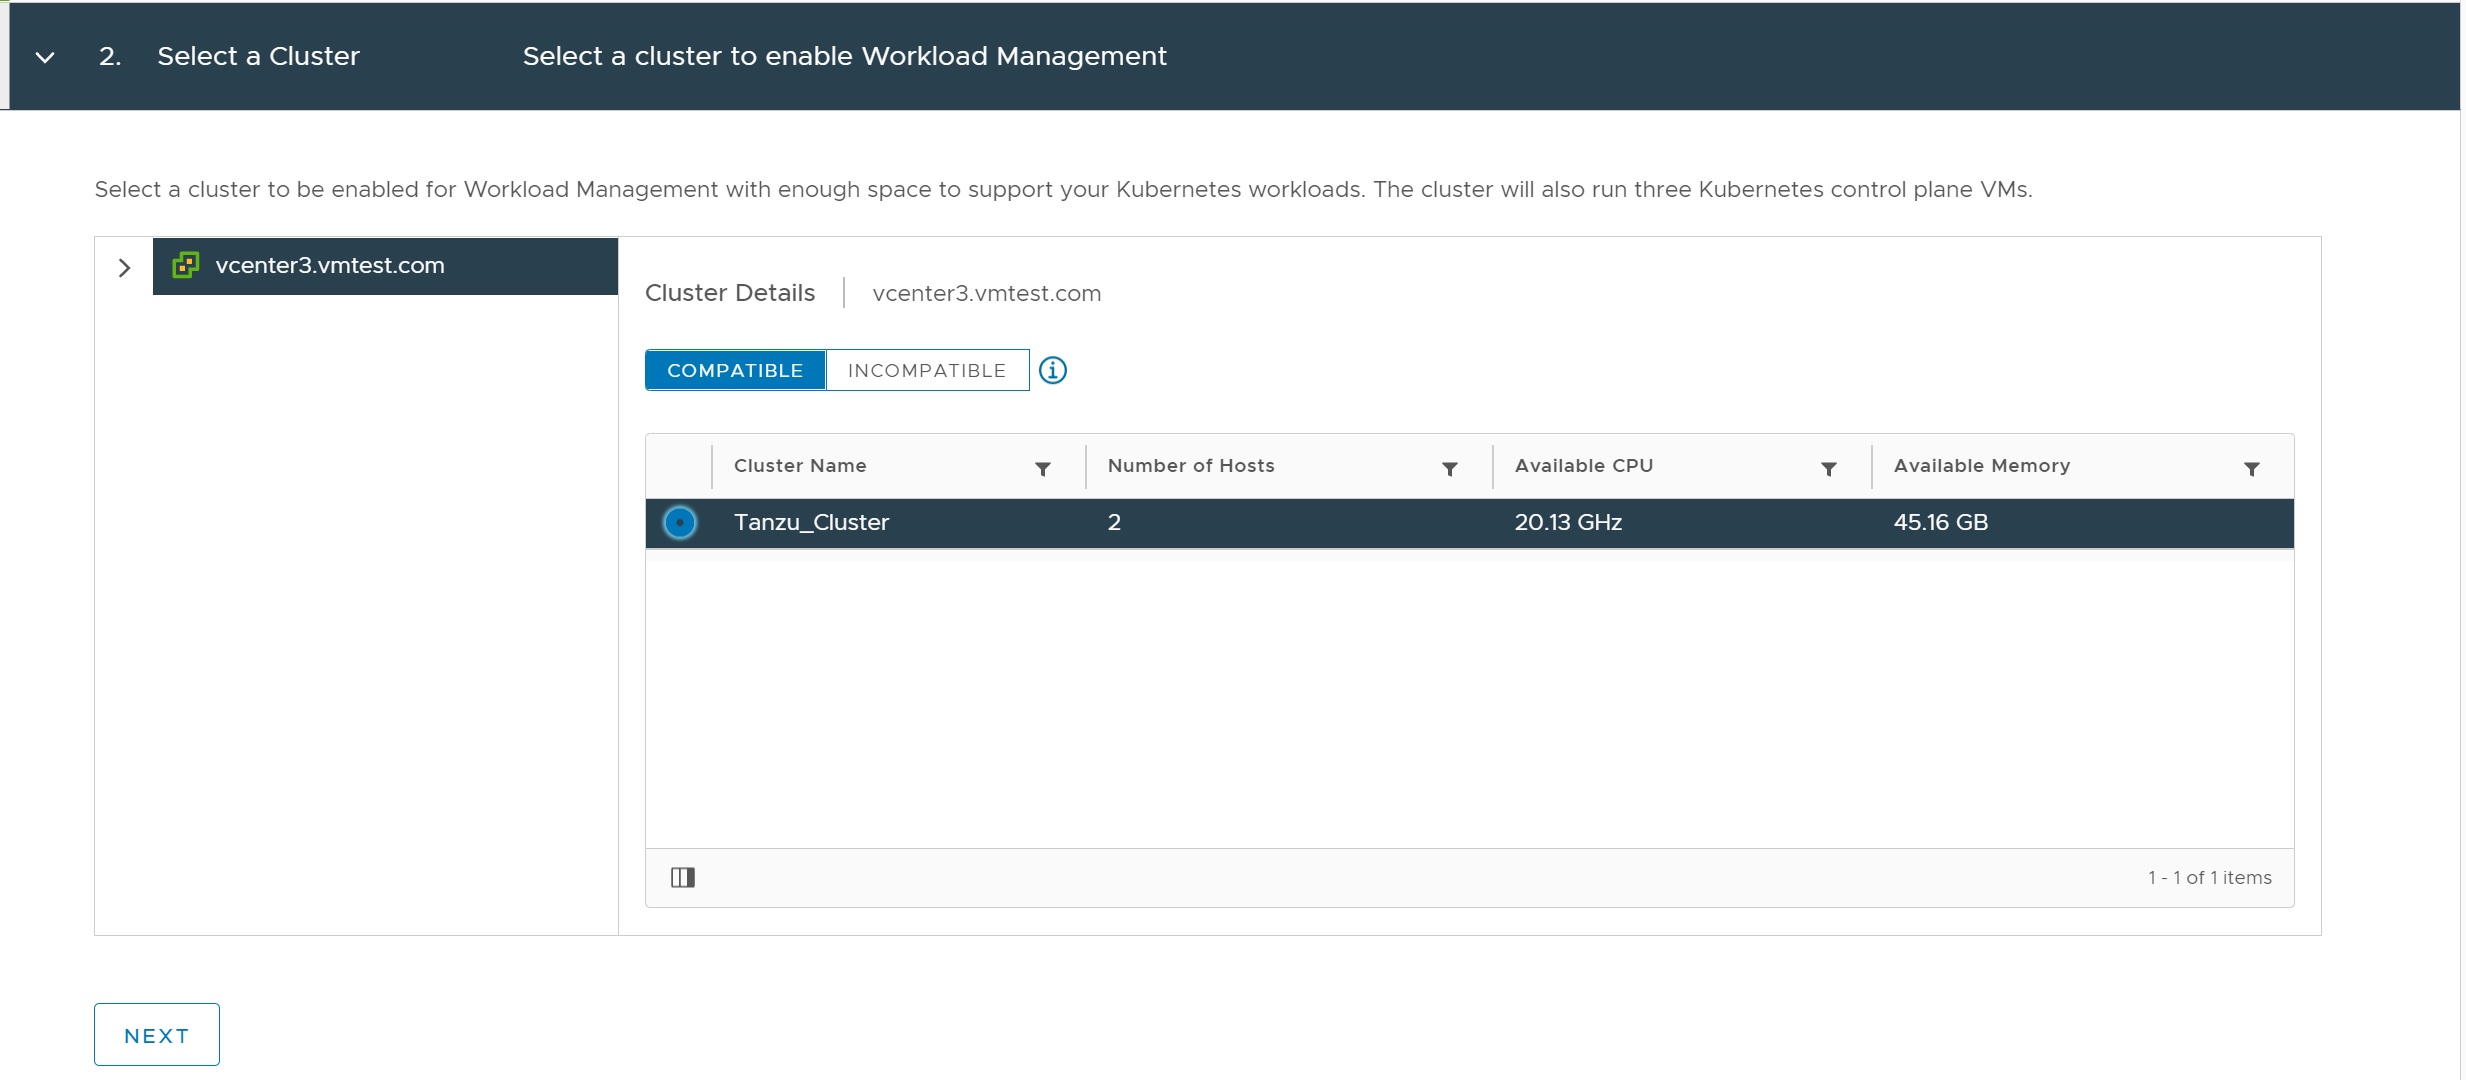
Next we select the cluster (compute resource) that we want the kuberneters cluster to be created in
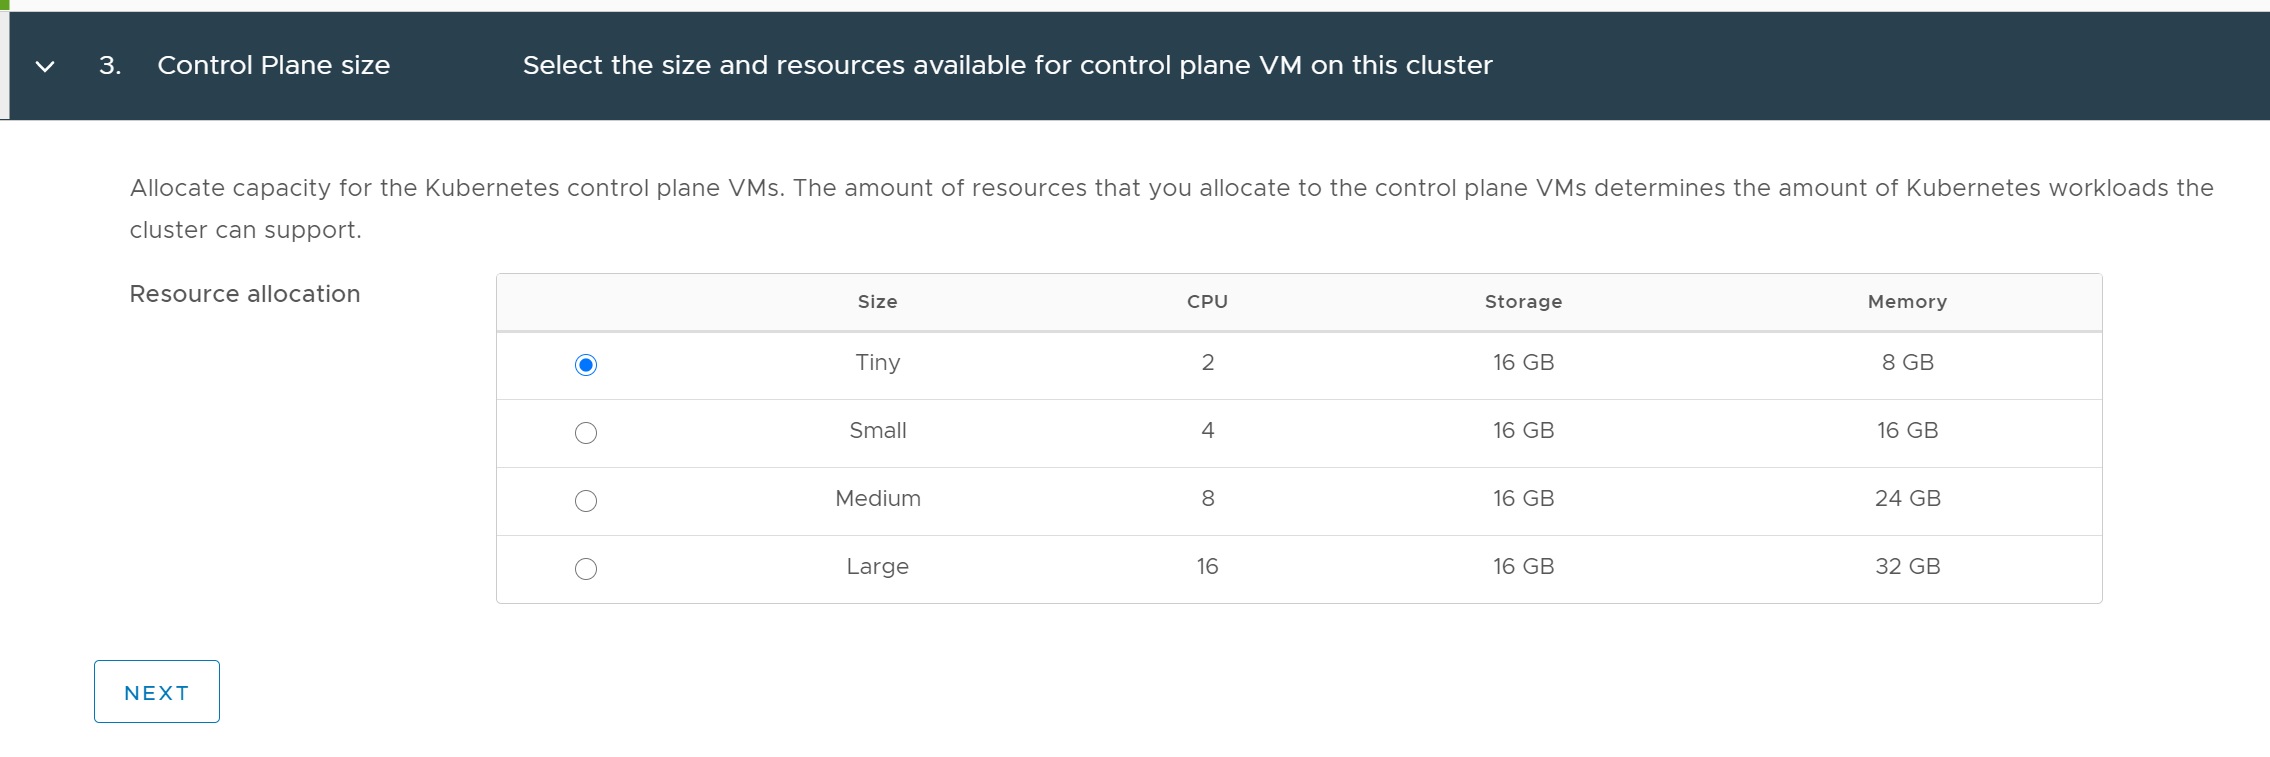
You can select the control plane size depending on your needs, here I have selected the minimum
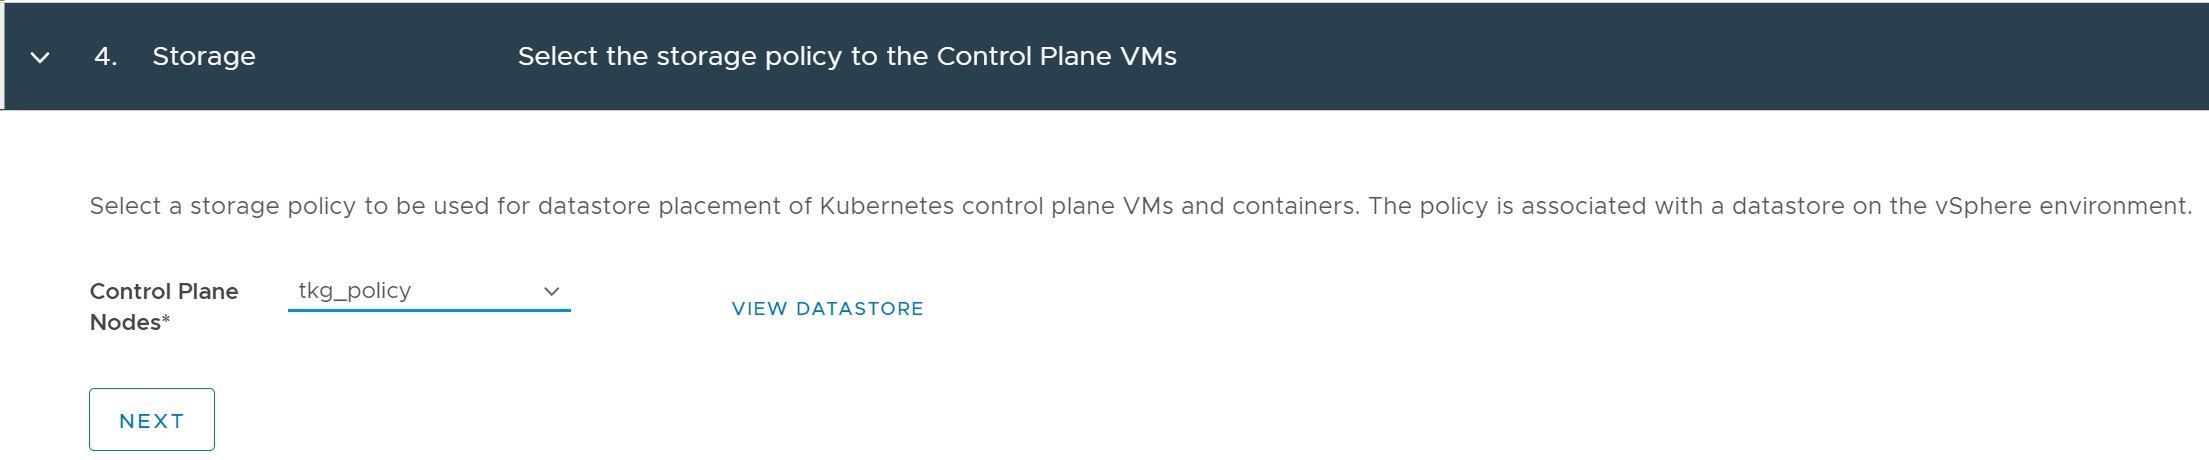
Next we select the storage policy, this is where the tag we created earlier comes into play, by using the tag on the sharedds01 datastore it will be picked up as a usable datastore.
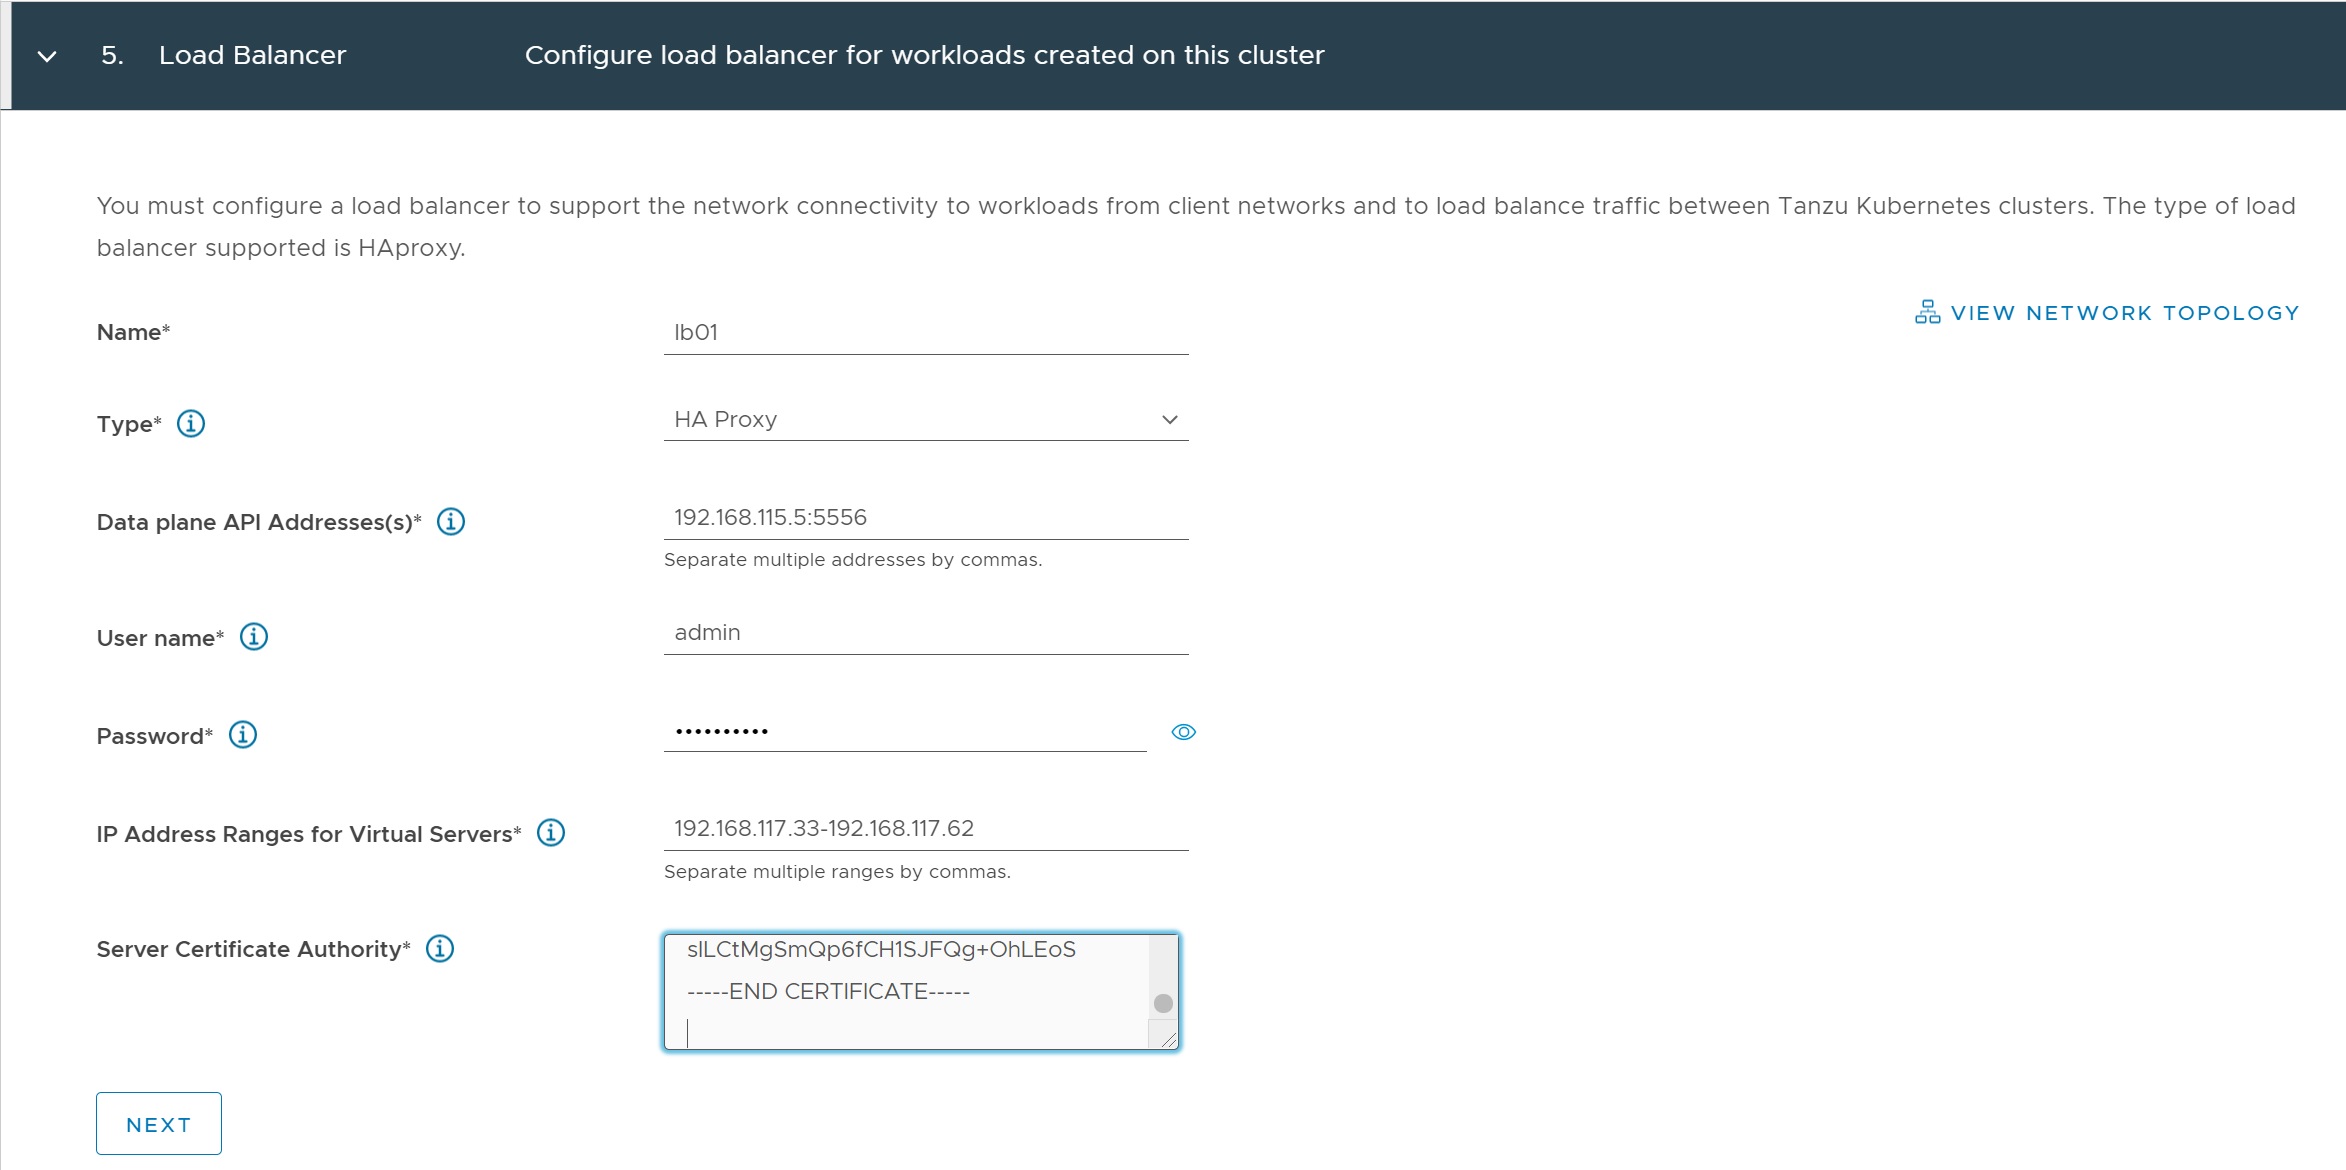
The next setup screen we configure the load balancer, we need the haproxy certificate which you can find in the below directory on the haproxy server, cat the ca.crt file

In the load balancer setup screen we enter a name and a type (HA Proxy), then the HA Proxy IP address and the port number (5556), the credentials and the certificate we displayed above
The next screen we setup the management network, make sure you select the right network in my case tkgmgmt

Next we configure the workload network, I left the IP address for services as per the default, then enter the DNS server, we add a network
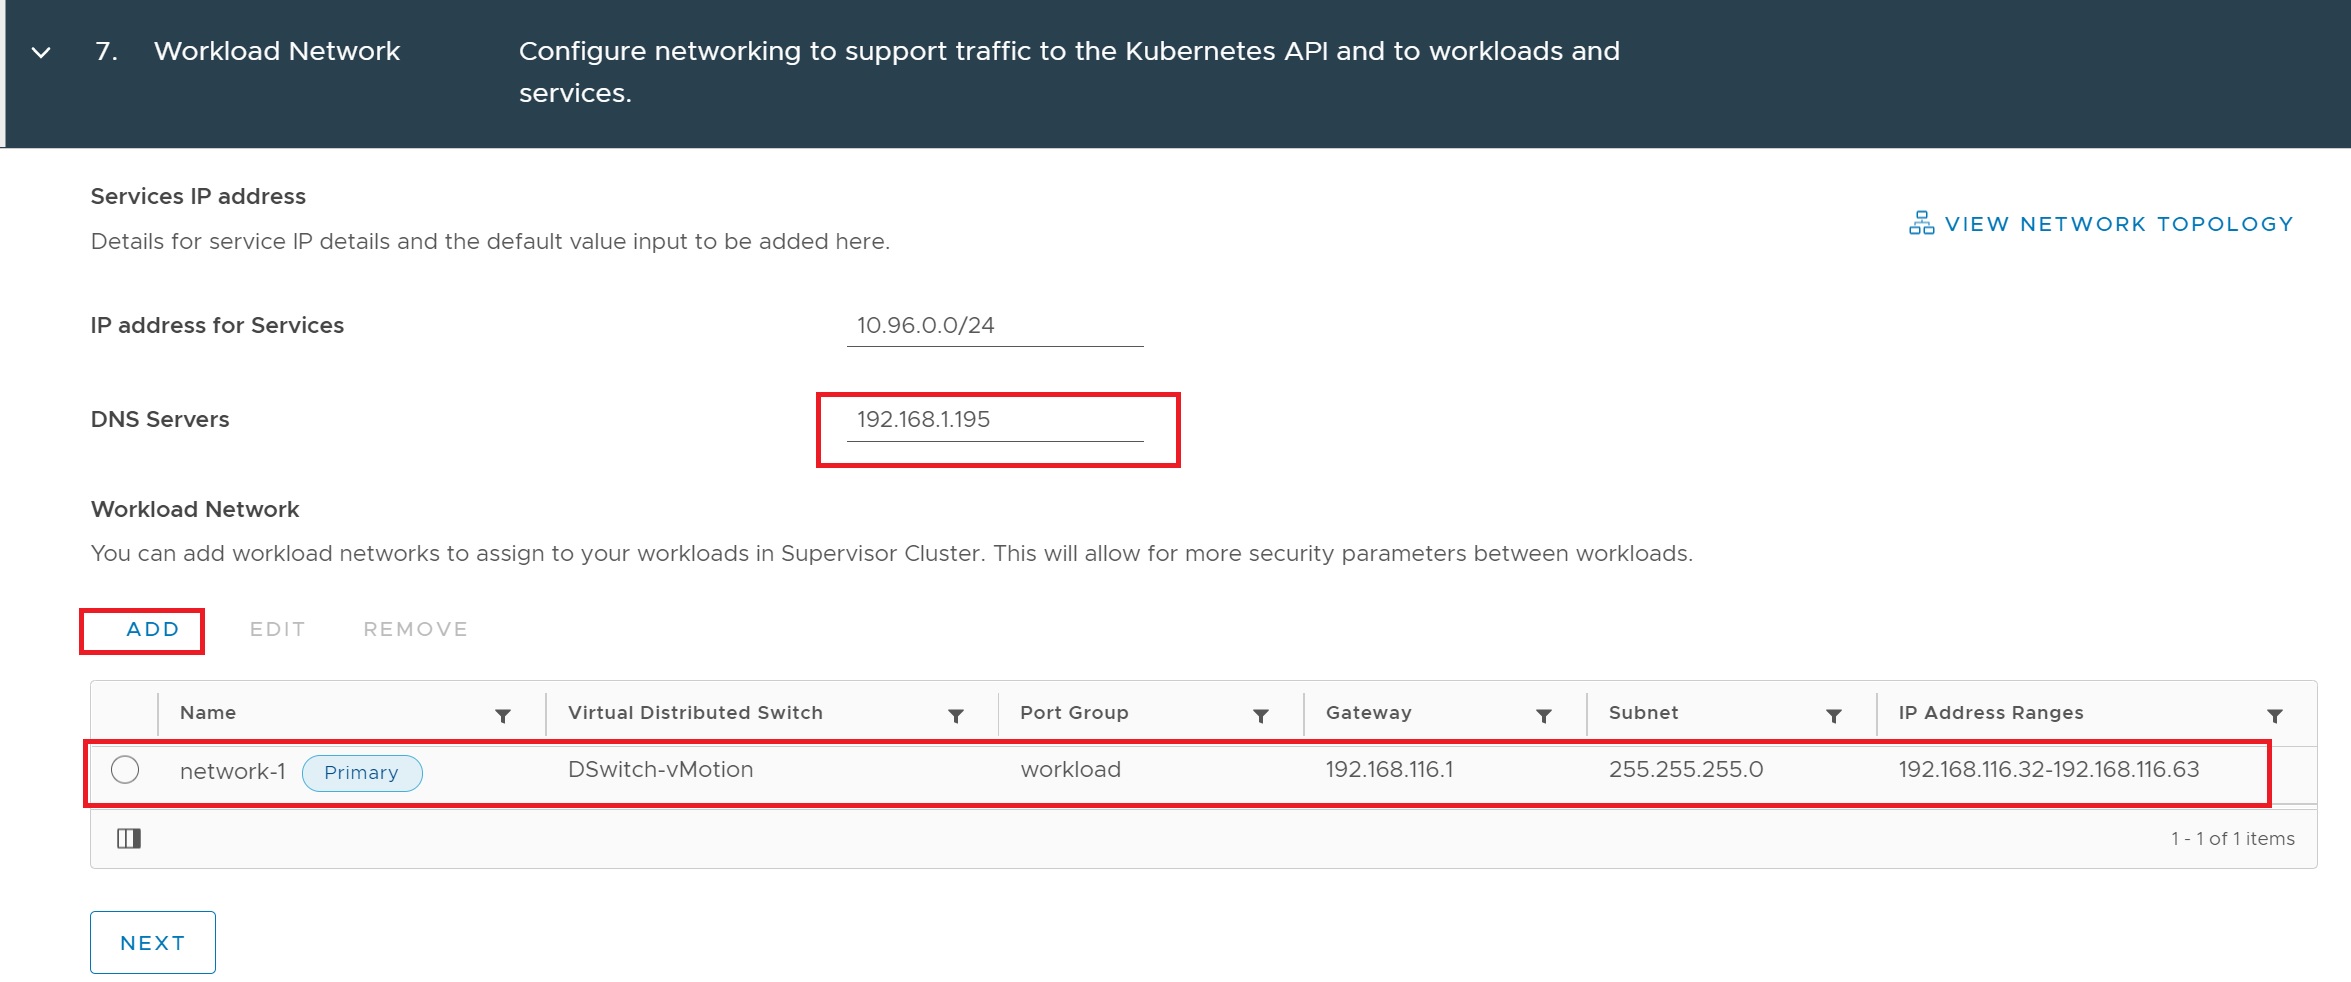
In the network setup screen we select the workload port group enter the gateway, subnet and the IP address range that will be used by the cluster, the IP range will be used to add worker nodes starting at 192.168.116.32

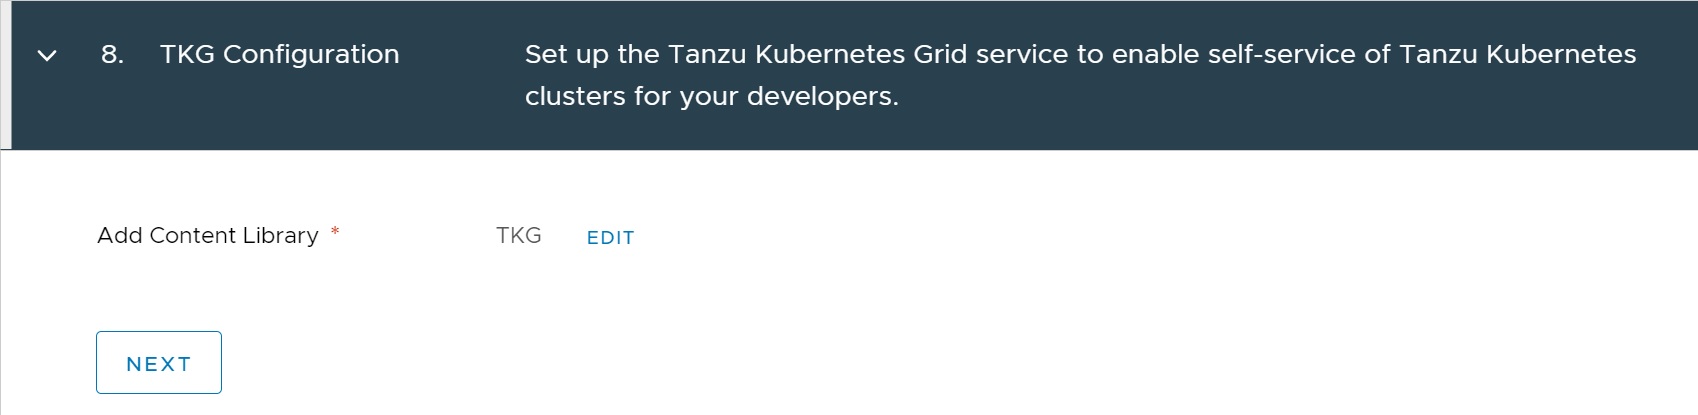
Next we select the tkg content library where we downloaded the OVF/OVA files
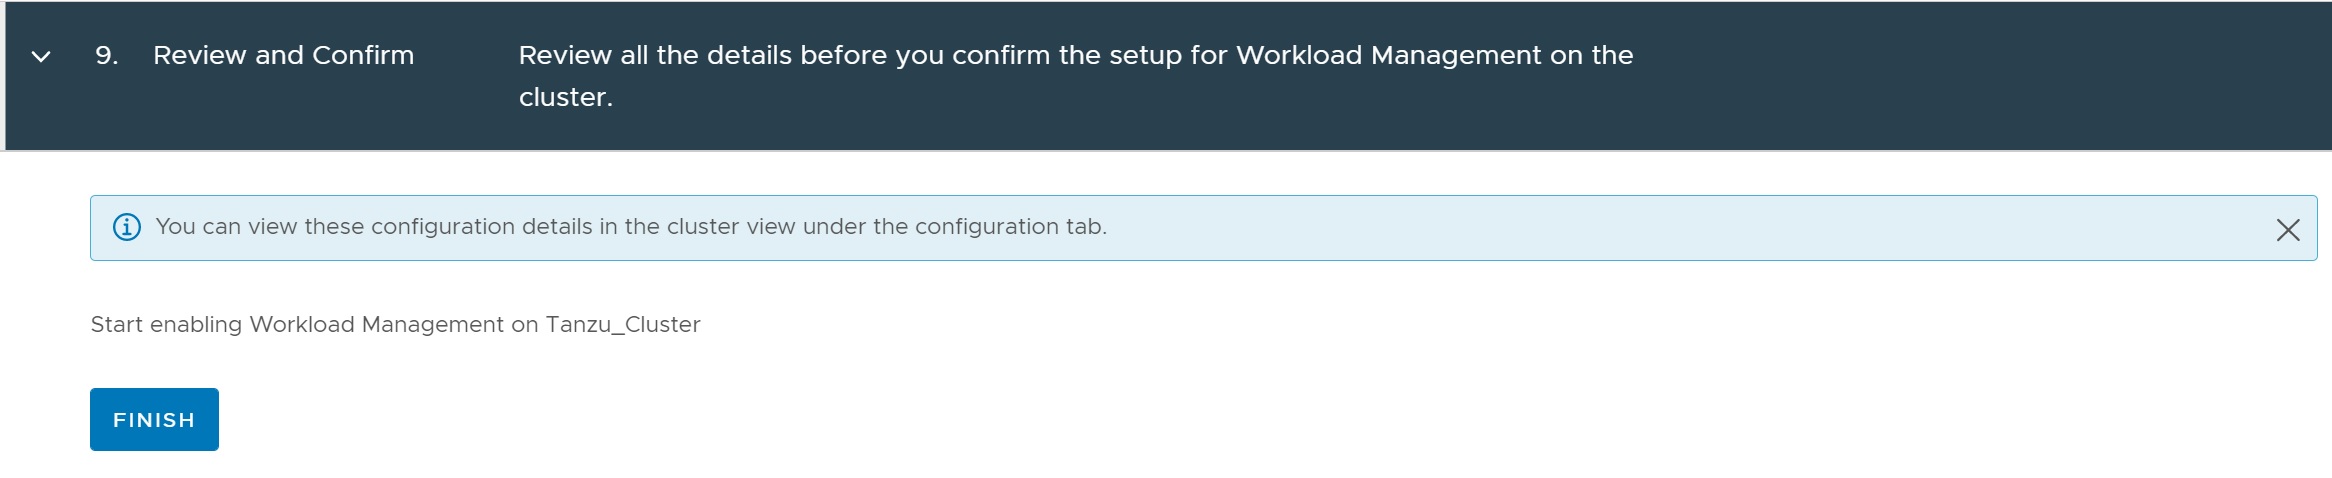
Finally we get to the review screen, click finish to start the installation
If you see the below errors you can turn off the ESXi node firewalls or add a rule to each one to allow the HTTP protocol through

The command to turn off ESXi firewall is below

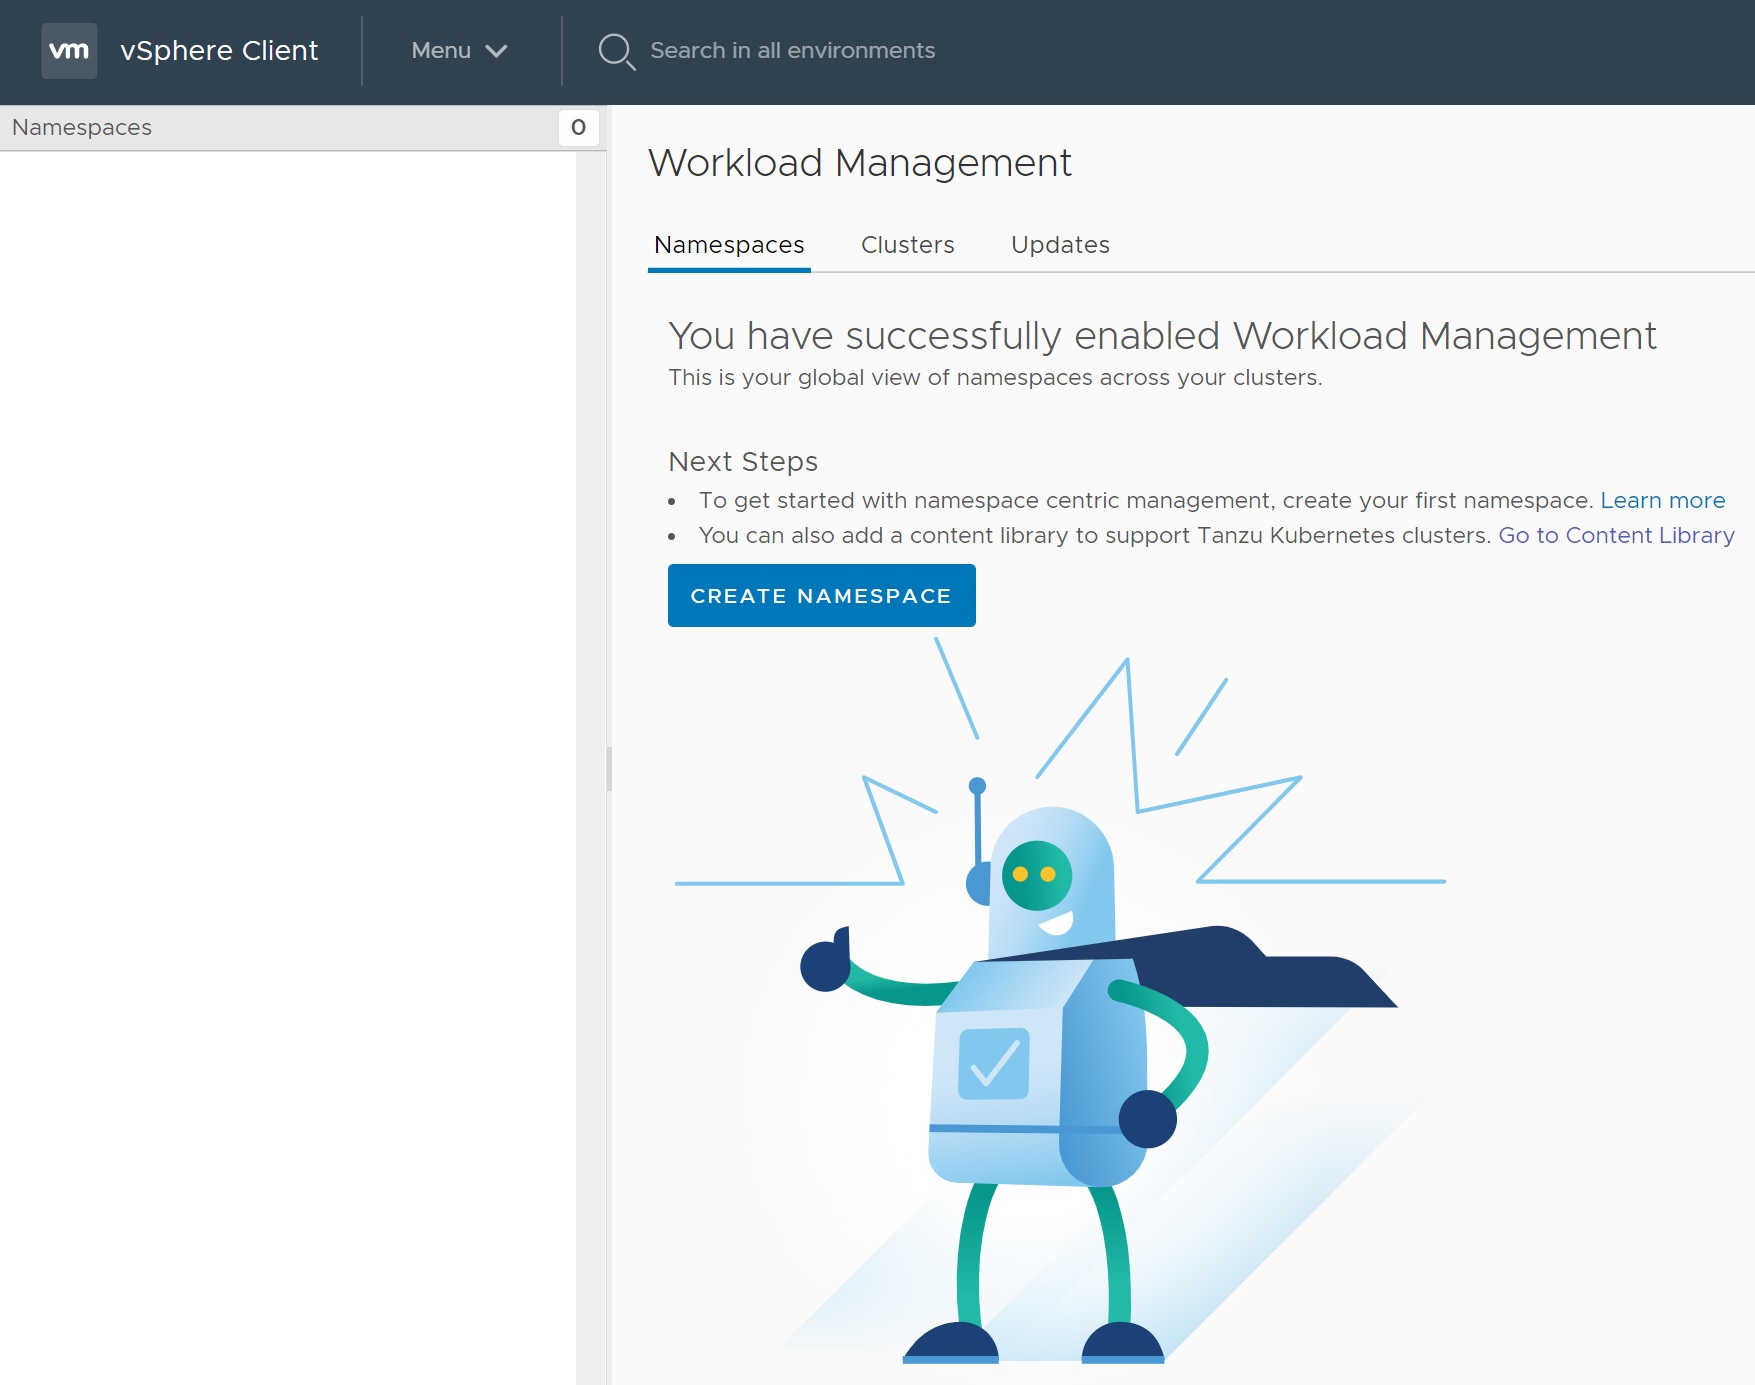
Patience is now needed as this took a good 30 mins, also a few errors may appear (timeout, API, etc) try to ignore and just wait, if nothing happens for about 20 mins then you can disable the cluster and start again making sure you check your network as this was the cause of a few issues with my first setups. If everything is configured correctly you should see the below screen a running cluster and the control plane IP address, the warning is due to the license expiring in about 30 days, this completes the cluster management setup

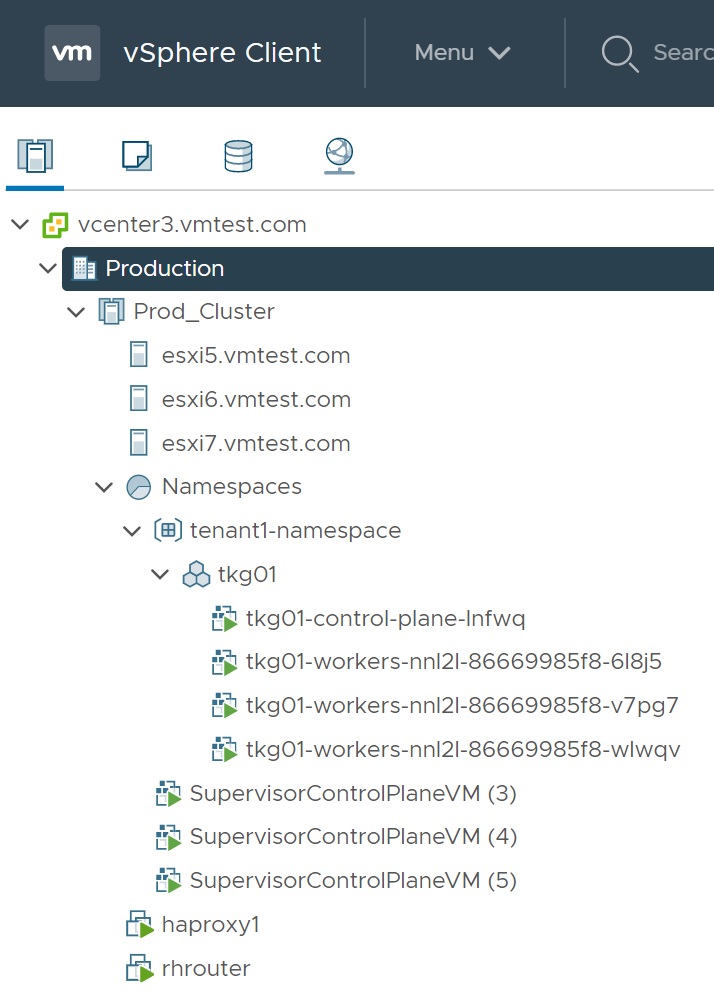
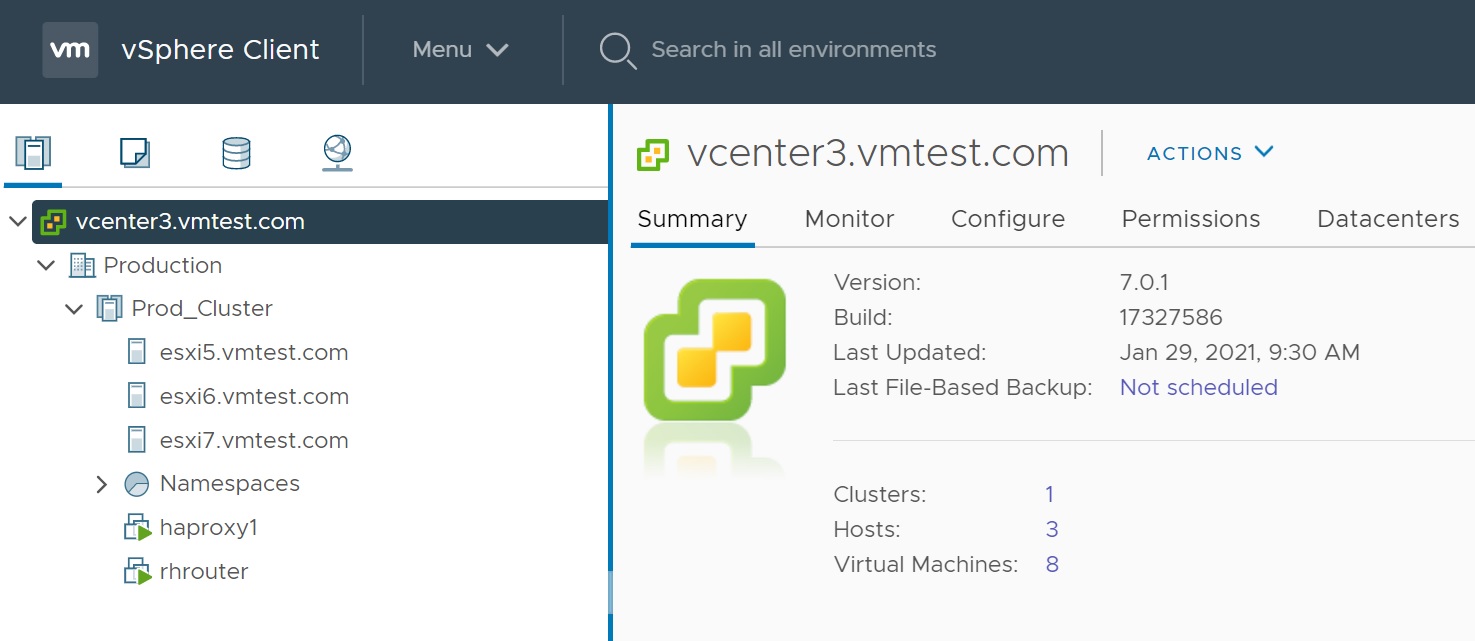
If you return to the vCenter you will see that a namespace has been created
Returning to the WorkLoad Management menu you will be taken to a create namespace screen, this is were you create you namespace clusters that you can view details such as storage, clusters, permissions, etc. Namepaces help you to organize and manage your development projects, you can optionally divide the management cluster into Kubernetes namespaces.
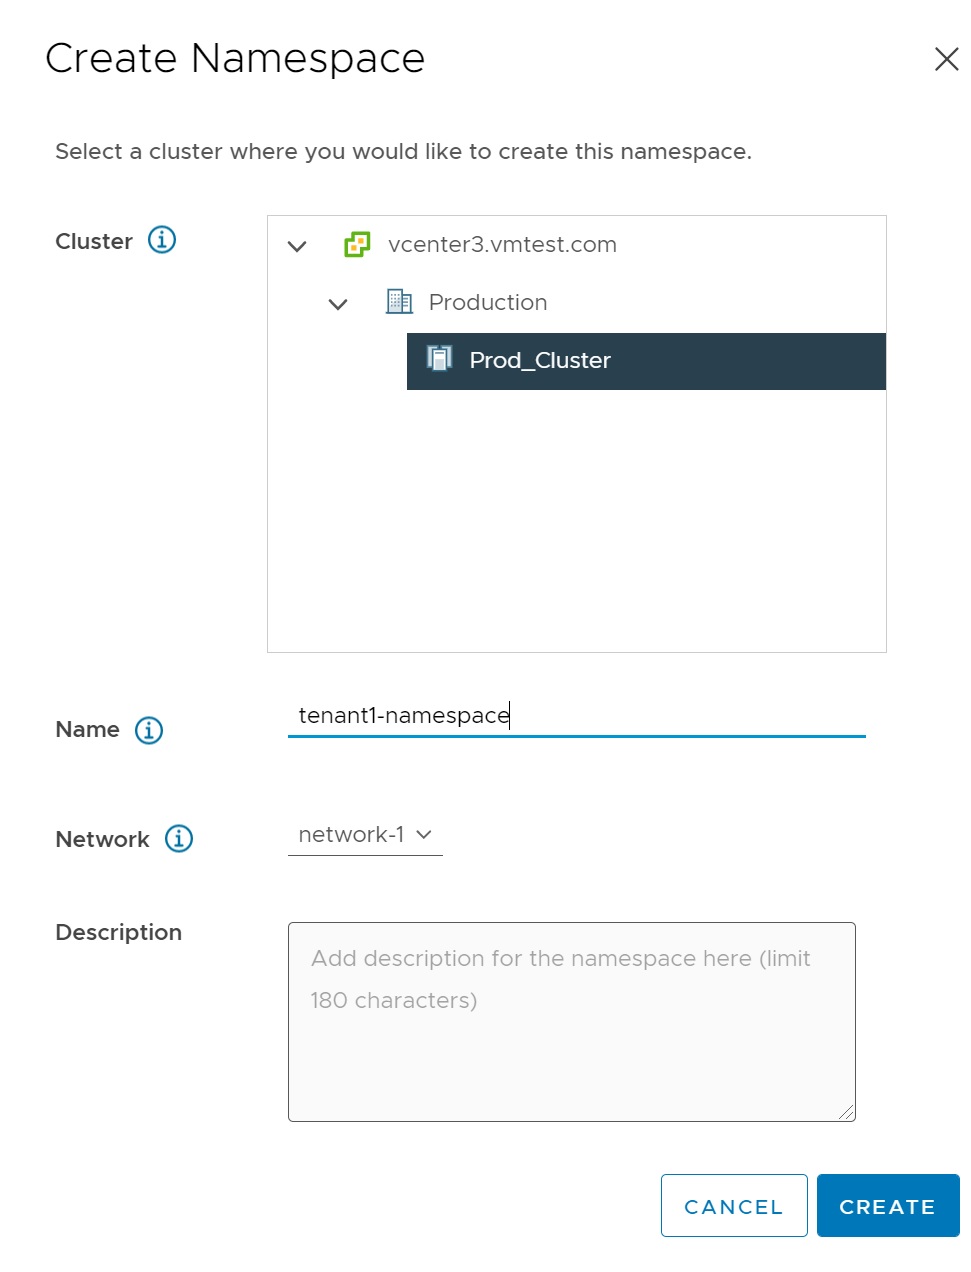
Clicking CREATE NAMESPACE and you will be taken through a number of setup screens, the first we select where the namespace will be created, we give it a name and select the network
The main namespace screen as mentioned above contains many details of your setup in a single screen, select GOT IT button to get rid of the success screen
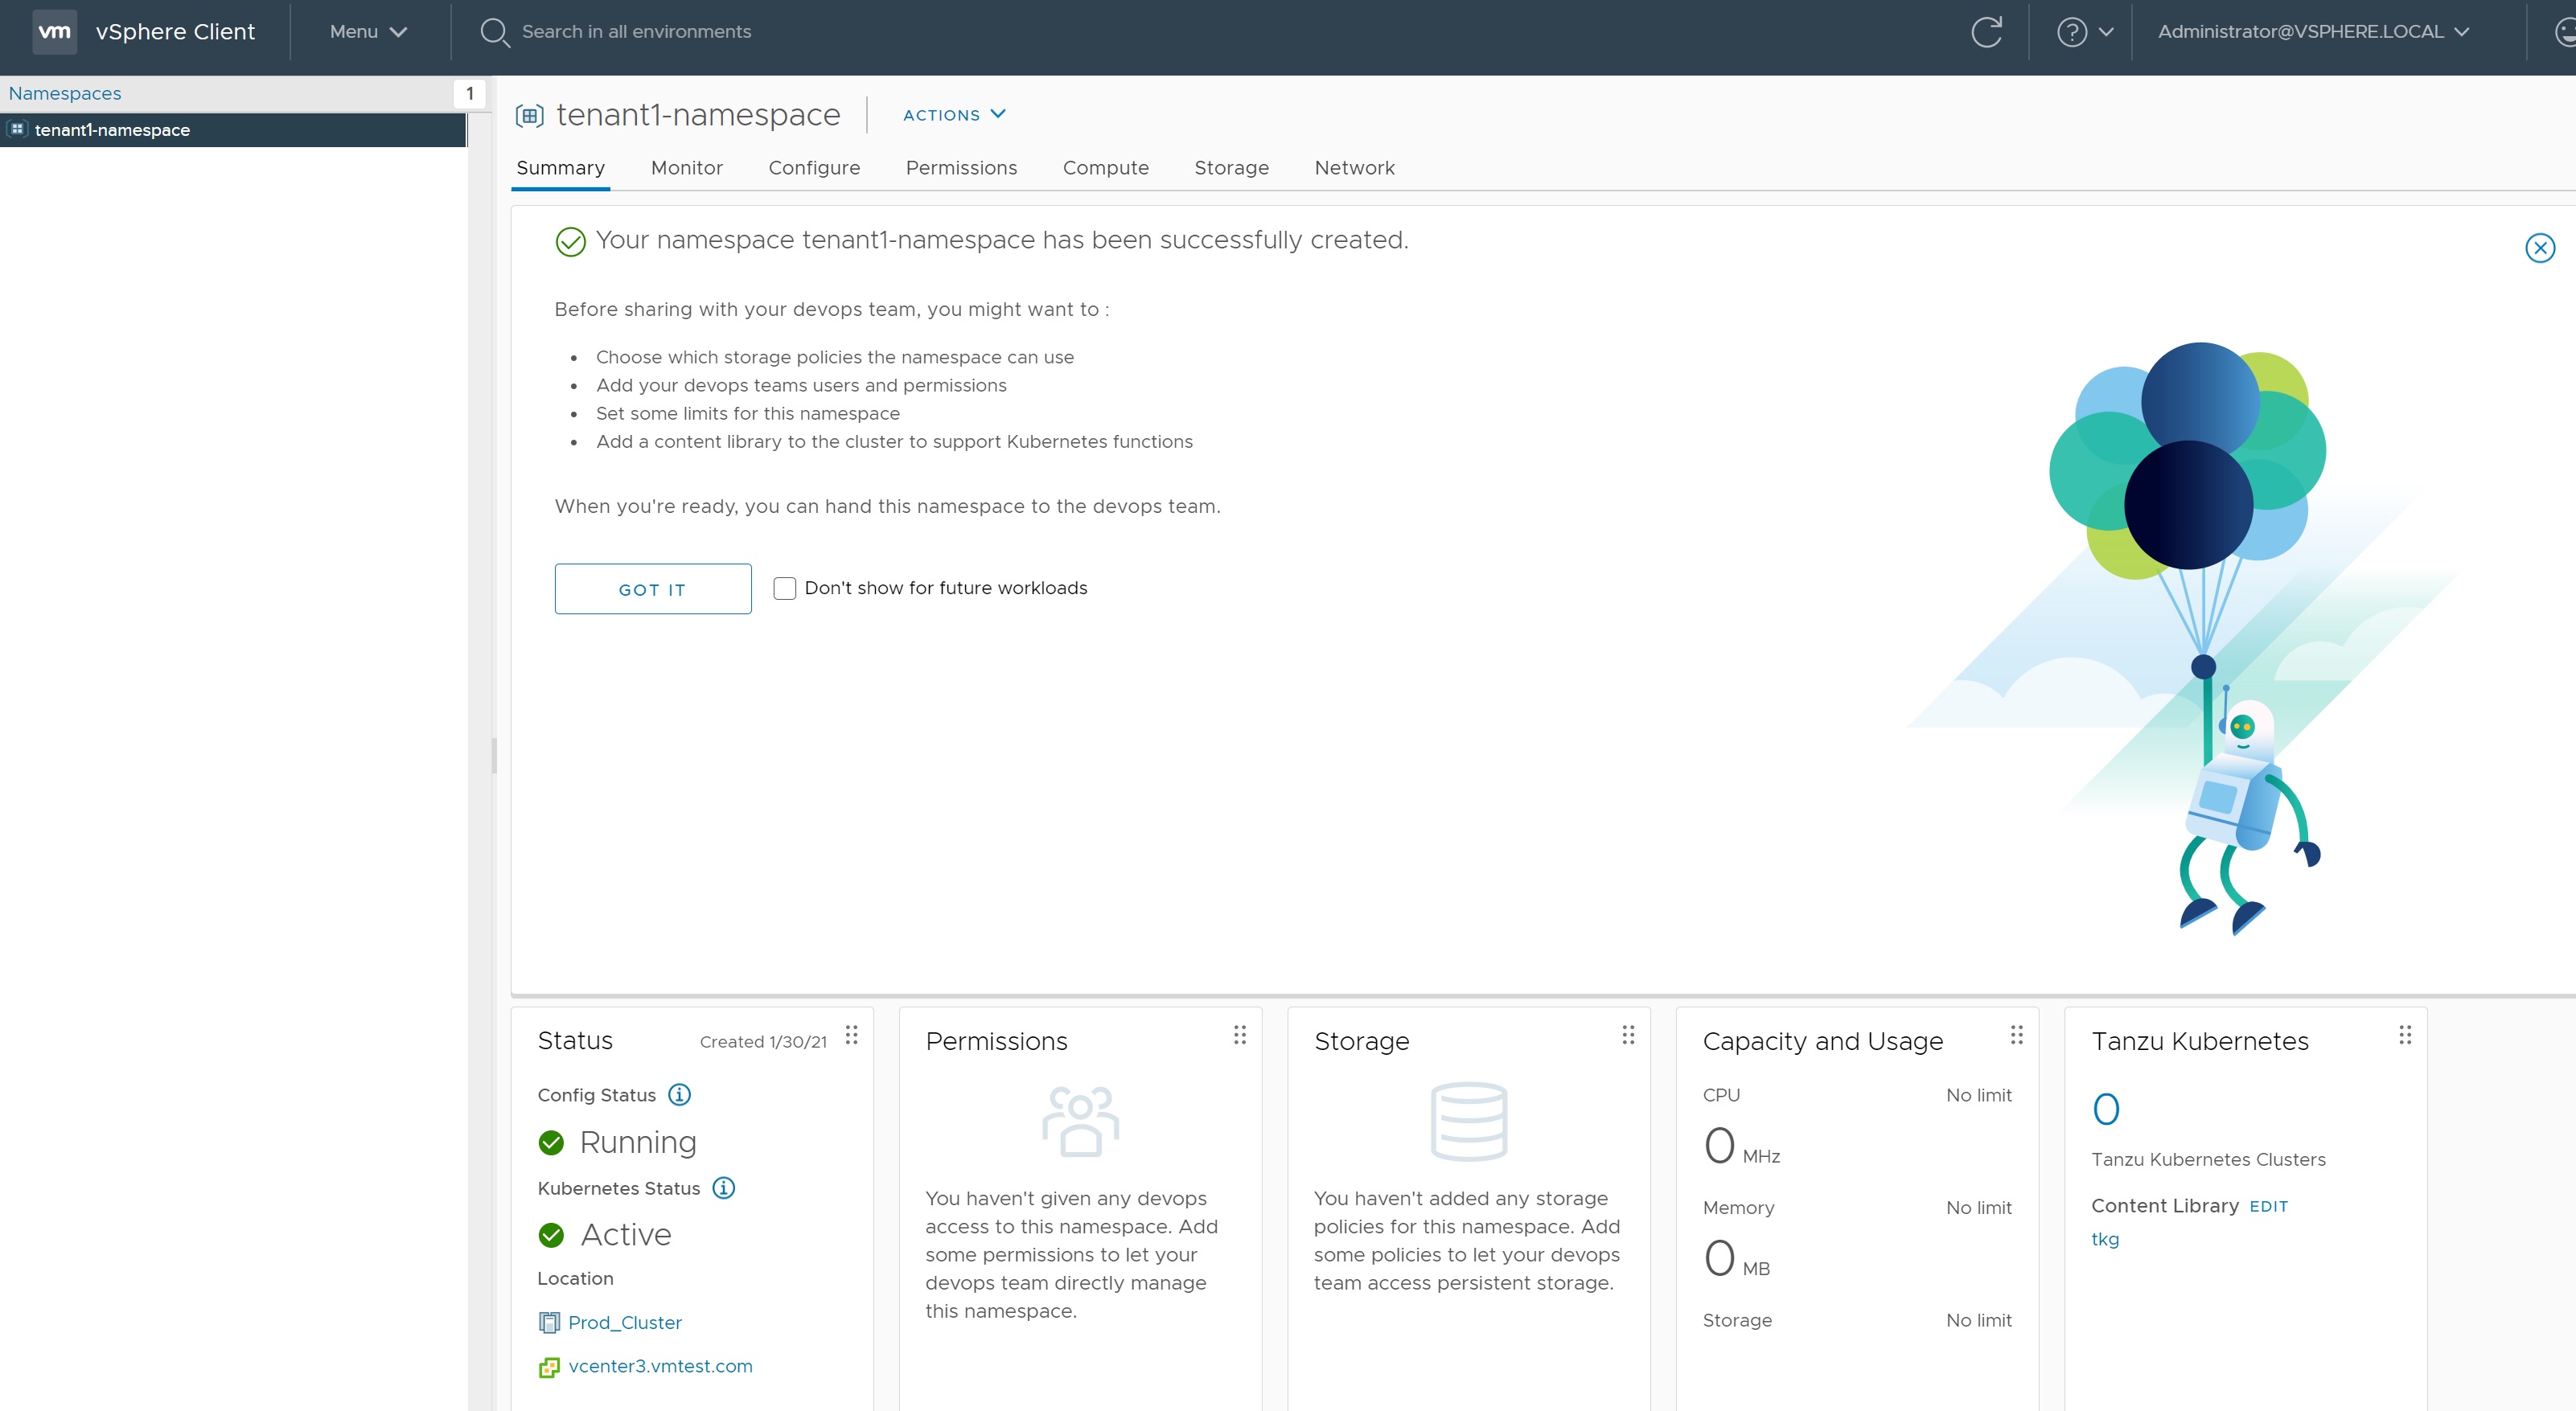
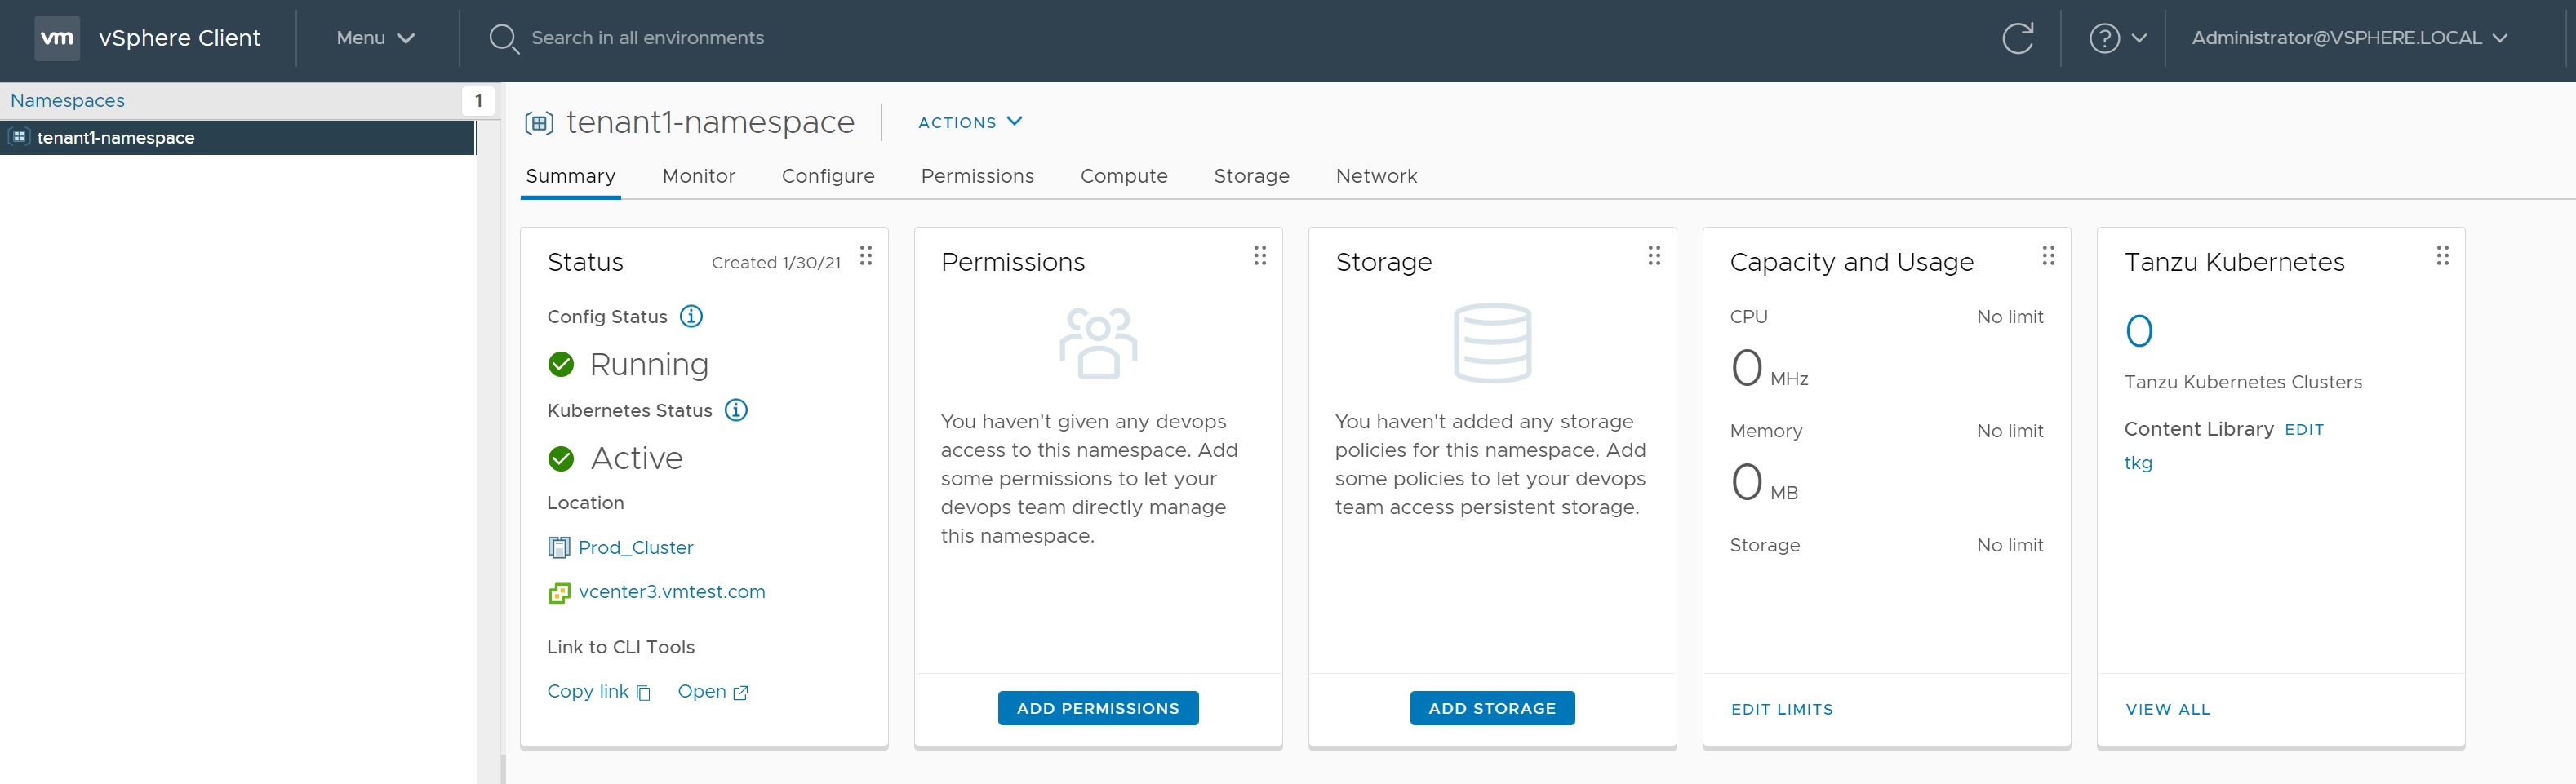
The screen then only details what we need at a glance, at the moment we have no storage for this namespace and no clusters created.
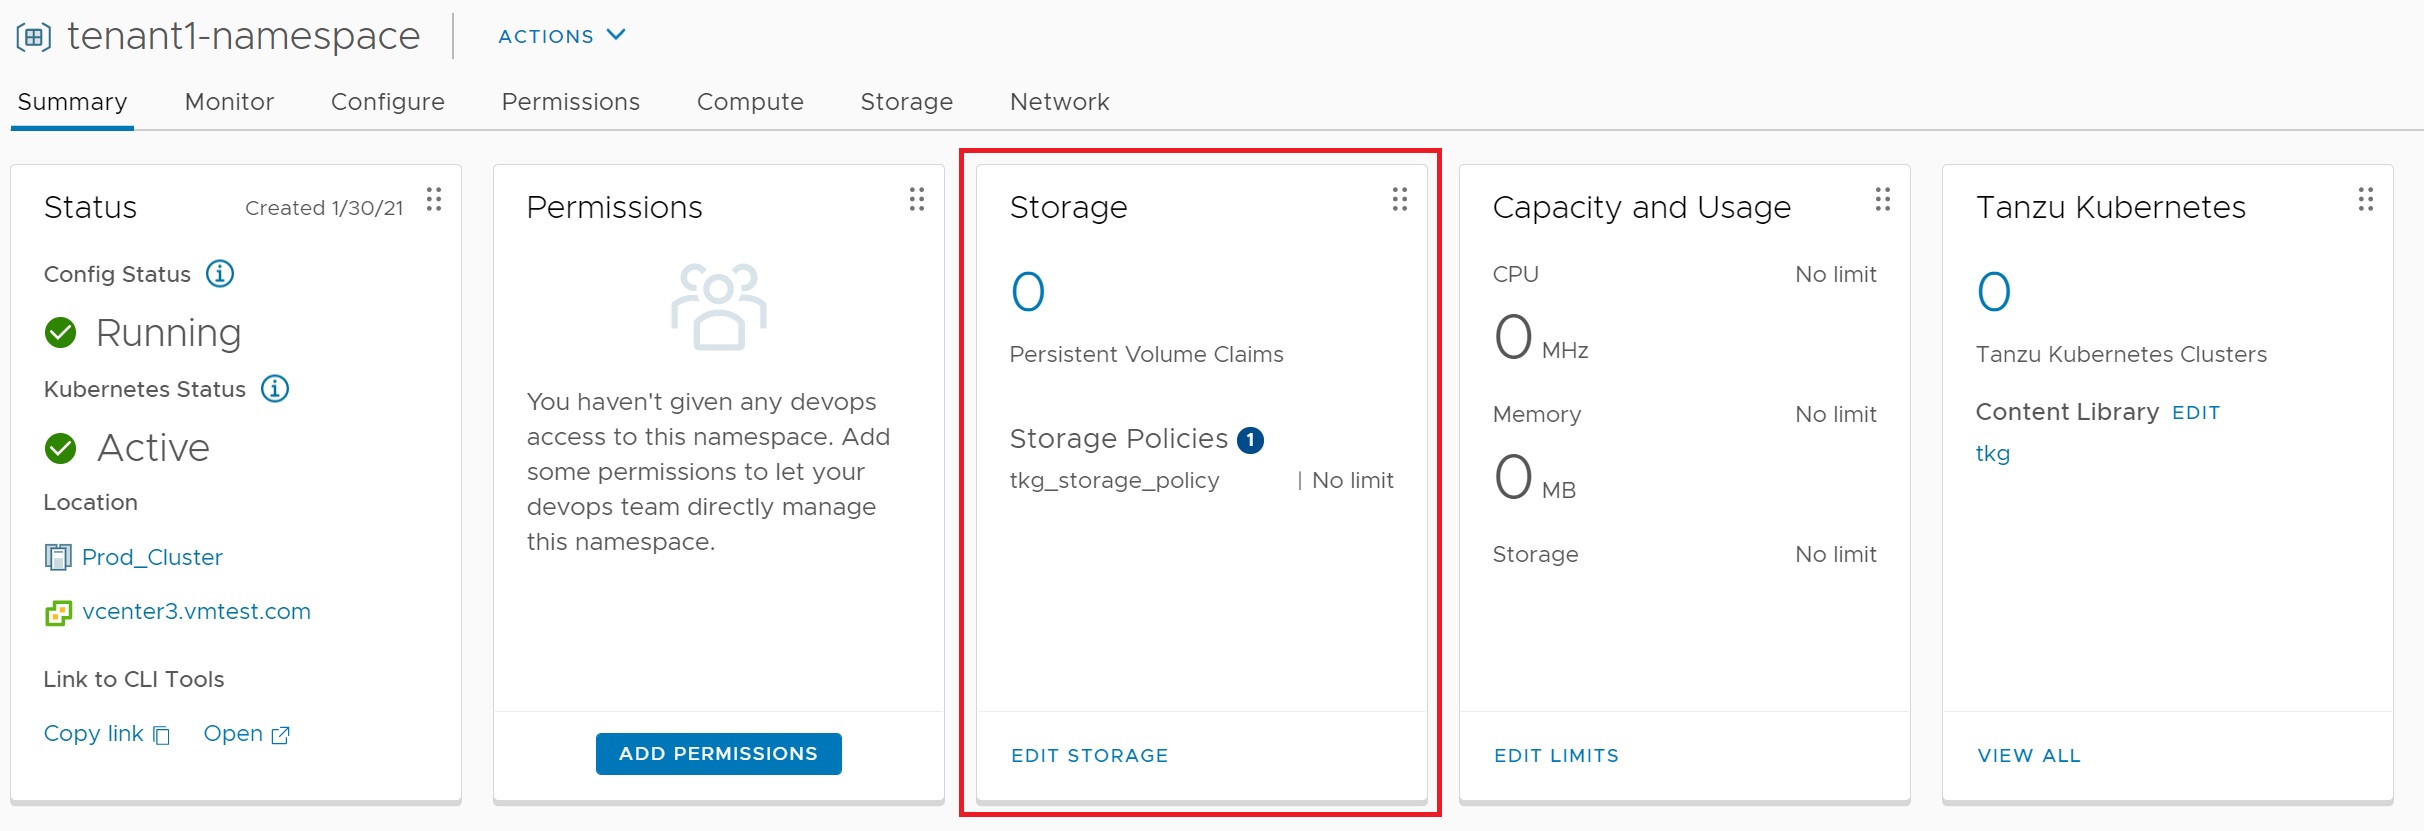
Next we need to setup the storage, click on the ADD STORAGE button and select the tkg_storage_policy we created earlier

After a while the storage is added to namespace, this will be used when we create the workload cluster in a moment.
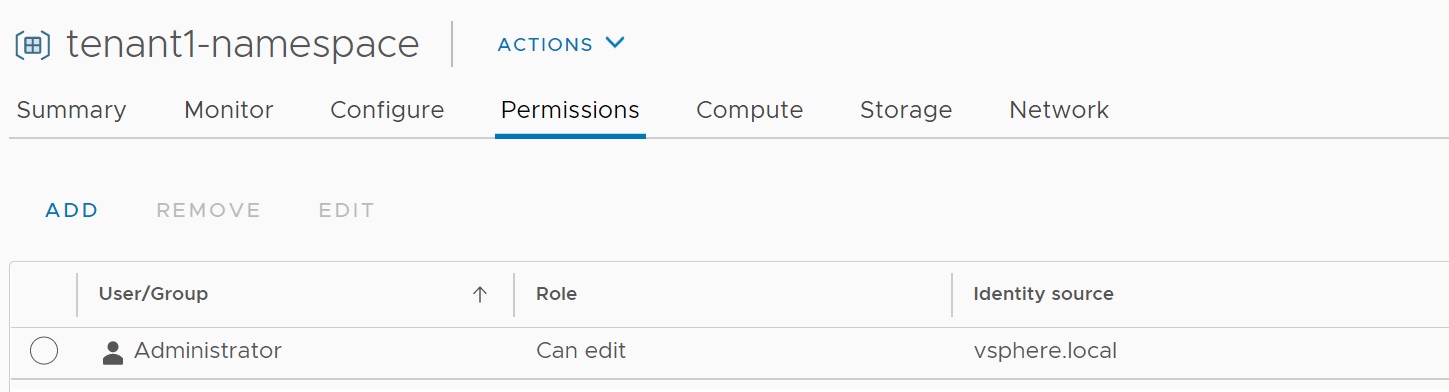
Next we add the administrator account to allow the permission to edit and access the namespace, we will use this account later with the kubectl command
Next we open a browser and go to the URL http://192.168.117.33 the frontend control plane where we are taken to a Kubernetes CLI Tools web page which I downloaded to my windows laptop, basically its the kubectl command that can used to login to the vsphere kubernetes cluster which we will see next. Using these tools you can create clusters, services and deploy applications.
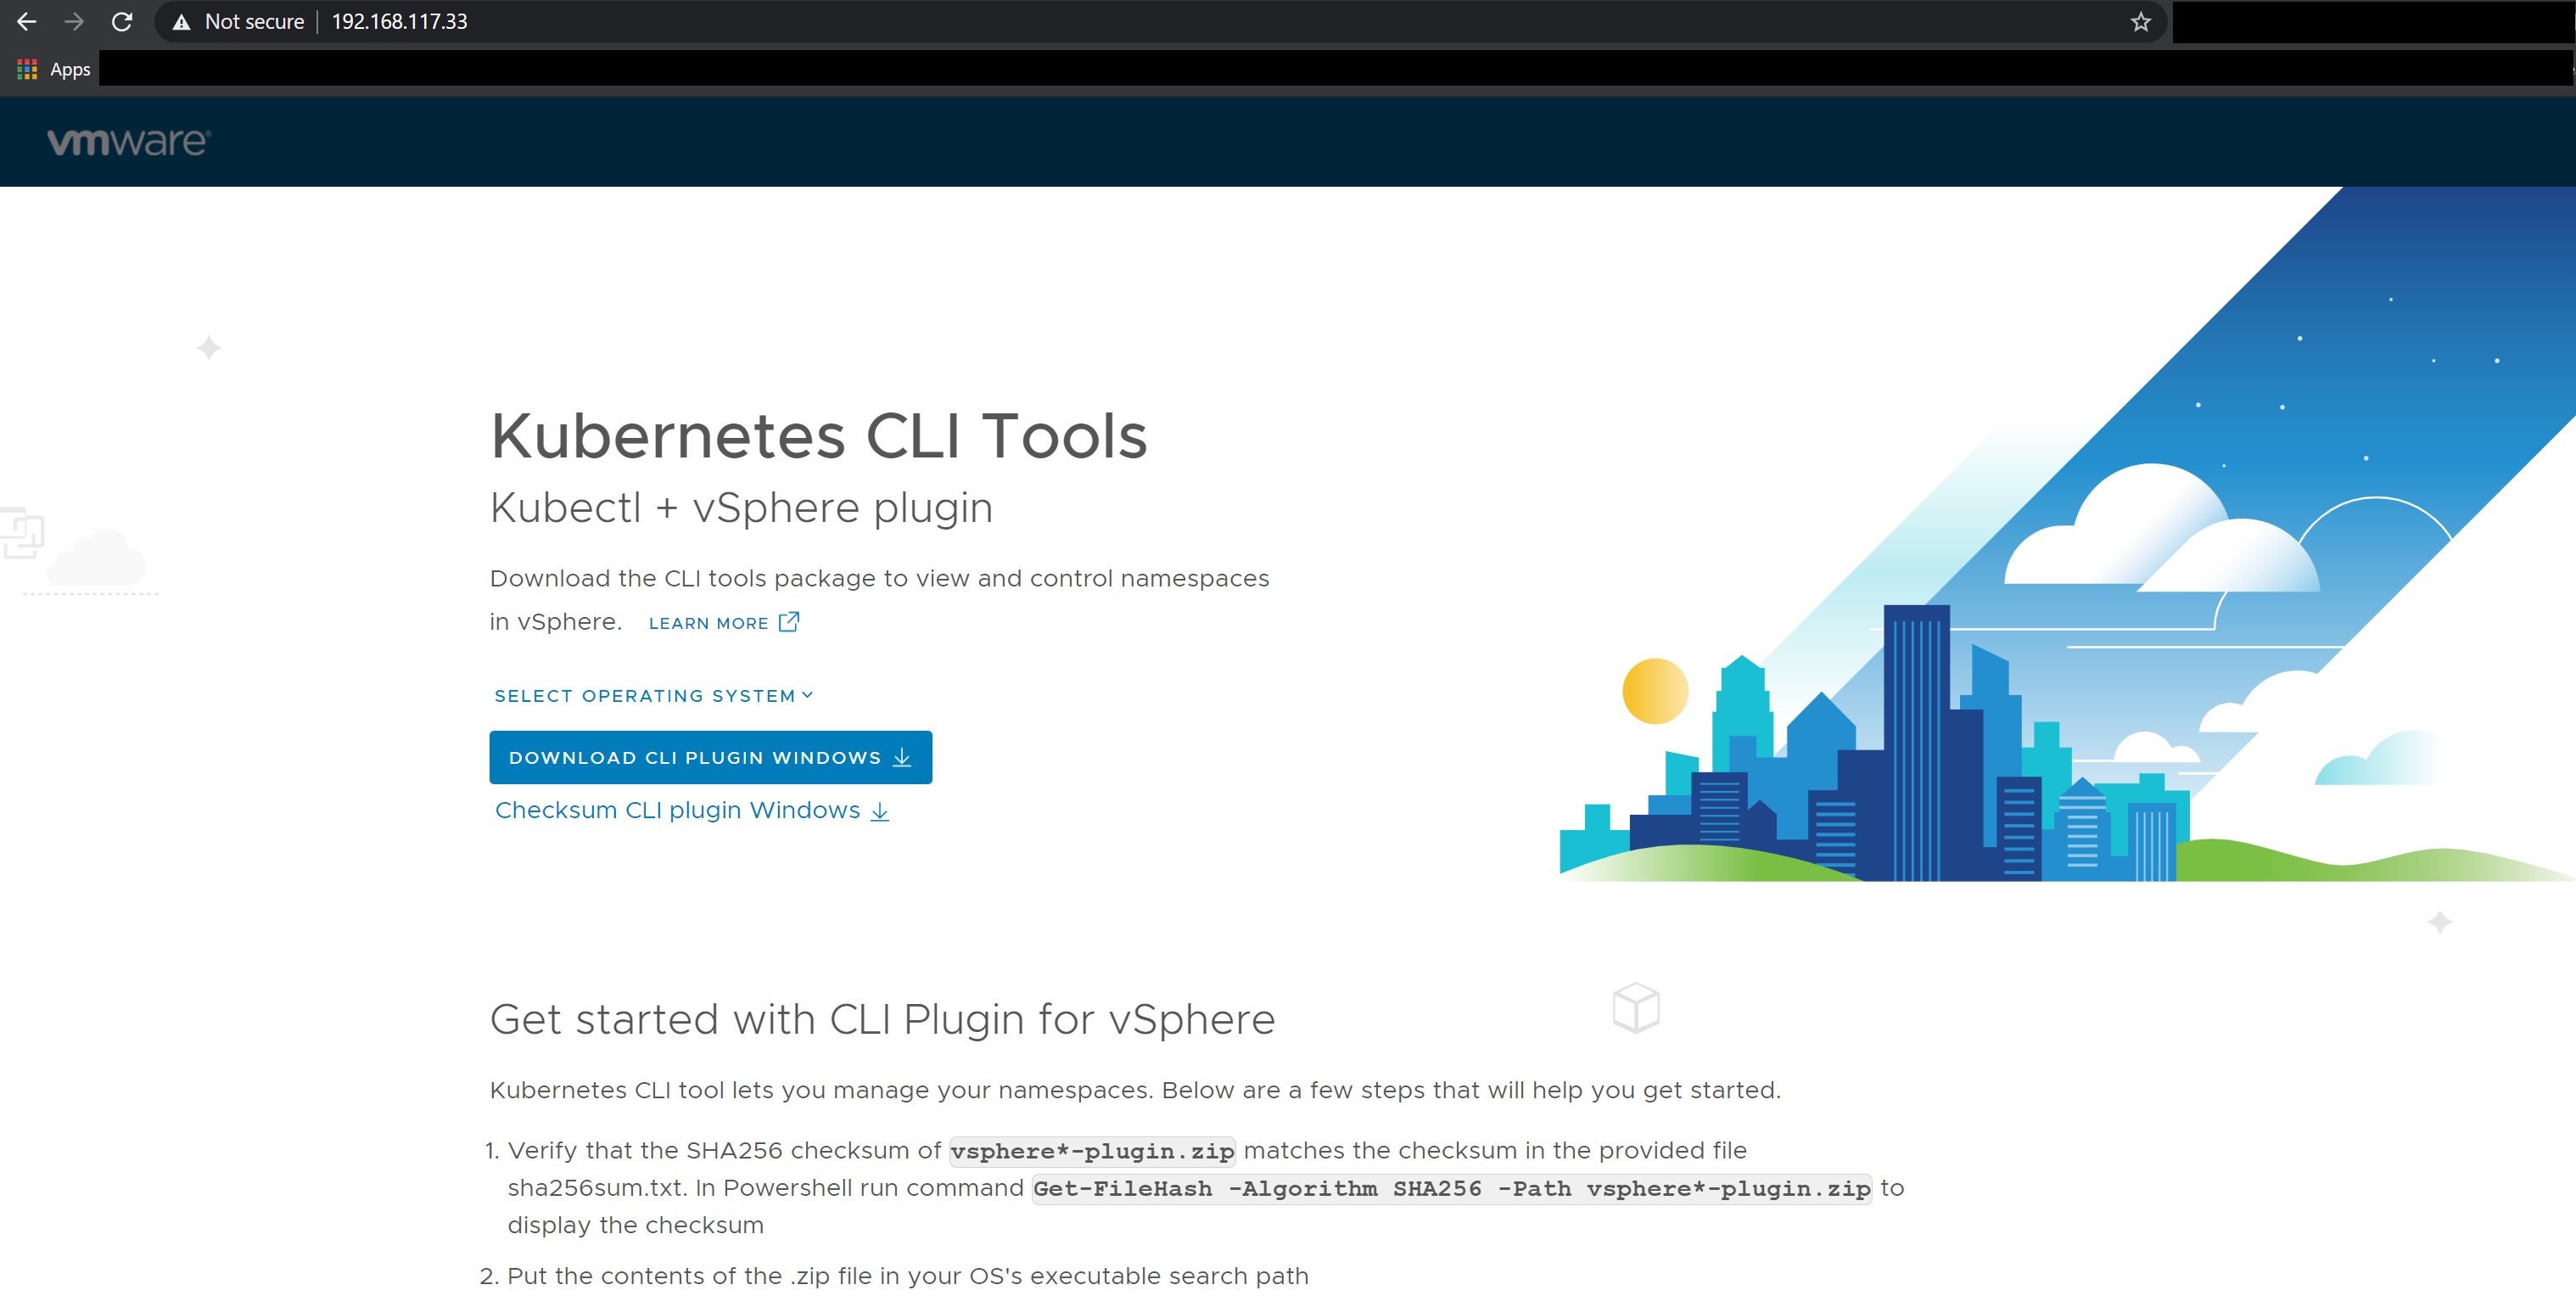
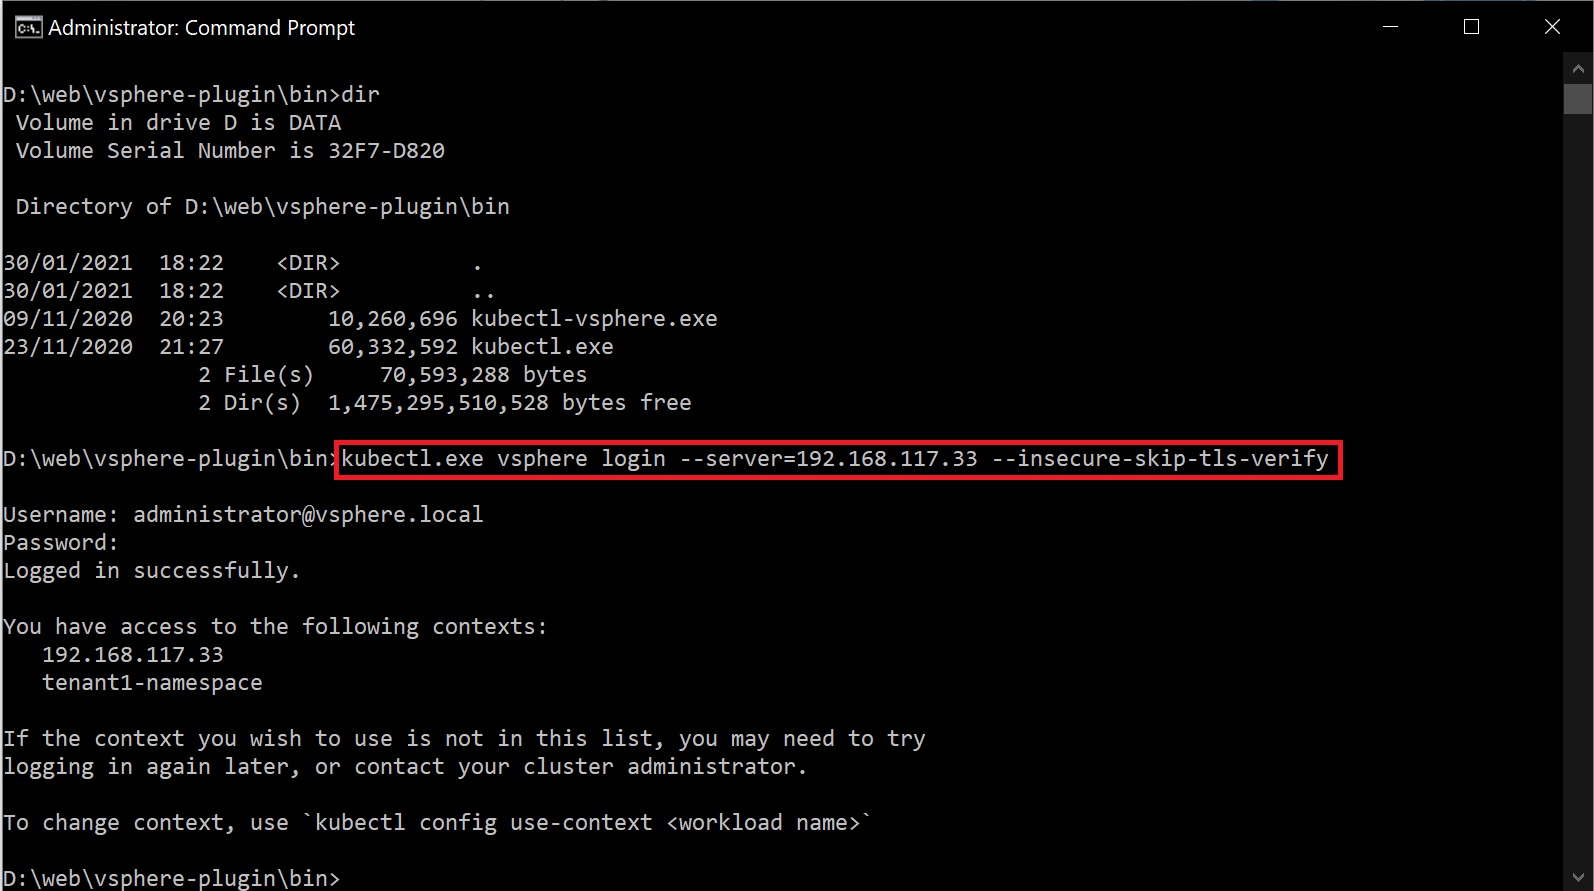
Below are the tools that I downloaded which come in a zipped file, just unzip into you location of choice, make sure you either add to your path or change into the directory to use this specific kubectl command. You can use the kubectl command to then login to the namespace that you just created by first logining into the control plane, if you get certificate error use the --insecure-skip-tls-verify option, if you notice it tells you what you have access to and yo should see the namespace we created earlier.
Now we switch to using the tenant1-namespace namespace by using the kubectl config command as per below

Now we can use the kubectl command to get the storage class details, virtual machine images, virtual machine classes, etc.

Lets create a workload cluster, we can create a yaml file with the configuration details and then use kubectl to apply it, I create one control plane and three worker nodes, I use the best-effort-small class to create the bare minimum as this is a test lab, I also select the storage class using the tkg_storage_policy we created earlier.

As stated above we then use the kubectl command to apply the configuration and you should get a reply back stating that the cluster has been created, although this is not quite true yet as we will see next

If you now jump back to you will see the cluster being created one control plane and three worker nodes

You can also use the kubectl command to get details of the cluster, make sure you scroll to the bottom of the long output

It's at the bottom that you see the cluster being created at the moment everything is in pending state
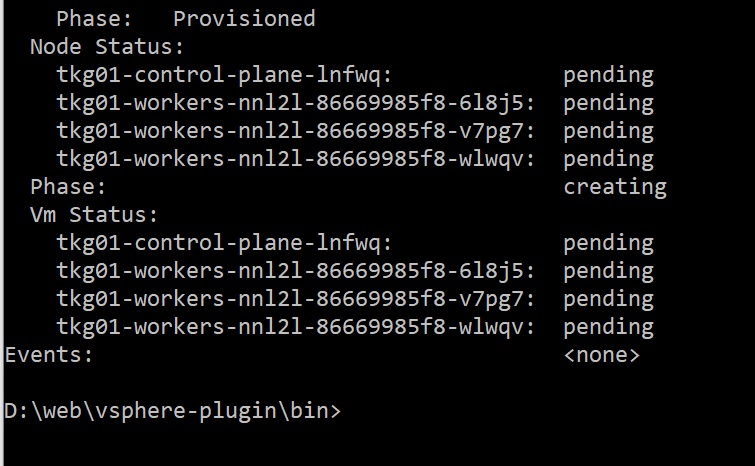
Slowly you will see the various components being built
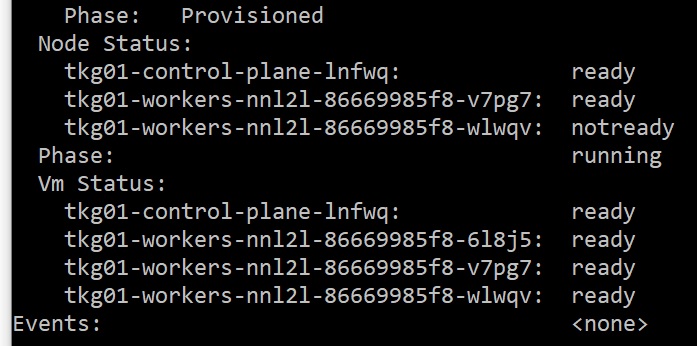
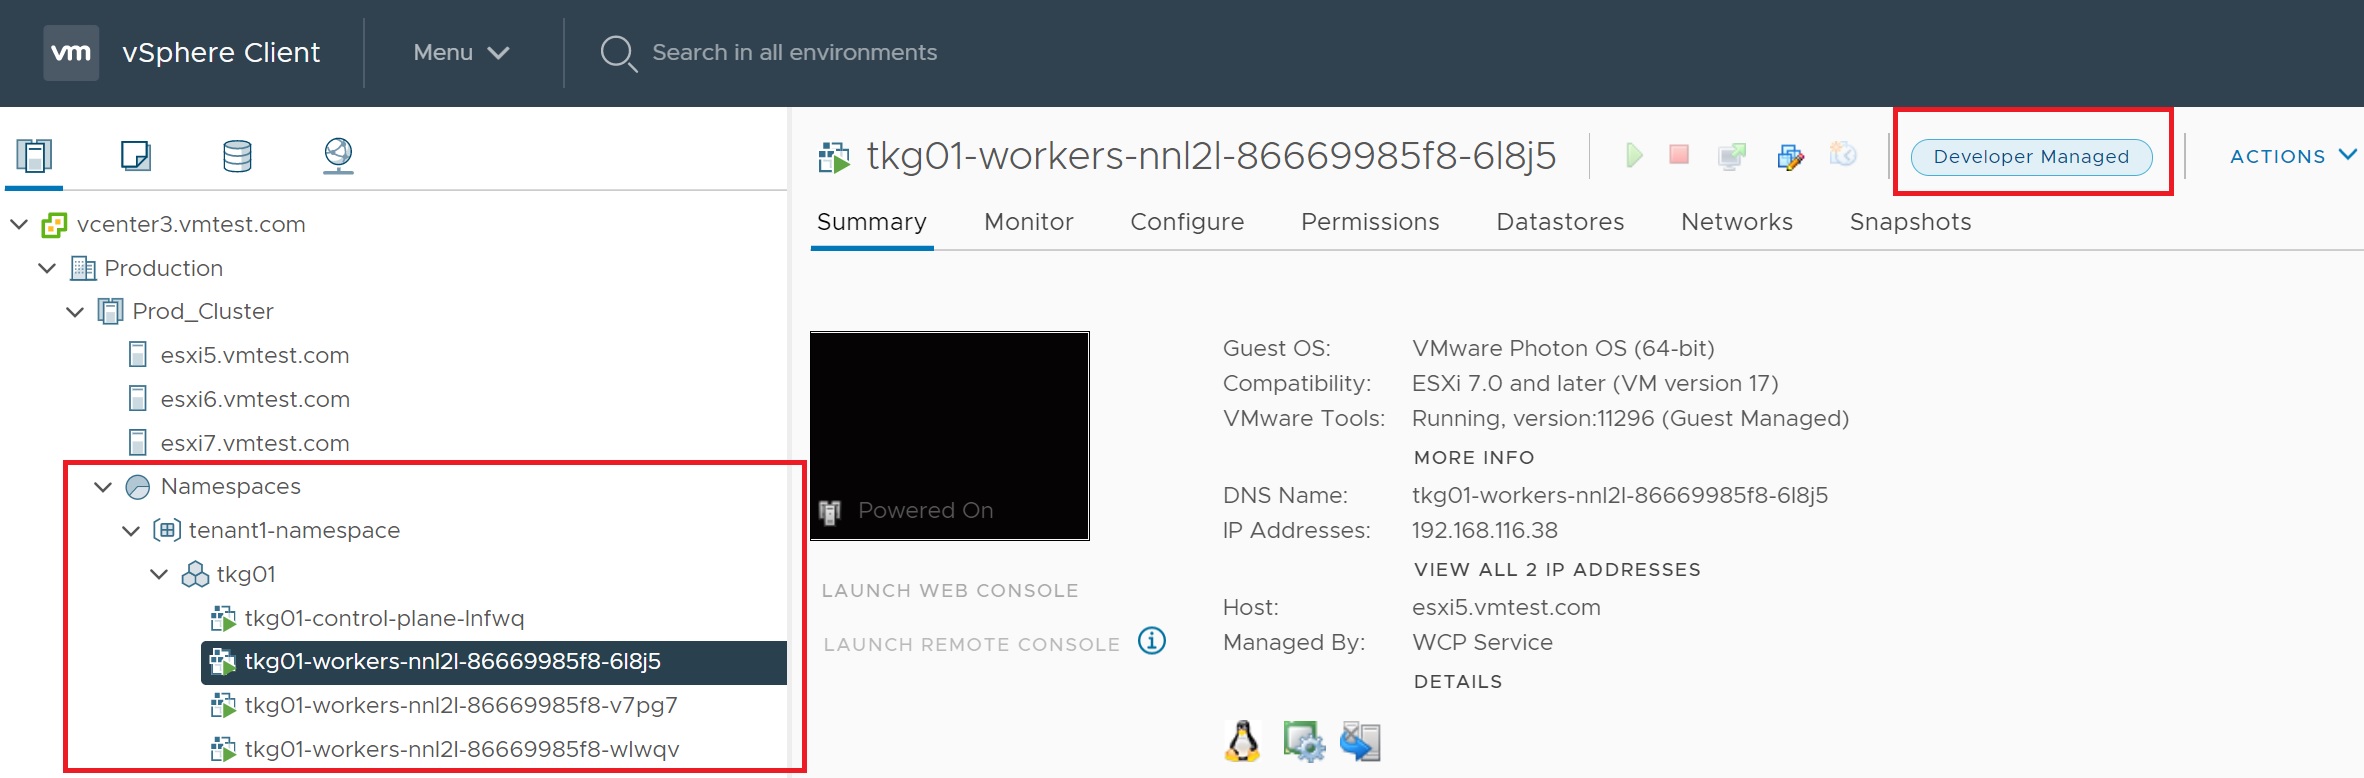
Returning to the vCenter we can see the cluster slowy coming alive, notice the developer managed which indicates that this is a Tanzu workload cluster
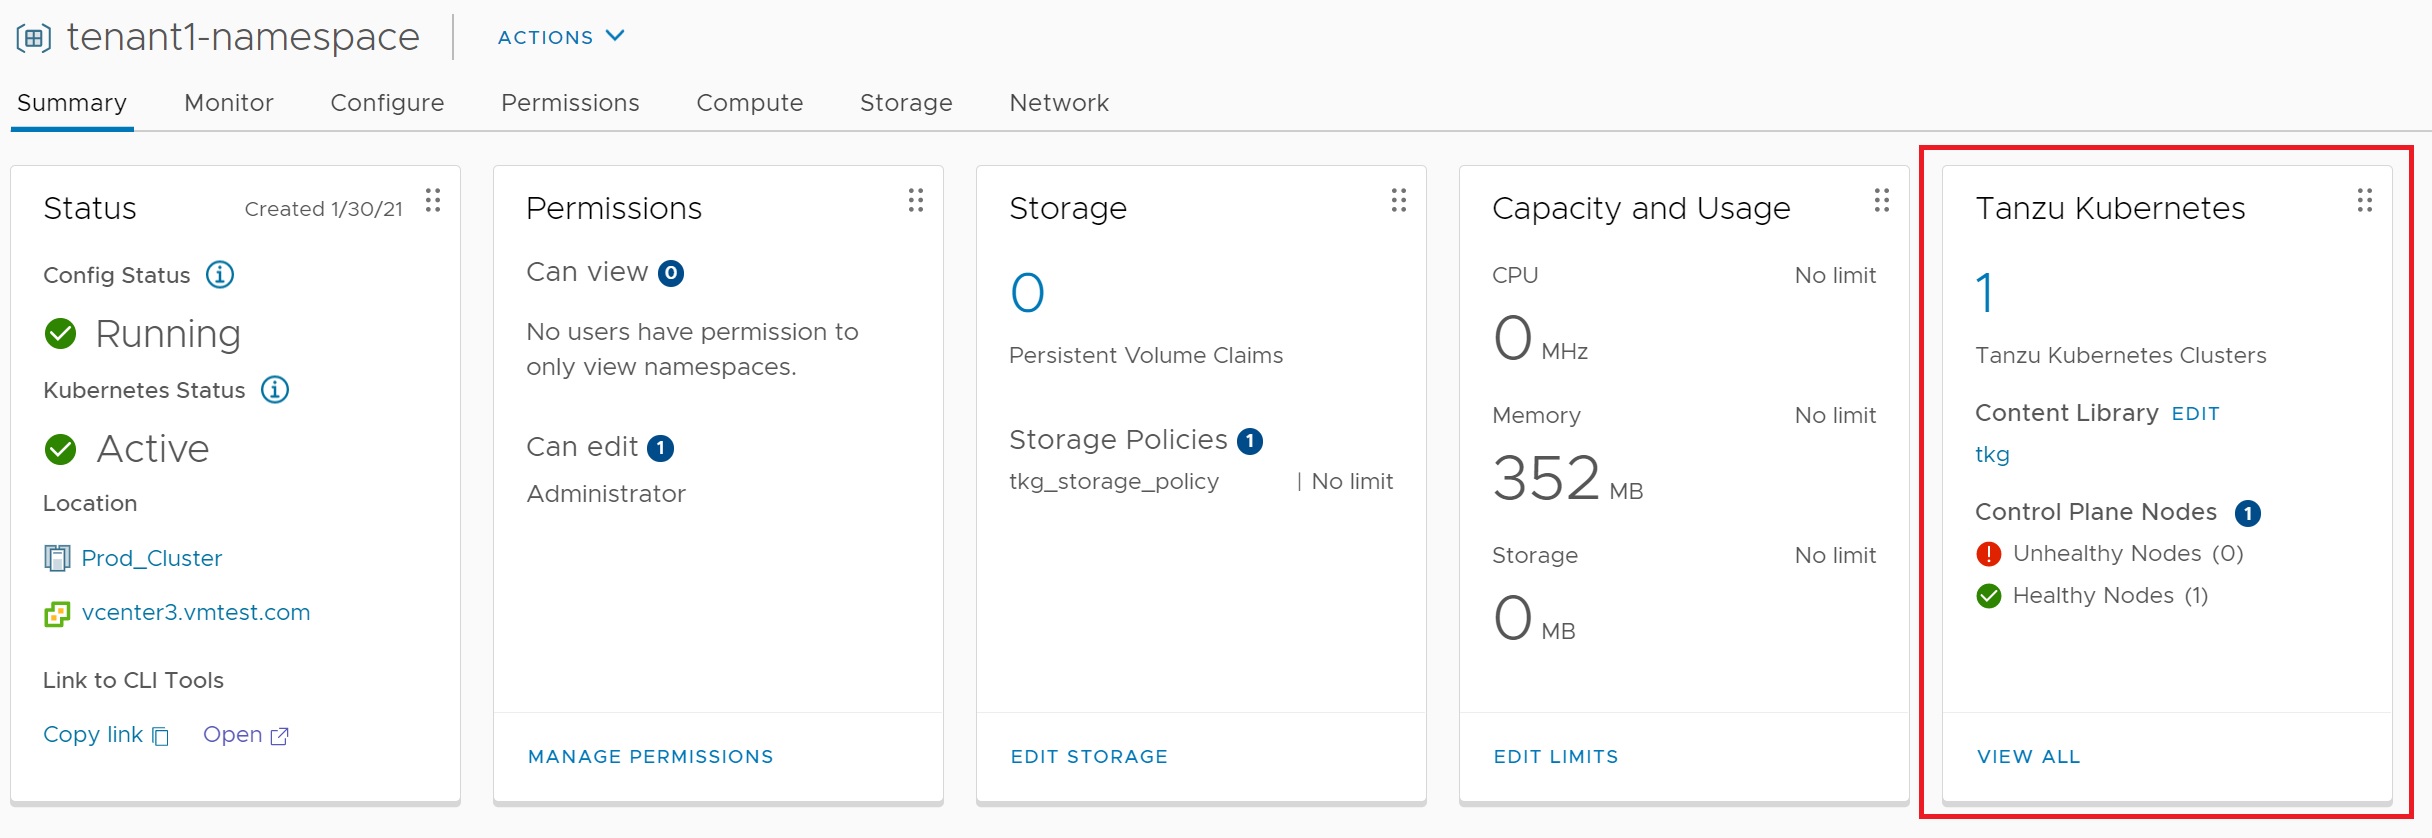
Returning to the workload management -> tenant1-namespace page we can see that we have one Tanzu Kubernetes cluster, select the view all to get more details
Here we can see all the clusteres we have created and the control plane IP address, the state that its in and how many workers

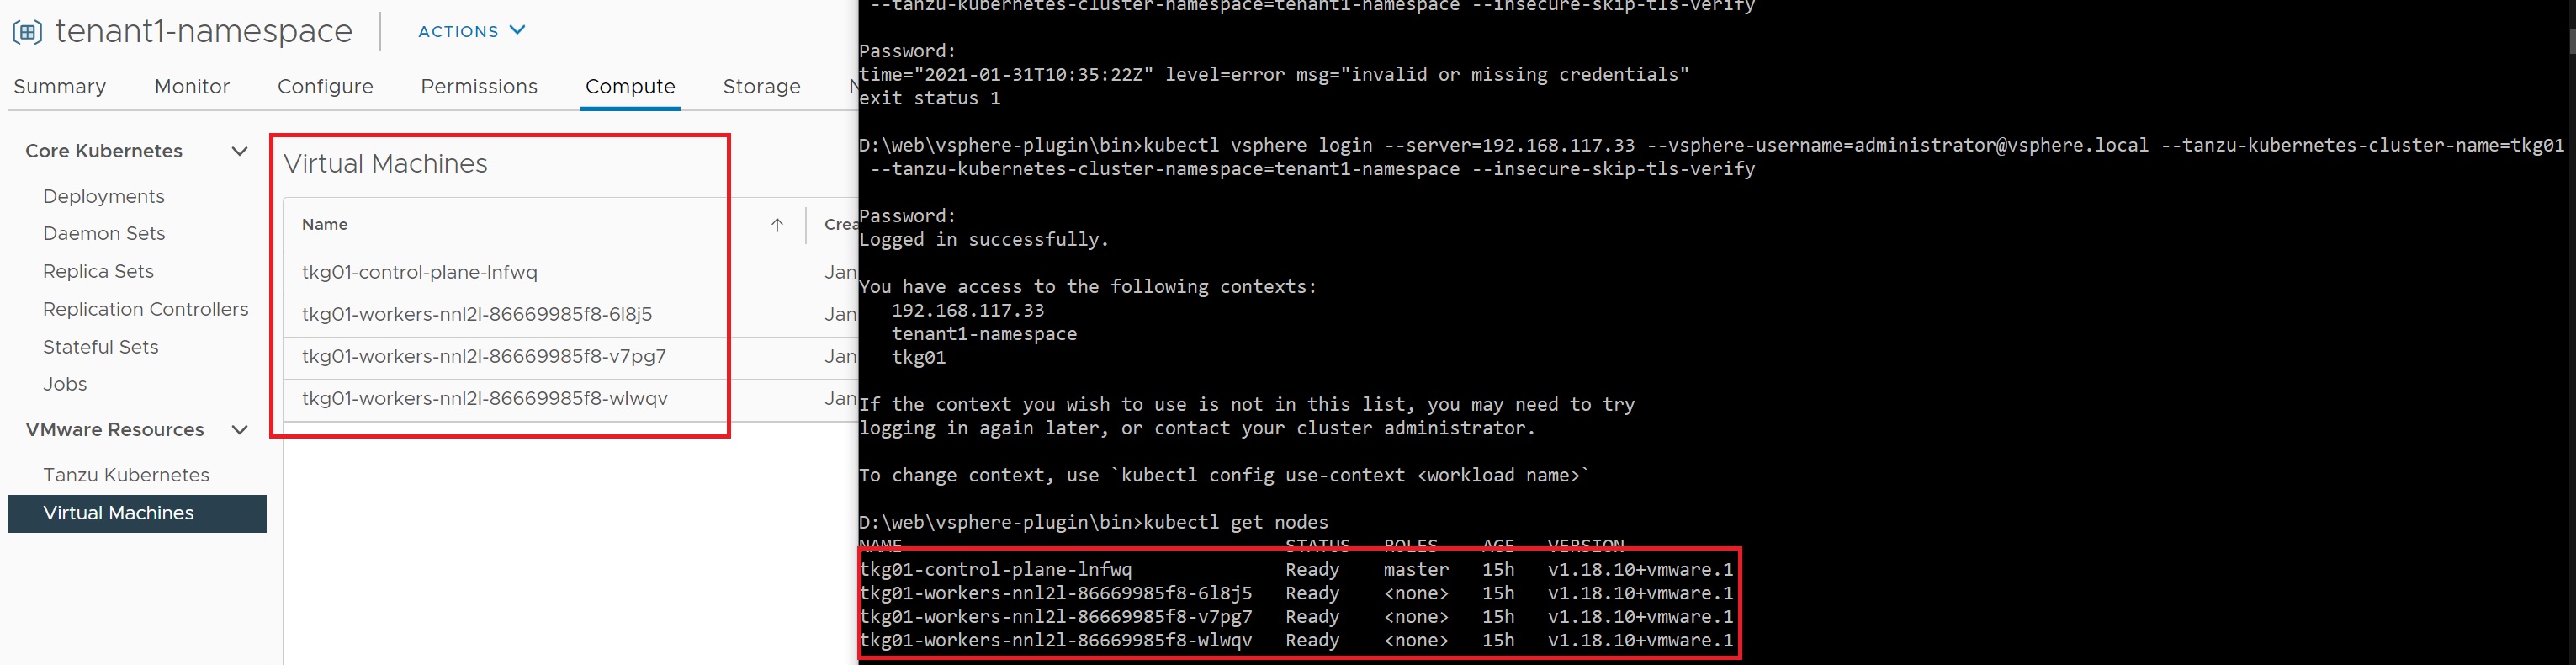
If you click on the virtual machines and use the kubectl command you can see that they match, notice that the kubectl vsphere login command connects directly to the management control plane and then states the cluster and namespace we wish to connect to, also notice that we use the main control plane IP address (192.168.117.33) not the control plane of the tkg01 cluster (192.168.117.34). Once in we can retrieve details about the setup.
Now lets deploy an application, which we really use the standard kubectl commands that you are familiar with, below you see me deploying a nginx application and creating/exposing the service port 80
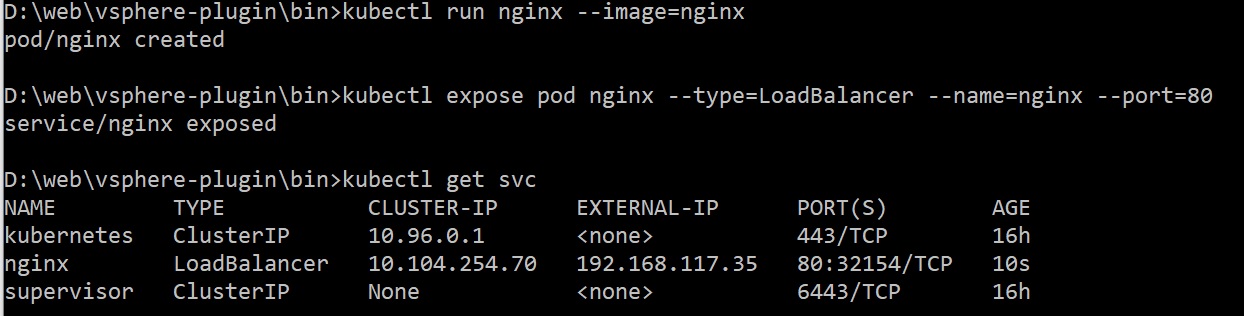
Pointing the browser at URL http://192.168.117.35:80 brings up the nginx web page

As you can see this is a bit more work to get this running than using the GRID GUI installer